Saturday, May 9, 2020

Liam Melugin: Box Model

Concept:

I wanted to create a box that was something that I could use and find aesthetically pleasing. I also wanted it ti be themed around something that I enjoyed. I decided to go with a game series that I have played throughout my life, being the Legend of Zelda.


Process:

I used one of the provided resources to create a basic box that I then took into rhino. I used the boolean tool to remove the main shape that I wanted. I then added accents to it to add more style to the box. I finally extruded the box to a quarter inch so that it would mimic the final box.


Materials: 

For the main material I looked online on keyshot and found a birch plywood material. I then applied it to the box. I hoped that if I were to make a physical version that I would be able to find a birch plywood because I liked how it looked.


Friday, May 8, 2020

Cameron Ouille Hammer

Concept

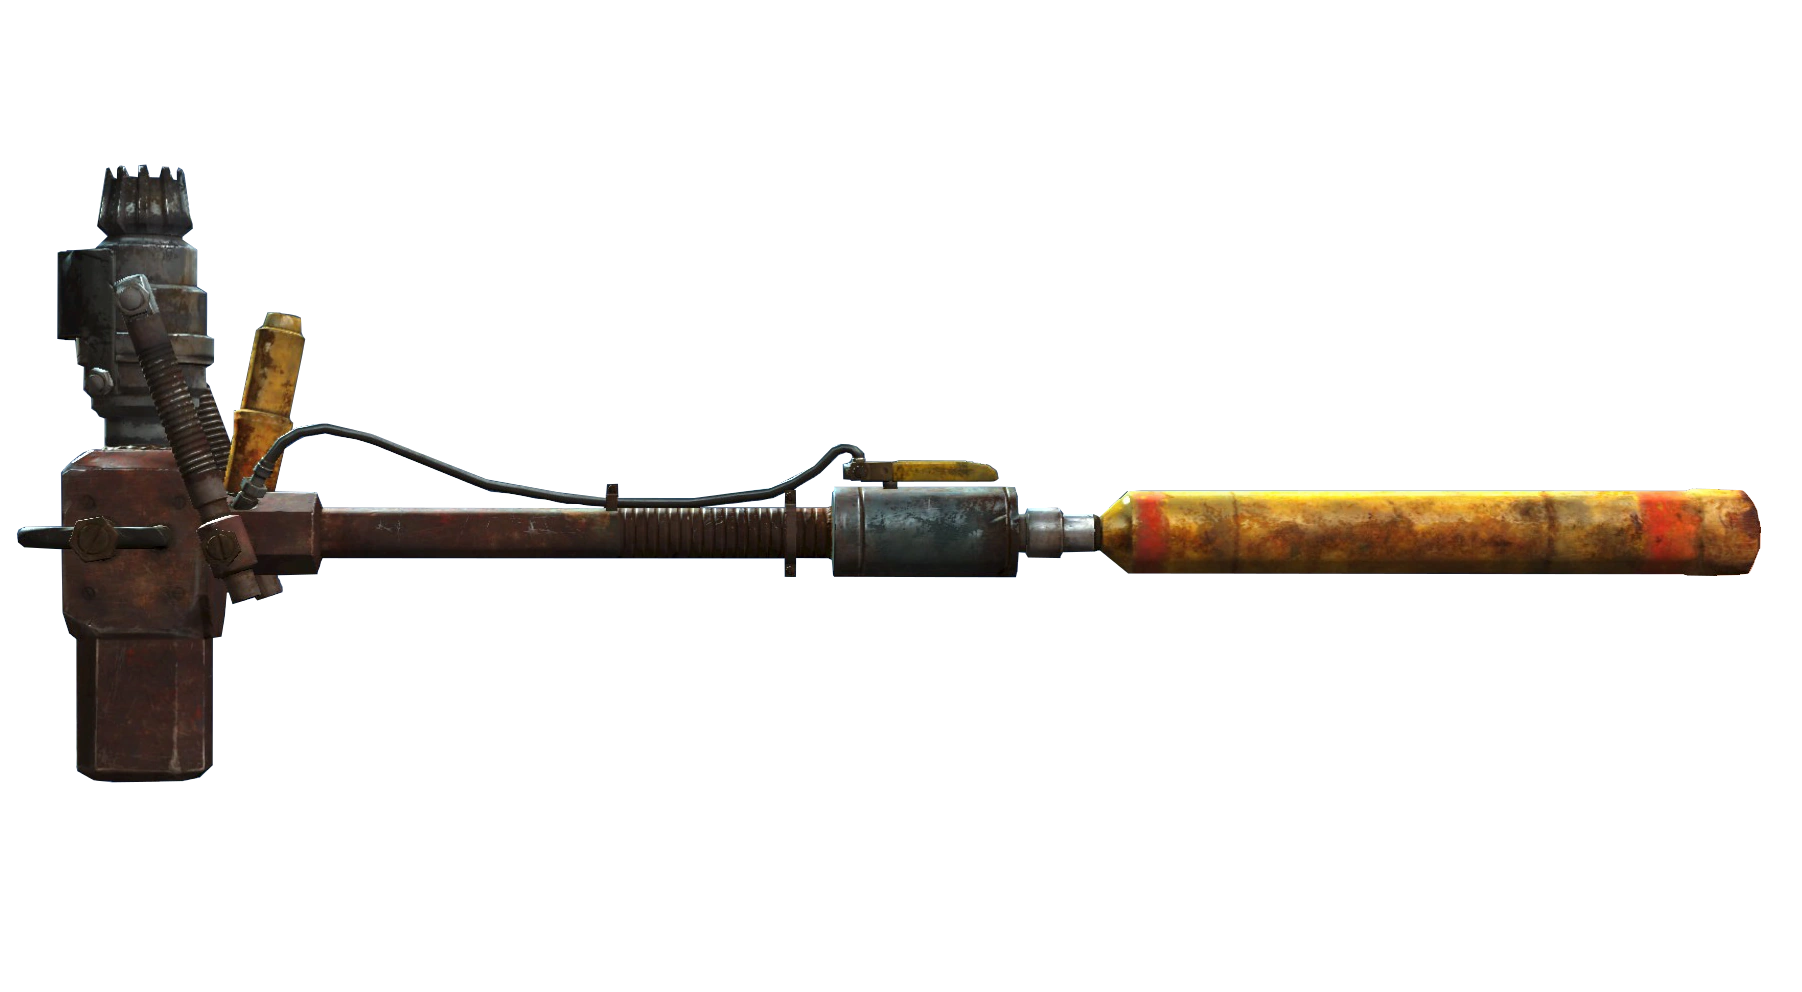
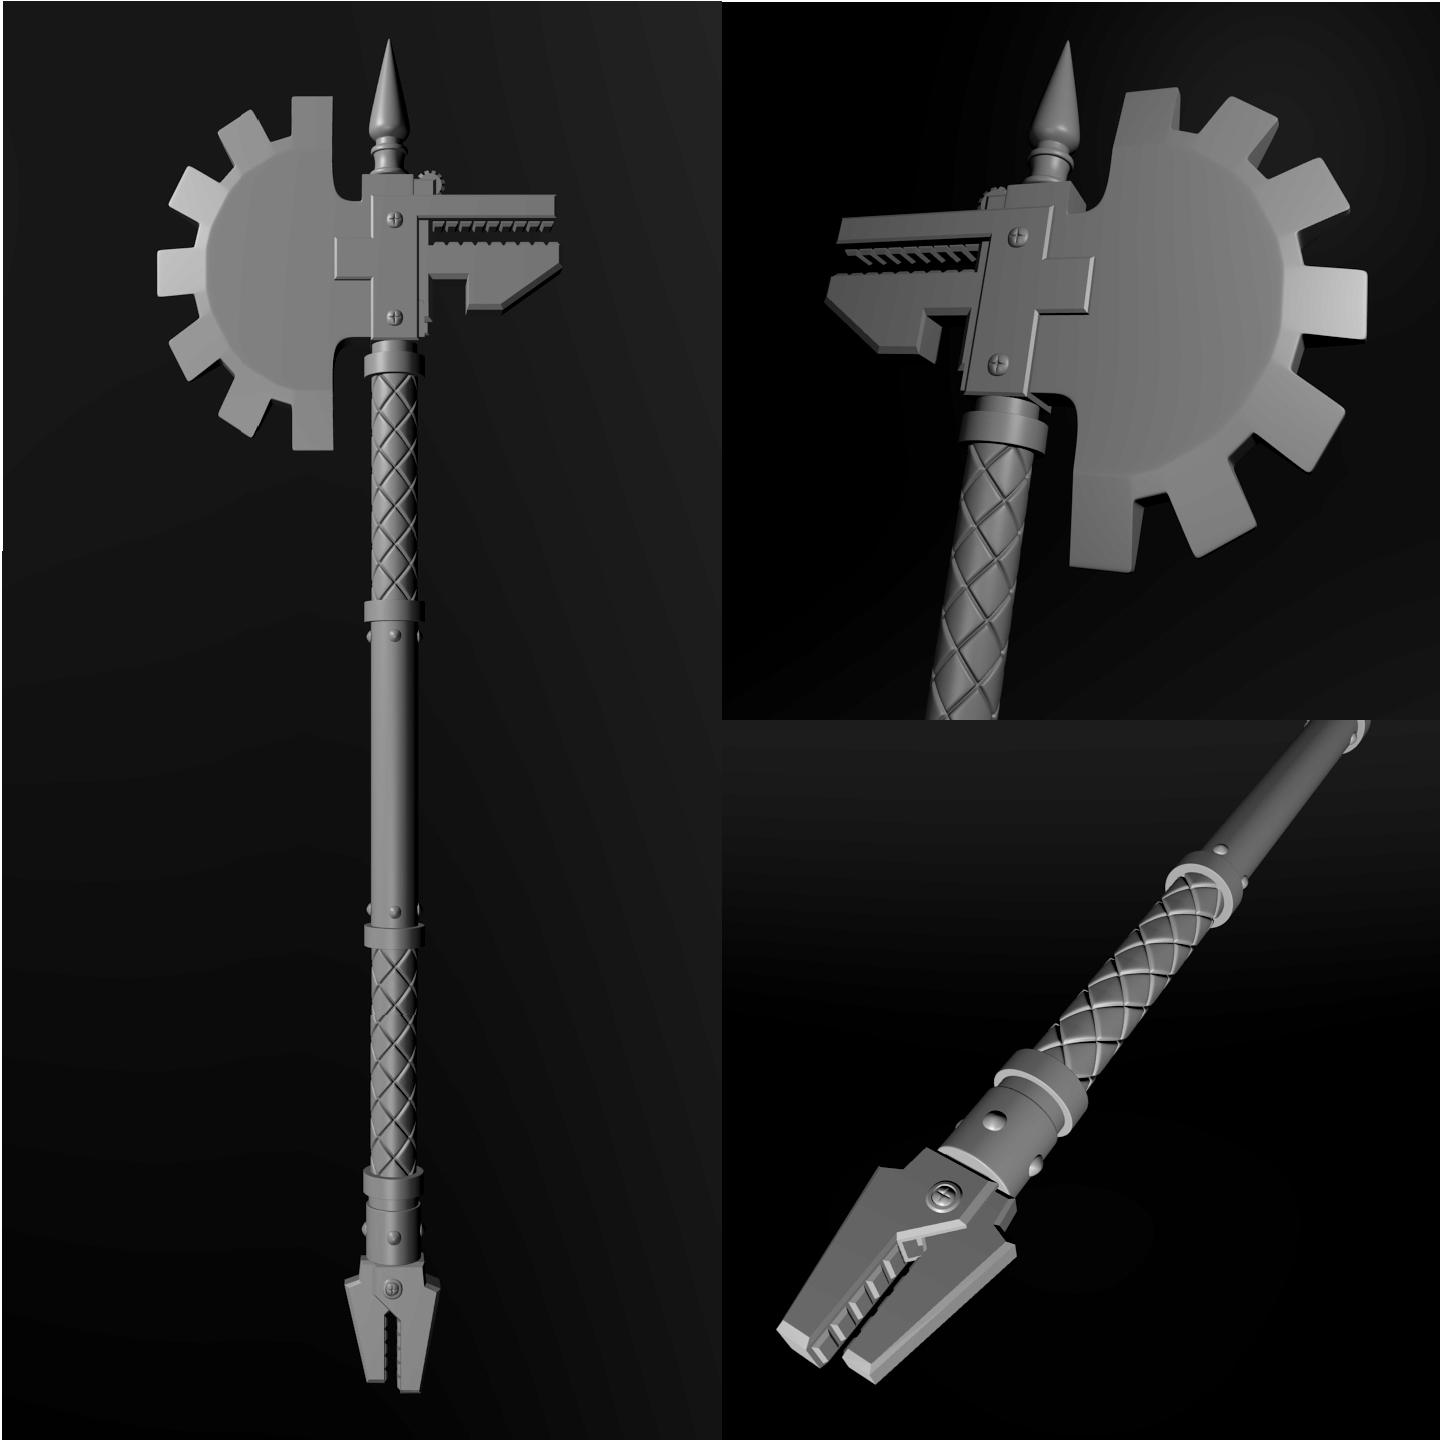
Super sledge (Fallout 4) | Fallout Wiki | FandomI based my concept on the rocket hammer from Fallout 4 and the Omnissiah's Axe from Warhammer 40k.Axe of Omnissiah W.I.P. 01 - Axe of Omnissiah W.I.P. 01 - Gallery ...

Process

I modeled this around the handle 1st, adding the pommel, and eventually the head. I used boolian reduction and the polar array for the fins.

Render

I rendered this hammer with blue cloth, gold rings, sterling steel for the pommel, wood for the shaft, brass for the second body, and darkened steel for the head.


Cameron Ouille Castle

Concept 
My Castle is based on multiple concepts from fictional works. The main inspiration was Howls Moving Castle. and modeled the body and legs from the AT-TE from Star Wars.

Process

My Process began with building the fortifications walls, then I built the center keep and towers to keep them in scale. Once I had the whole castle built I raised it up and built the legs forming out. I utilized the duplication tool to save on much of my time.


Materials

For my final render I kept it relatively simple. The towers and keep are concrete, like traditional buildings. My windows are filled with red glass to draw the eye to them as well as accent with the blue metal walls of the keep. I also kept all of the legs brushed Iron, the darkest of my metals highlighted with polished gold for the leg grips, joints, and windows for the gun ports.


Cameron Ouille Prosthetic


I took inspiration for my work from a mix of Mad Max Fury Road and Twisted Metal.  I wanted this to be a simplified mask that would allow me to show of the best of both.Twisted Metal (With images) | Evil clowns, Scary clowns, Creepy clown The Secret To Mad Max: Fury Road's Absolutely Terrifying Villain ...

                                               Inspiration


Process

I designed the mask 1st, built it up from the 2d design sketch, and then adhered it to the mannequin. I then patch sealed it and added the pipes and nose.

Final Render


Aleena Mir: Rendering in Passes

Process:

I was unaware of how to render in passes so I rendered all of this through Rhino 5.


Materials: 

I used a sapphire material and ruby material. I got the environments from the internet.


Wednesday, May 6, 2020

Vee Valavil Covid 19 Mask


Vee Valavil
Covid 19 Mask 


Concepts

I originally drew up this concept thinking about the masks that myself, civilians, and medical officials created. My design focused on allowing civilians and medicals officials to utilize Bluetooth technology without the risk of spreading COVID-19 via contact with their phone, pager, etc. My inspiration for the mask shown is from the Japanese anime Dragonball Z. The character I focused on specifically was a character named “Cumber”. The character has a full mask that covers the lower half of the face and had circles on the side of the face that I thought could utilize some form of Bluetooth technology built into it. I incorporated various elements into the mask and removed the nose part of the mask straps to allow for an individual to wear glasses, or another eye protection along with the mask. 


Techniques

My method of creating the mask started in cycles. I first started creating the mask and then started creating the shell of the mask.

To create the mask, I first created a circle object and used the scale tool to contour the circle in the front view to contour the shape of the circle the shape of the human face. Next I did a rebuild of the mask structure and tried my best to contour it to the face. I then created a median line and cut the mask in half to using the trim tool. I used the one half of the remaining and started creating a symmetrical design of the mask around the mouth and nose of the face model. I then used the mirror technique utilizing the median line to join each side of the mask together to create the design.


When it came to the shell of the mask, I wanted the mask structure to be solid instead of creating straps. I created the base structure of the straps using curves and joining them together with fillets. I then projected the straps onto the face and created a separate layer for them. I then manipulated the form of the mask to the head. I then create segments for the mask to make sure there were cross sections that would attach to the face. Once all the cross sections were created, I used patch srf and made the multiple sections of the mask. I then use the split tool to then imprint the cross sections into the model and then proceeded to patch them. I also create additional curves that would allow the mask to connect to the base of the mask as you can see at the bridge of the mask. Lastly the offset srf command was used to make the surfaces solid and ensure that they protruded out from the face as expected. Lastly, I took two spheres, sized them to fix the ears, placed them on the mask and trimmed the excess surfaces to create a headphone-like structure over the ears.


Materials

Plastic painted with red and black gloss paint.

Tuesday, May 5, 2020

Marvin Robinson: Lamp


 This lamp was inspired by helical shapes. When I designed this lamp I design it with a regal and rustic look.


I used the helix line tool and used pipping that is 1/3 of a unit measurement. Booleans were used to create a chandler and  I union custom shapes and primitive spheres to create light bulbs.

 Lastly I used metallic materials to keep in line with my regal concept, and rendered my lamp cabin.
I used some color dodging and adjustment layers to give my light bulbs an illusion if luminescence.