Monday, November 27, 2017

Durham Matthew Week 11 - Laser engraving

Concept:

   For my design I wanted to make a skate board deck that would capture one of my friends personalities while combining the two things she loves. Her dog and anything that deals with skating. Normal i would add the reference photo of her and her dog however her and her family expressed their wishes of it not being shown but where fine with the me being able to show the drawing I did instead.

Technique:

   For the technique all I did was draw from a reference photo in Photoshop a picture of her dog. I wanted to keep the drawing simplified. While in the background i have a bohemian esque pattern, that was also drawn in Photoshop. They where then combined and imported into Adobe Illustrator to make the vector and raster lines for it.

Materials: 
   For my board I used a 38 and 1/2 long board deck. I didn't want to add any paint to the board so i could keep it very minimal, because that is also her style. She likes the looks and feel of organic things. So I felt like just the darker wood from the raster engraving would be enough. 

Update: I applied a stain so the recessed part would be a little bit darker.

Link to skateboard deck on Amazon

Monday, November 20, 2017

Pablo Reyes: Week 11 Laser Engraving

Concept:

This project is inspired by a recent picture that I took of an orange flower at the DFW Arboretum and my girlfriend at the mist tower near the plinth.


Technique:

This composition was created using Affinity Photo and Designer along with a threshold adjustment which aided in the black and white appearance of the overall composition. A 3d line pattern was used as background in order to create a 3d effect and an emphasis on the name and flower design. Mexican Fiesta font was used for my name.


Materials:

I used a Moose Blank 7.25" Skateboard Deck (Natural) and black acrylic paint.

Background image of the design.


Leo Haddad- Week 11 Laser Engraving


Concept:

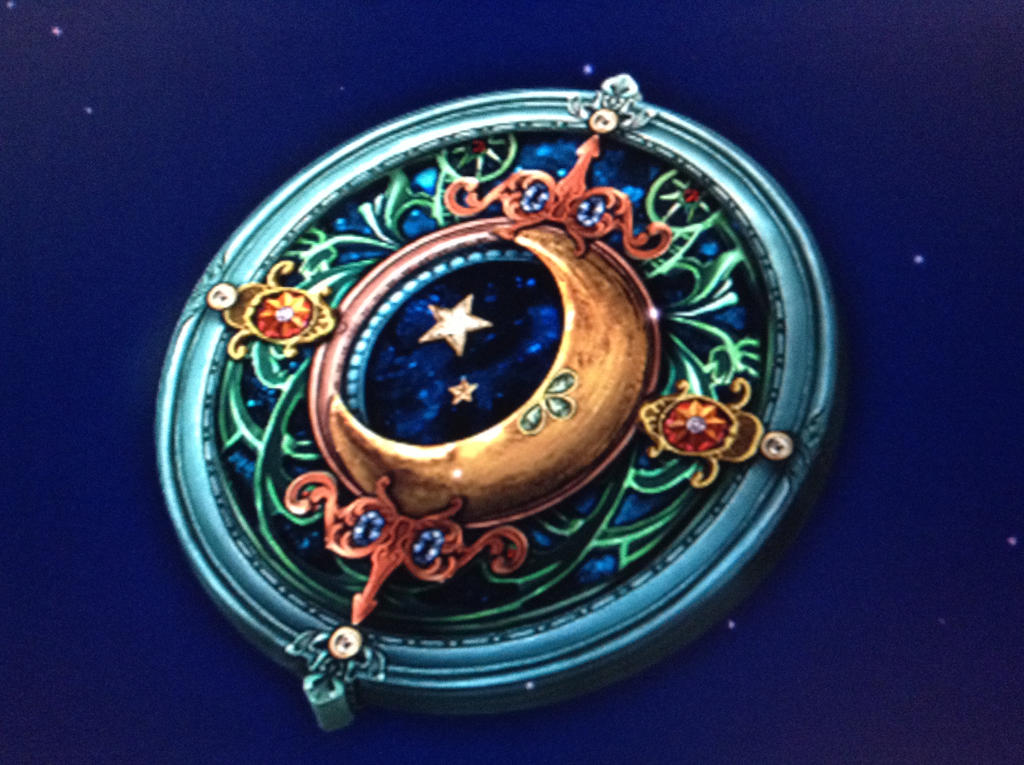
For my design, I was messing around with the idea of gears when I started adding circles around them. It began to resemble stars or planetary beings, so I evolved my design into a mechanical-galactic design that resembled some kind of robot space medallion. To the left and right of the design I recreated 2 constellations on either side of the main design using the "gear stars" as points.


Image result for moon medallion


Technique:

I created my design in Rhino by making a series of shapes which were 3D and then making them 2D using the Make2D command. After this, I used the shapes to create the final design as seen. I color coded the parts to ensure everything came out as planned.


Materials:

I used a 7.75 inch skateboard deck as my surface and then applied a non-polyurethane finish for durability, as my friend wanted to keep the deck to skate it. Some paint may be applied in the future to add to the "space" atmosphere.


Scott Choi: Week 11 - Laser Engraving

Concept:


For my board, I chose to engrave an image of my favorite athlete, Dirk Nowitzki. As a huge Dallas Mavericks fan, this concept seemed like a cool use of the skate deck. I ended up selecting this photo for the design, because it is his signature move, the one leg fade-away.


Technique:


I thought that using the image itself rather than creating my own lines from it would help achieve the most accurate design, so that's what I opted to do. I sent the picture to Adobe Illustrator and edited the scale and color. After that, I turned my image into a vector using the image trace and expand command with the black and white logo option. I selected the black vector layer and applied a stroke. I placed the results onto the skate deck template, and sent the file to Rhino. In Rhino, I colored the general outline curves green for a medium cut, and all the inside curves red for a shallow cut. The file was sent to the machine shop for engraving afterwards. 


Materials: 

I used a standard 7.5 inch wooden skate deck. For coloring, I decided that due to the way the design came out, the board would look the cleanest if I didn't add in a bunch of colors or paint. Instead, I decided to darken the engraved lines with a sharpie marker to give them more depth. I also drew on some arbitrary elements like the 41 degree fall angle (jersey number) to enhance the design. 

Elias Perez: Week 11 - Laser Engraving


    Concept:
    For the design in this project I was considering what it was that I had wanted to do and I was setting up to sit by my computer. On the way there I had grabbed my favorite cup with coffee in it and almost tripped and spilled it directly onto my computer. From this I got my inspiration for the design as you can see with the two hands and the cup slipping from them, the gigantic "NO" in the background.
3D Model Designed in Maya
Technique:

    First I modeled the image in Maya and used google images for concept pictures of different mugs and cups used by coffee shops. I then exported the Maya file as a .obj file and imported it into rhino. I then used the command MeshtoNurbs so that I could convert the .obj file. From here it made it possible for me to use the Make2D command which created a flat vector design of my 3D model. I then joined and exploded each object so that I could set each individual color for each line so that I could get a mixture of raster engravings, medium engravings, and shallow engravings. 
Before I added Raster Engravings to border and make the NO pop

The Final Product
Materials:

     I used an 7.5 inch skateboard deck which was laser engraved and then gloss acrylic paint dry brushed on top to create a solid look. The red and yellows meant to create a caution sign or cautious feeling. The use of the regular board color to make the red and yellow pop as well as give sight to the borders and engraved portions of the board. 
After Laser Cut No Paint 


Final Painted Product


Elizabeth Garvey: Week 11 - Laser Engraving

Concept:
I enjoy drawing creepy things, and for this project I wanted to do a piece about a succubus. Succubi are like sirens in that they lure men to their deaths with their beauty. Spooky stuff.  So in the picture I drew a succubus with a skeleton.


Technique:

I scanned the image into illustrator using image trace, and then edited it with the pen tool to adjust shadows, ect. I also used picture frame in rhino. I had some issues, and so I am still fixing the piece itself.


Materials:

standard skateboard deck, polyeurothane paint

Clara Crossland: Week 11 - Laser Engarving

Concept:

I wanted my design to resemble the Moon Wand from the popular show Sailor Moon. I really love the pallete of the wand and the design is simple enough for me to add my own custom touch. I also really loved the cartoon as a kid so doing this design was also very fun for me.

Technique:
I used Adobe Illustrator at first to trace over the design I found. After that I made the lines over the traced image thicker to help when I put it in Rhino. Once I was done with that I transfered the picture to Rhino to color the engraving lines and place the hatch patterns. I did have a lot of overlapping lines so I had to go back and use the Curve Boolean command to fix those. After that I was able to turn it in to be engraved at the machine shop. After the engraving was finished I was able to paint over the pattern.


Materials:
I used a standard skateboard deck, a lot of paint from paint cans, and some masking tape to make sure I painted inside the lines.