Showing posts with label SerialSlicing. Show all posts

Monday, December 5, 2022

Alexandra Escobedo: Weeks 9-11 Serial Slicing

Serial Slice Model (Flower Tower)

Inspiration

The inspiration behind this model was the coil spring toy that I used to play with as a kid. They would come in a variety of colors and shapes, including stars, flowers, and more geometric shapes. I wanted to keep this simple given my limited experience, but I also wanted to make something that would tuck at people’s nostalgia.


Process

The process involved using the star shape tool, solid extrusion command, and the filet corners command to a 1.5 radius. These were the main tools and commands that I utilized to “stretch” the basic shape of the star, smooth the points of the star shape, and then twist the elongated shape using the Twist command.


Materials and Techniques

The material used was plywood to make it look similar to how it would in real life. Some of the techniques I used involve star shape tools, solid extrusion command, filet corners, and the Twist command. 


Sunday, December 4, 2022

Thessa Vu - Assignment 4 - Serial Slicing Creature

 Inspiration 

    I decided to base my creature on a variety of animals. The basic anatomy of my creature is that of a human. I wanted to add aspects of feathered creatures because I liked the flowy and graceful look, so I made it into the hair of my creature. I also added antlers to incorporate aspects of a deer into it. I decided to give my creature a tree theme, so the antlers are made of wood and the feathers are colored like leaves. The face of the creature is not based on anything, but I wanted to give it a minimal look. The eyes are just dots to make the creature look mysterious and otherworldly.

References

Concept

Process
    
    For modeling my creature, I first started by making the base. I created an oval shaped cylinder and then used the fillet tool to round off the top for the shoulders. Then, I created a cylinder for the neck. After, I created a sphere using the subD tool and modeled the head. As I worked on the head, I used the mirror tool to make sure that both sides were equal. After I finished creating the shapes I wanted, I used the Boolean join tool to combine all the pieces together. I also used the subD and mirror tool to create the antlers. After I sliced the image, I extruded everything and used the change layer tool to move each item that would have its own material assigned to it onto different layers.
    As I was modeling my project, I had an easy time using the subD tool with the mirror tool. It allowed me to form the shapes that I wanted easily. However, I had a problem turning the model into a solid object after I was finished with it. After I Boolean differenced out the rods and sliced the image, the rods did not go all the way through. So in the end, I laser cut all the pieces and put the head together without the use of the rods. Also, there was a lot of small pieces created but the tips of the antlers when modeling. So after laser cutting, I decided to just leave out all the small pieces and make the antlers short.

Rhino - Ghosted - Layers


Rendering

    In keyshot, the main body of my model was assigned the material of rough maple wood. The antlers were given the material black walnut wood and the leaves were given green satin cloth. I used these materials to keep the tree theme of my creature.

Keyshot - 2D

Keyshot - Orthographic

Keyshot - Environment 1

Keyshot - Environment 2

Fabrication

    For my physical model, I laser cut the base of the cardboard at the machine shop. Then I combined every layer together with two dowel rods and glued it all together. The antler cardboard pieces had too many little pieces, so I decided to leave a lot of it out and ended up making it a lot shorter than in the rendered model. I used newspaper, flour, and water to paper mache the outer layer. I then painted the outside with acrylic paint. I decided to use white as the main color to keep the design simple and to allow for the leaves to stand out. After painting, I glued all the leaves onto the head and painted on the eyes.


Physical Model

Physical Model - Orthographic

Physical Model - 2D


Sunday, November 27, 2022

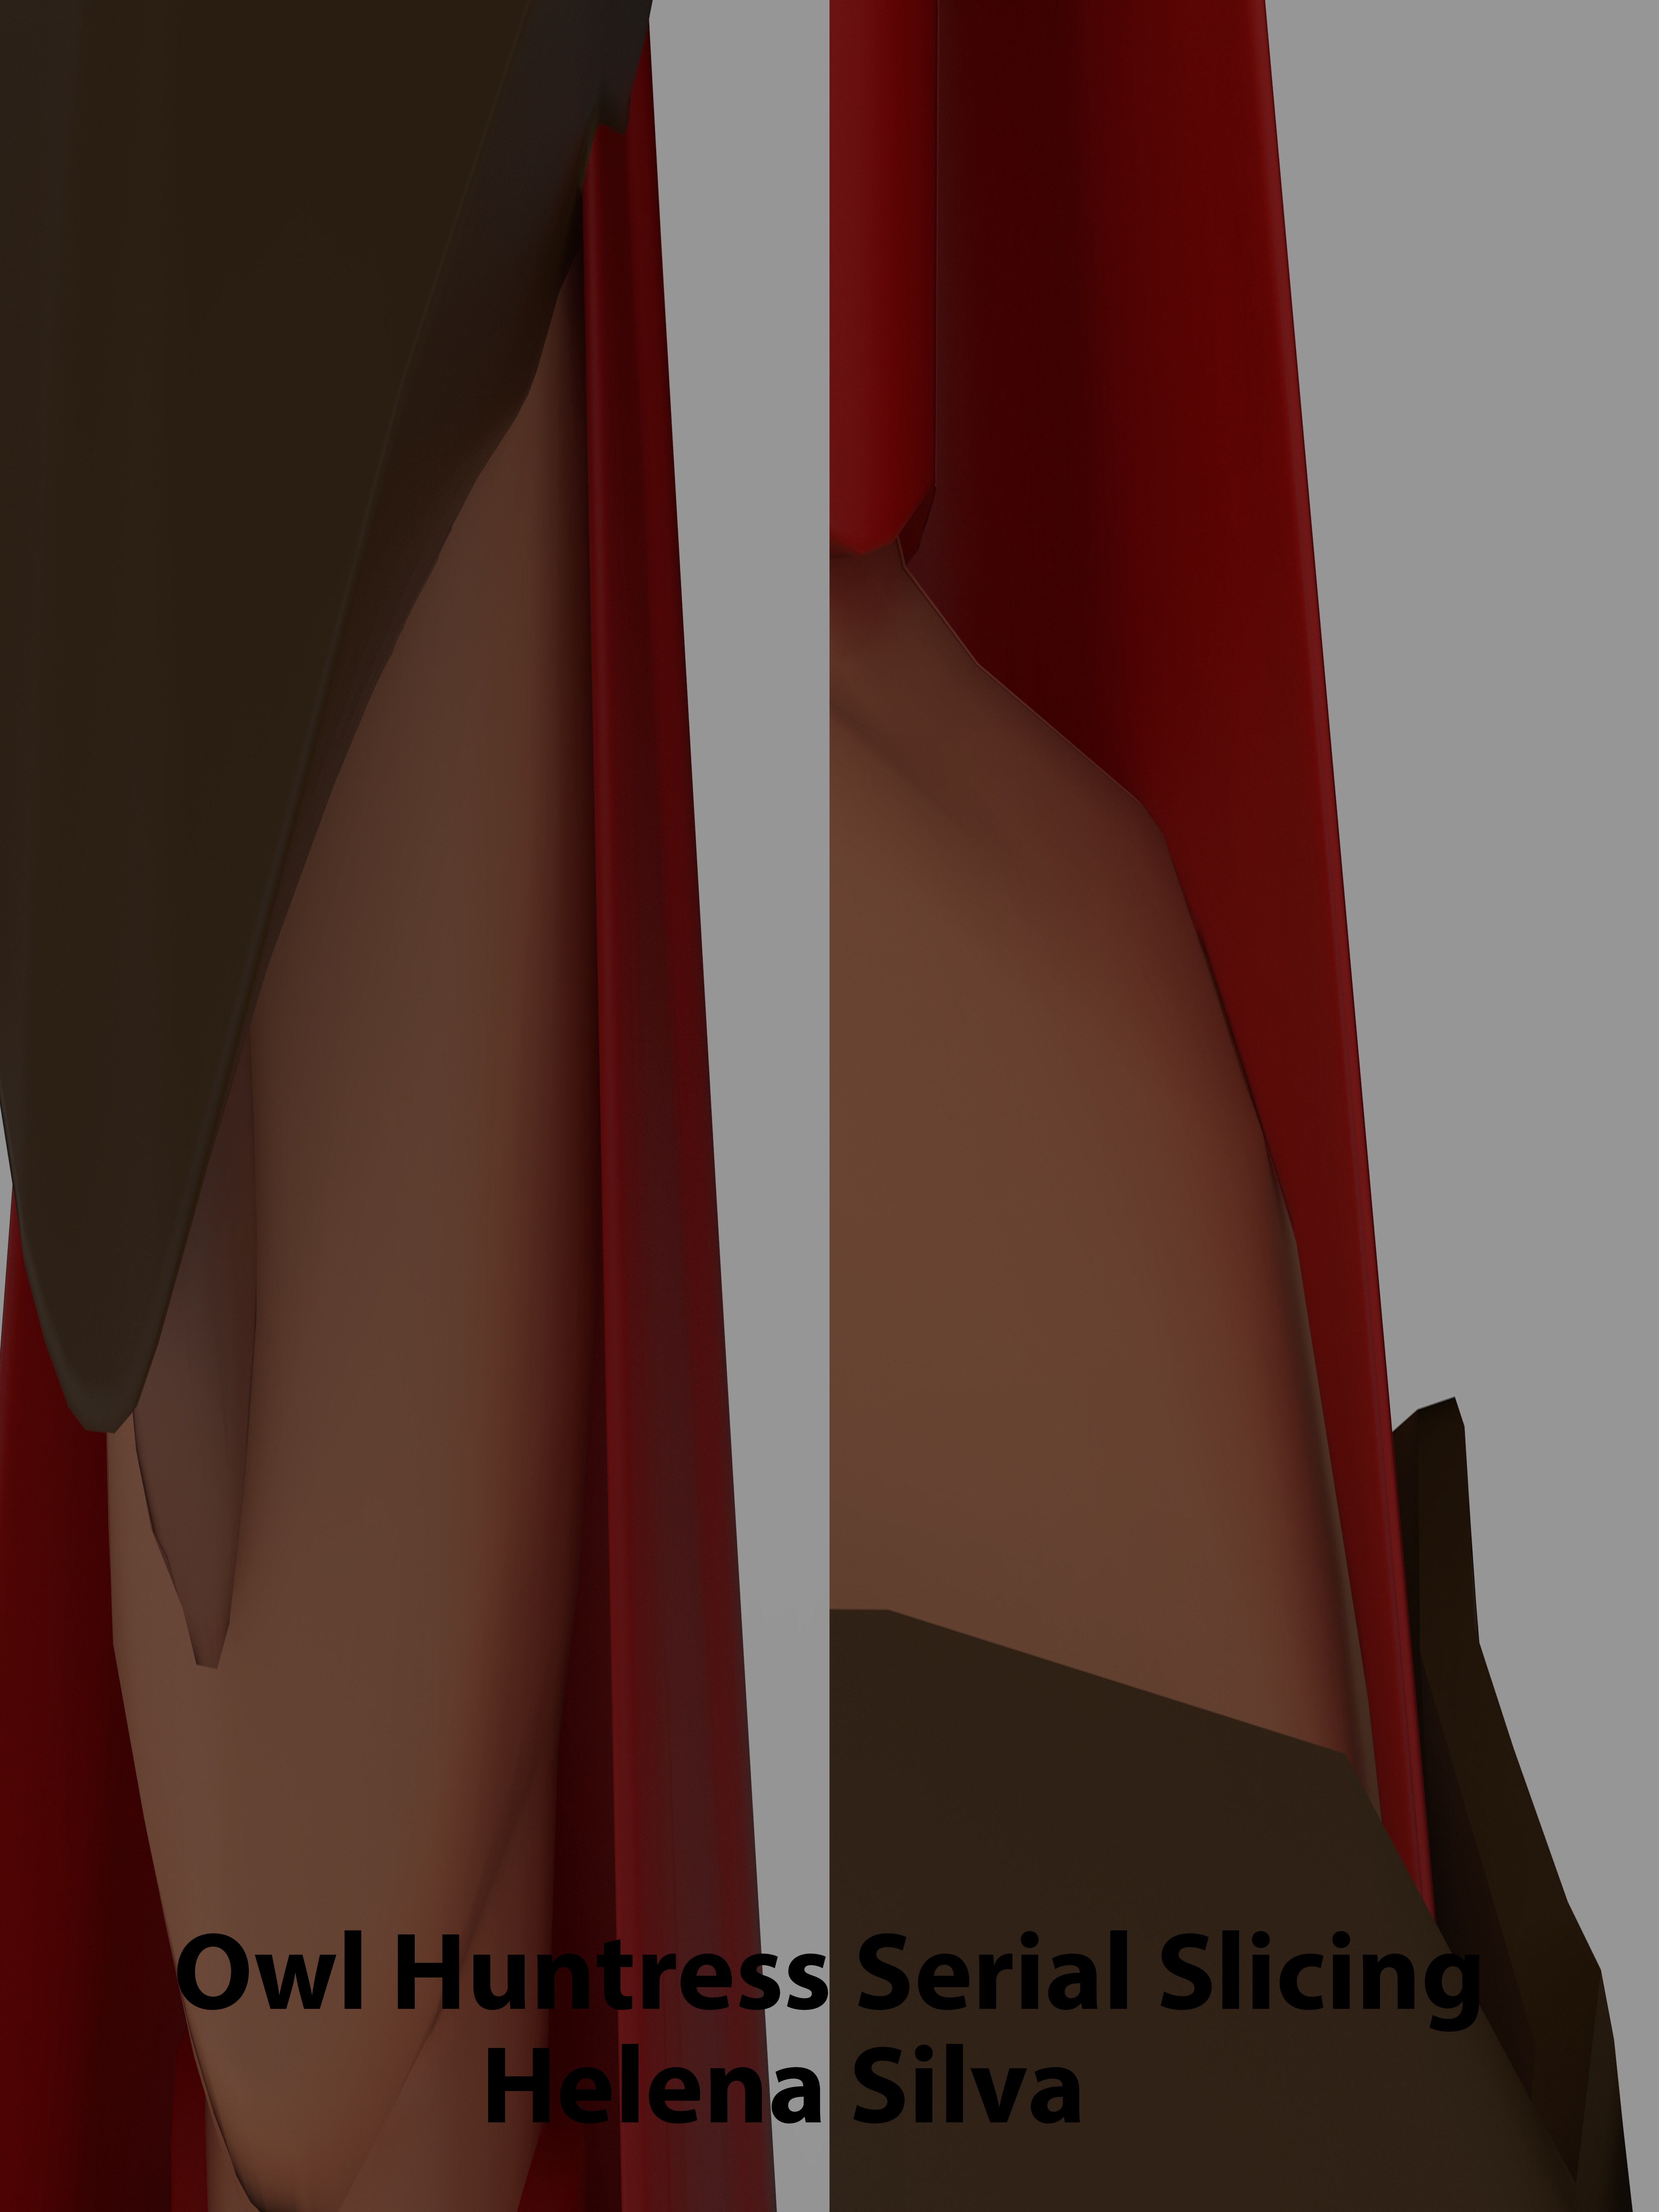
Helena Silva: Week 16 Serial Slicing

 Concept:

    For this project the overall intention I had for my design was to do a simple bust of a creature that was part human and part owl. The reason I wanted to incorporate owlish features is because as I was designing my creature I realized that it was just a human huntress. I knew I needed to include some kind of animal or monster features to make my design a creature or humanoid of some kind. In the end, I utilized the shape of the helmet of my huntress to give off the idea that she is not just a hunter but also part owl. The feathers that cover the chest will also be a feature to help with the overall concept of my creature.

Research and Inspirations

Sketch 1- Perspective and Right View

Sketch 2- Front View

Sketch 2- Breaking down the creature


Techniques:

    Due to the overall design using highly complex shapes I used Maya to create my creature then export the model to Rhino. My first attempt was done in Rhino but I knew that Maya would help me create the specific shapes that I needed to create my creature. In Rhino, I used Extrude and the Polyline tool to create the creature during my first attempt. From there I got stuck, I would then go to Maya to create my creature with square and spherical shapes. Next, to build my model I would also use Extrude, AppendToPolygon, InsertEdgeLoop, DeleteEdge/Vertex, and the Multi-Cut tool. I continued to use other tools but these were my to-go-to to create my creature in Maya. Next, I export my Maya model to Rhino as an OBJ file. In Rhino I only made slight fixes such as sorting the creature into parts in order to prep the model for laser cutting.

    The pro's and con's I had with this project are that I wasn't aware of just how much vertices or points slowed down the laser cutting process and just how expensive it would of been if I hadn't fixed the issue. During this specific process, I learned a new tool such as ReducePolyline. This tool helped reduce the amount of vertices on the polyline while trying to maintain the original shape as much as possible with some change. The pro's to this change and fix is that it made the laser cutting process cheaper and faster. The physical build was also a challenge due to the model coming out bigger than expected. It came out more taller and wasn't identical to the original shape in Rhino. As such I had to improvise how to stay within the requirements while rebuilding the model to look identical to its original expectation seen in Rhino and Keyshot. To make the model more identical to the Rhino model, I used left over cardboard to shape the red drapes, the front part of the helmet and feathers. 

Laser Cutting Layout in Assigned Layers

Maya Model

Ghosted- Assigned Layer

Ghosted- Naked Edge Analysis

Ghosted- Orthographic View

Materials:

    I used a rough paint material for my Keyshot images. I wanted to use neutral to warm colors for my creature as to not create so much attention to the creature. I did this intentionally so that if the creature were to go into heavy concept art, the colors would illustrate strength, caution and stealth. I kept the human aspect by painting the skin a light peach color. The lighting was tricky for this project due to the colors of the helmet and skin being so neutral. To fix this issue, I adjusted the lighting to capture the best presentation of the overall bust when came to capturing the perspective, and close-ups.

Orthographic View


Close-Ups
Beginning Process

Ending Results


Monday, November 7, 2022

Brittany Han: Week 9 Serial Slicing / Surface Population

Design Inspiration:


        My Population and Serial Slicing project was heavily inspired by pop it toys. While unable to do this in the required material, I could see this in the future being made to function like one. The design as is doesn't have any intention behind it; other than looking cool for something so simplistic.

Modeling Techniques and Final Render:

        I started my model by creating a cylinder, I then exploded this surface to be left with the outer curves. This was my reference surface and the one I would be sticking my population surface to. For my population surface, I first created a square and added and subtracted and circle and ellipse from it. Then using Grasshopper I was able able to stick this popultion surface onto my reference surface and create what you see below.


Monday, October 31, 2022

Lindsey Nguyen: Week 9 Serial Slicing / Surface Population


Design Intent 


For my design intent, I wanted to create a candle holder for my candle, where the candle is kinda lifted above since I know the materials will be mainly made from cardboard. I also wanted to design from a movie that I enjoy watching which is called, Spirited Away. The perfect part was one of the characters who would have to bring coal to the fire which were called Soot Sprites, and would be awarded these stars. So I made my candle holder based on the sprites and stars. As well as this artistic candle that I took inspiration from to create mine.

Candle Holder Inspo 
Spirited Away Soot Sprites 


Modeling Techniques 


I made my reference to my White Barn candle, with a little elevation for the candle so it can be extruded out on top of the box. I first started with a cube then created a cylinder which was then a boolean difference. Then I created a six star and used the grasshopper method to use the surface population. I wanted to create the star with the randomizer method but knowing it will be problematic in the future. The slicing wouldn't come out smooth as well it wasn’t able to boolean union onto the candle holder / box. Then I created small spheres with eyes to represent the soots looking at the “candle” with stars on their side. 


Artic + 2D Shots


Rendering/Materials 

Blender Rendering


For rendering, I went for a wooden look as the project is gonna be sliced into cardboard so I wanted to have an idea on how the project will end up looking in the end.

Monday, October 24, 2022

Faith Romero: Week 11 Serial Slicing

 Design Intent


    My Idea for the serial slicing was to create a holder for my vase. Compared to some of my other ones, this vase is quite plain so I decided to make a sleeve to fit with the vase. I took into account the size of the model and how much room the vase would need to fit inside.

Modeling Techniques


    I first made references to the size of my vase and added them to the workspace. I then made a basic cylinder for my base, I exploded the cylinder and deleted the top and bottom. I then rebuilt the model making more anchor points. To make sure the model was symmetrical I worked from a top-down view and made it into a star shape. I then began making the items I wanted to populate the surface with. It took me a while to find the shape I liked most, I tested a few different geometries. When I found the ones I liked I applied the grasshopper script and adjusted a few settings for jitter and the intersection of the base model and the geometry. I then baked the final image into the workspace. I capped the model and made a copy of my vase reference, and applied a boolean difference. I finally created the cylinders for the rods and then ran boolean differences. 

    I then made a new file with the final model and ran the grasshopper script for the contours. I made sure the outer and inner walls, as well as numbers were all grouped together on the same layers. I organized the slices on their appropriate reference sheets. 
Rendering/Materials 


    For rendering, I went with a basic artic for the Rhino snapshot. While in Keyshot I choose to go with a grey plastic material. I choose this because I believe this to be a very neutral color, if I were to pair this with flowers, it would not drastically contrast with the flora. 

Final Version