Concept:
For this project the overall intention I had for my design was to do a simple bust of a creature that was part human and part owl. The reason I wanted to incorporate owlish features is because as I was designing my creature I realized that it was just a human huntress. I knew I needed to include some kind of animal or monster features to make my design a creature or humanoid of some kind. In the end, I utilized the shape of the helmet of my huntress to give off the idea that she is not just a hunter but also part owl. The feathers that cover the chest will also be a feature to help with the overall concept of my creature.
 |
| Research and Inspirations |
 |
| Sketch 1- Perspective and Right View |
 |
| Sketch 2- Front View |
 |
| Sketch 2- Breaking down the creature |
Techniques:
Due to the overall design using highly complex shapes I used Maya to create my creature then export the model to Rhino. My first attempt was done in Rhino but I knew that Maya would help me create the specific shapes that I needed to create my creature. In Rhino, I used Extrude and the Polyline tool to create the creature during my first attempt. From there I got stuck, I would then go to Maya to create my creature with square and spherical shapes. Next, to build my model I would also use Extrude, AppendToPolygon, InsertEdgeLoop, DeleteEdge/Vertex, and the Multi-Cut tool. I continued to use other tools but these were my to-go-to to create my creature in Maya. Next, I export my Maya model to Rhino as an OBJ file. In Rhino I only made slight fixes such as sorting the creature into parts in order to prep the model for laser cutting.
The pro's and con's I had with this project are that I wasn't aware of just how much vertices or points slowed down the laser cutting process and just how expensive it would of been if I hadn't fixed the issue. During this specific process, I learned a new tool such as ReducePolyline. This tool helped reduce the amount of vertices on the polyline while trying to maintain the original shape as much as possible with some change. The pro's to this change and fix is that it made the laser cutting process cheaper and faster. The physical build was also a challenge due to the model coming out bigger than expected. It came out more taller and wasn't identical to the original shape in Rhino. As such I had to improvise how to stay within the requirements while rebuilding the model to look identical to its original expectation seen in Rhino and Keyshot. To make the model more identical to the Rhino model, I used left over cardboard to shape the red drapes, the front part of the helmet and feathers.
 |
| Laser Cutting Layout in Assigned Layers |
 |
| Maya Model |
 |
| Ghosted- Assigned Layer |
 |
| Ghosted- Naked Edge Analysis |
 |
| Ghosted- Orthographic View |
Materials:
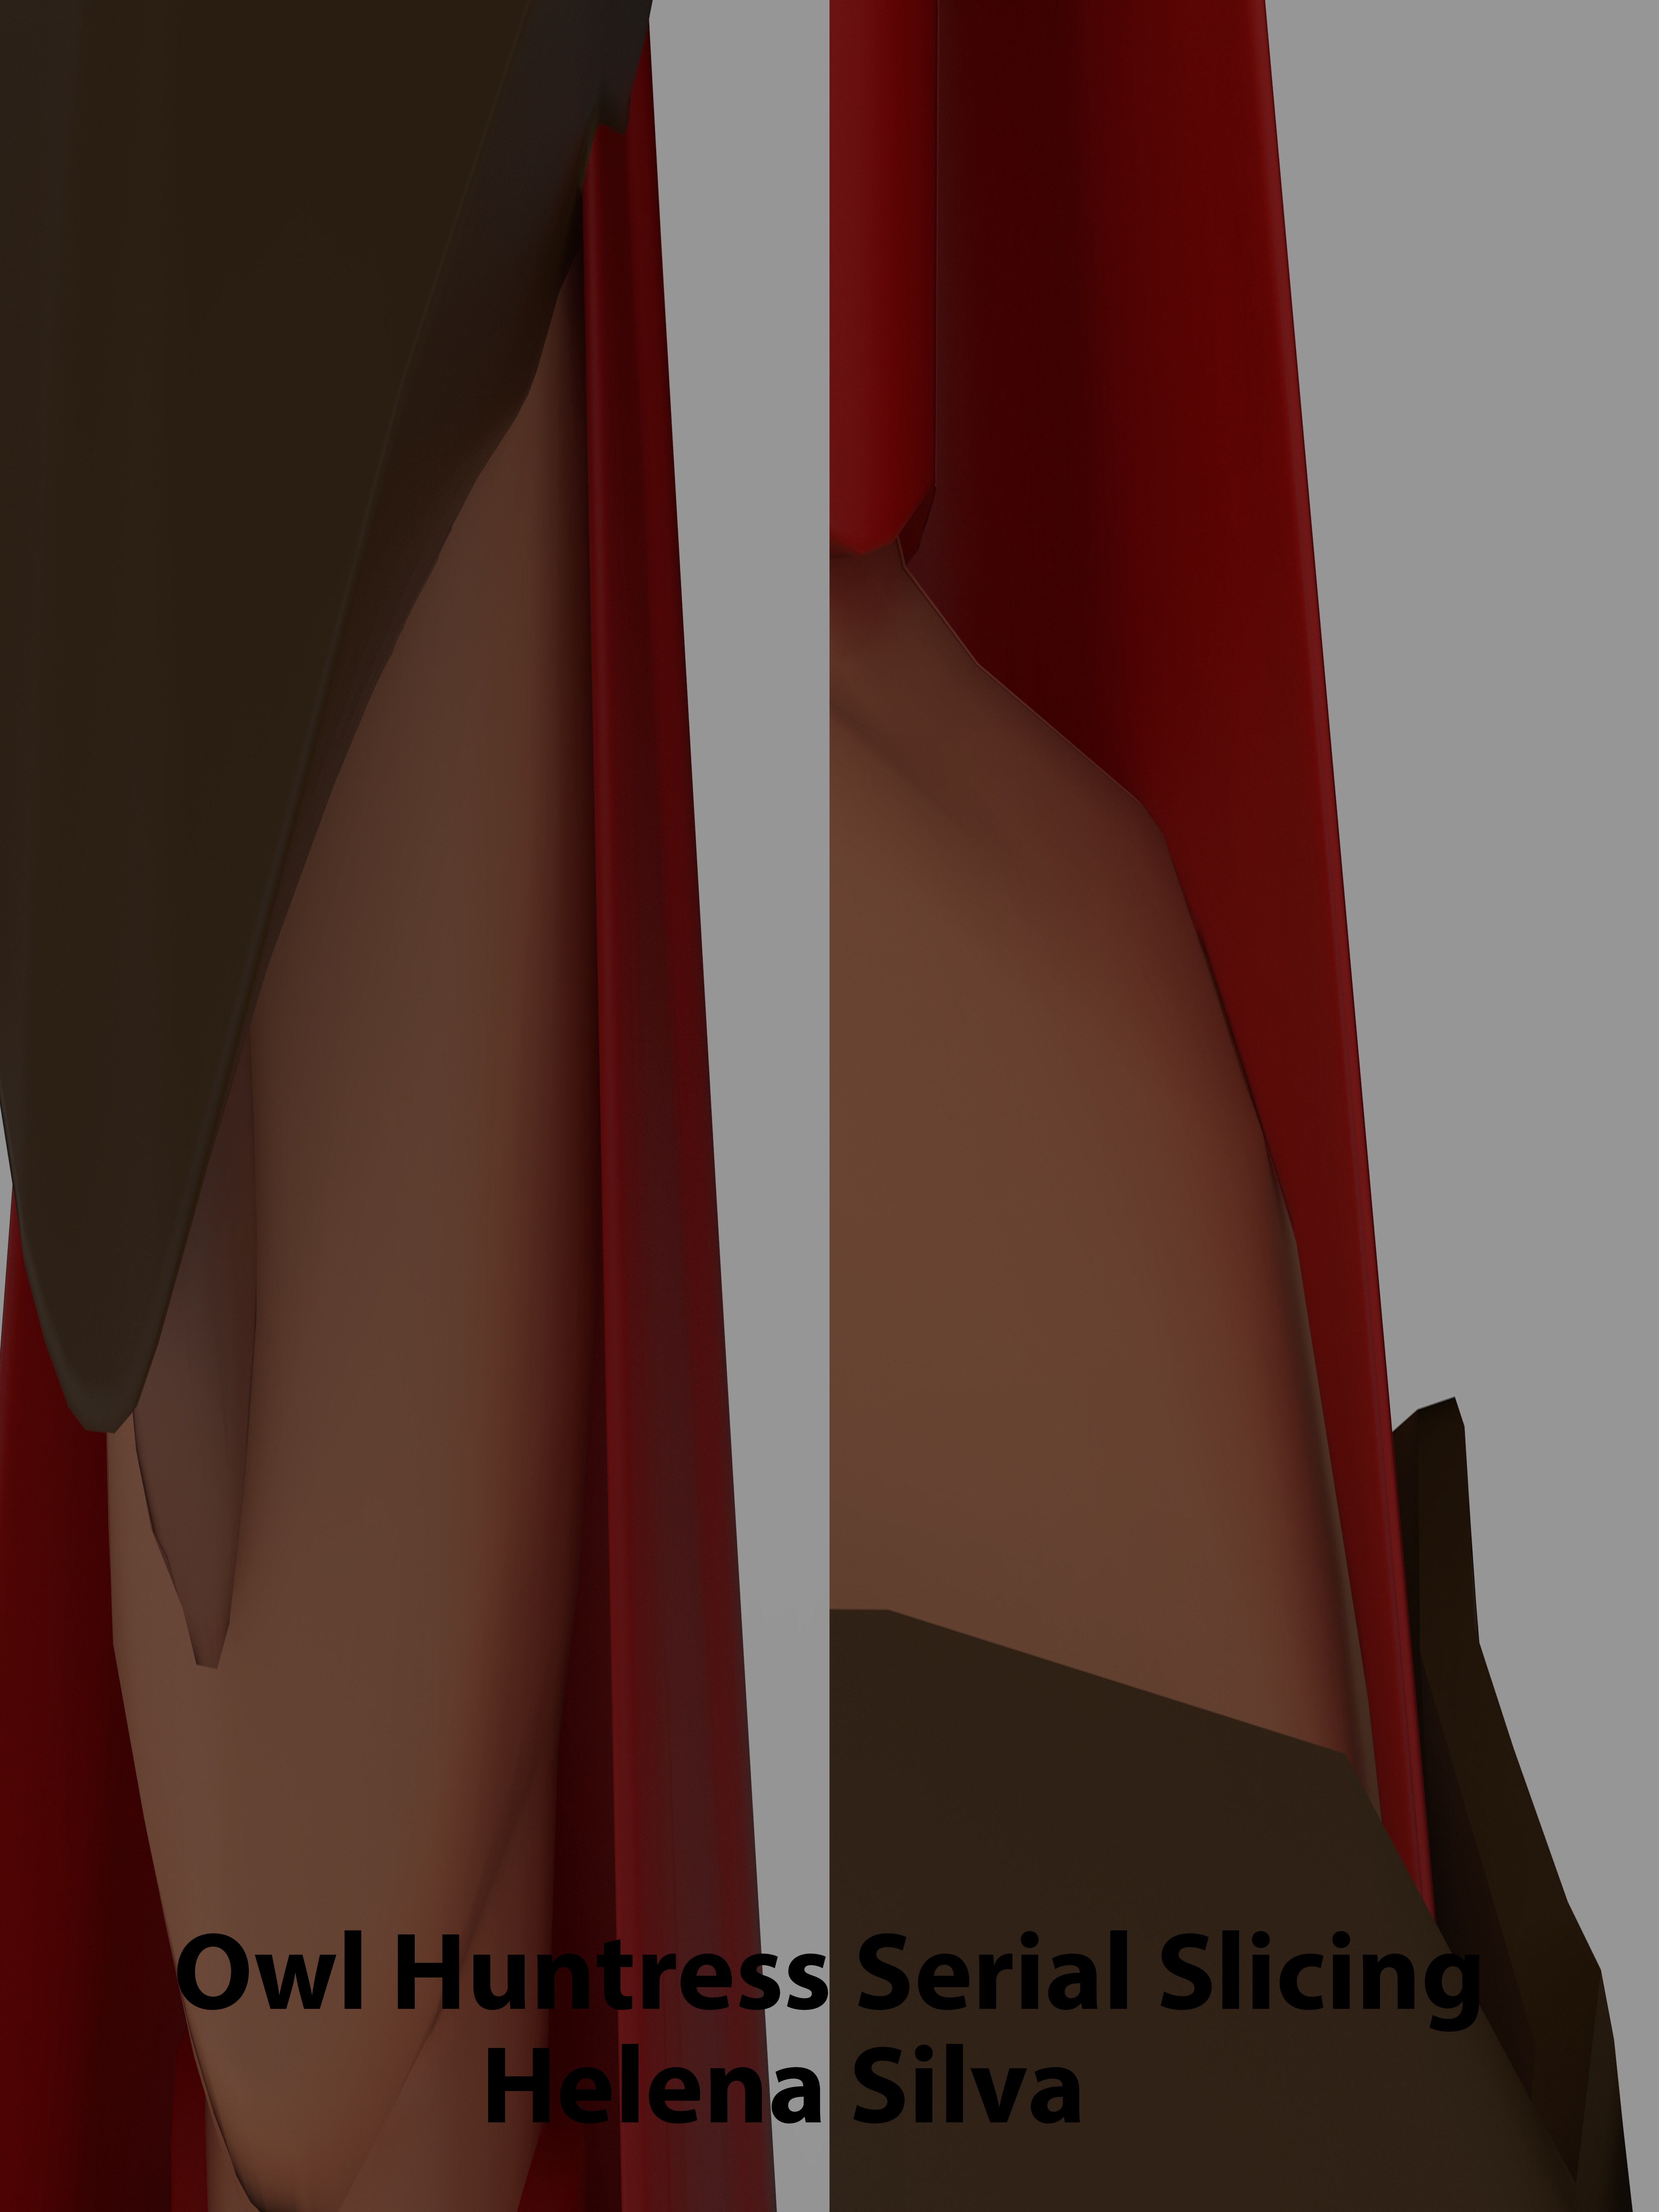
I used a rough paint material for my Keyshot images. I wanted to use neutral to warm colors for my creature as to not create so much attention to the creature. I did this intentionally so that if the creature were to go into heavy concept art, the colors would illustrate strength, caution and stealth. I kept the human aspect by painting the skin a light peach color. The lighting was tricky for this project due to the colors of the helmet and skin being so neutral. To fix this issue, I adjusted the lighting to capture the best presentation of the overall bust when came to capturing the perspective, and close-ups.
 |
Orthographic View
|
 |
| Close-Ups |
 |
| Beginning Process |
 |
| Ending Results |