Sunday, March 26, 2017

Kyle Walker: Week 10 Serial Slice


Inspiration and Influences
The inspiration for this was to make a headphone stand in the shape of a spade so that I could more easily store my headphone without damaging them.
Modeling techniques
I first started out with a sphere and resurfaced it to add more points to it, then I adjusted the points to the shape I needed. After I made the main part I made a pipe cylinder and use a boolean command to subtract them from the main piece and made the sides of the spade more into required shape. I also add a cylinder and flat topped cone to make a base for the main piece and then booleaned them together.
Material and lighting

Lisa Brasier: Flashlight


3D printed and sanded flashlight

 
First, I painted the entire flashlight black. Then I went over it with an assortment of metallic acrylic paints. The purple lines going around the flashlight didn't print so I glued rubber string on in its place. Last, I went over the whole thing with a gloss varnish.


Wednesday, March 22, 2017

Jeremiah Baker - Elephant Serial Slice

render 01

render 02

original model

extruded contours with dowel placement

material assignments for key shot

engrave layout

contours in 3D space


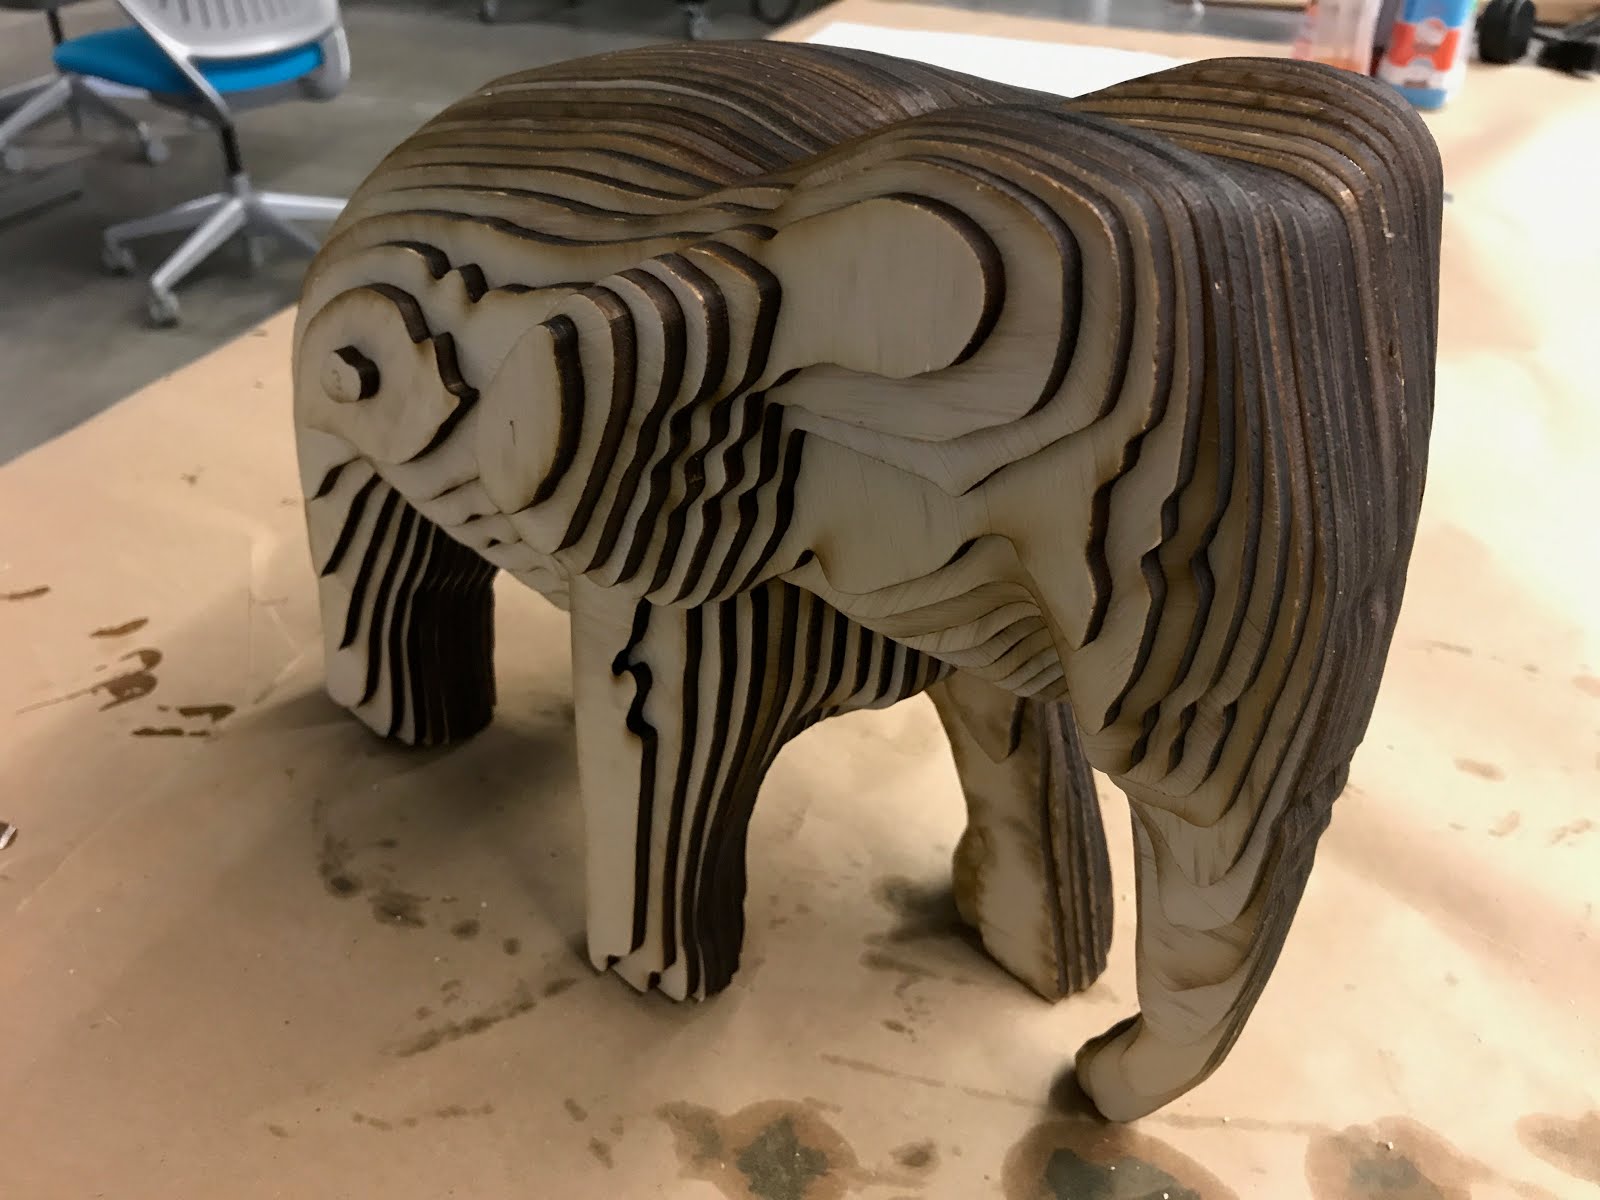
finished model

finished model

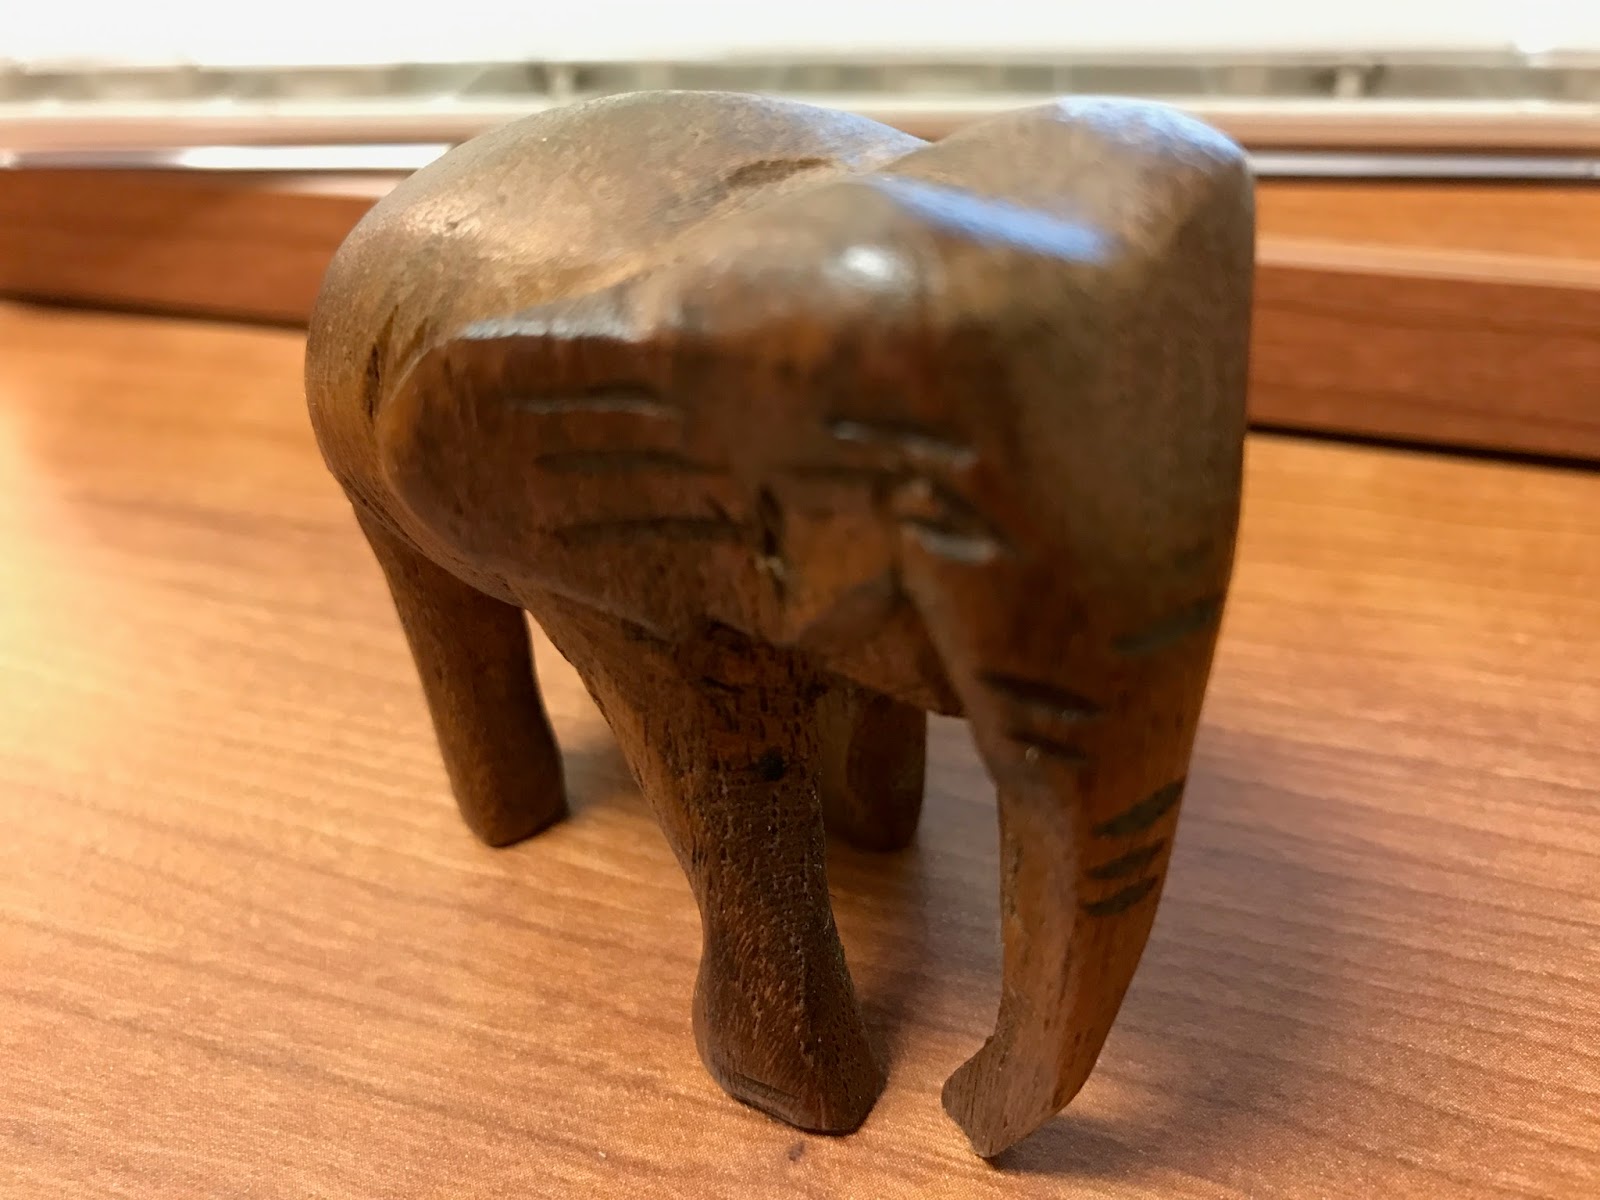
original object

Concept:
         I decided to use a model that I had 3D scanned from last semester for this project. For my previous project, I made a low poly concept that I thought looked really cool, and this would give a similar effect. The original scan was of a small hand carved elephant from Thailand. I thought it would look really cool to scale it up by 300% and see what it looked like and what detail would be preserved. It seems to have worked really well.

Modeling Techniques:
        For the contouring, I started with all 3D objects. I placed the scan file into the workspace and scaled it to fit my wants, and then contoured it in multiple directions to see which one would look the coolest. I decided to go with contours in the x direction. I then placed dowels in multiple spots to make sure I would be able to line all the layers up correctly. After this, I couldn't do much until I decided on material. I had some plywood lying around, so I used my caliper to get its exact width and contoured again to that size, this time contouring the dowels as well. While doing this, I went ahead and put the dowel contours and model contours on different layers to make it easier for later with color assignments.
        After this, I turned the model sideways to make the contours parallel to the base plane, and began separating them out. I laid them all out in a grid without rotating or anything first, so I could number the layers and delete the dowel holes I didn't want to get cut out. Once the numbers were in place, I began working the puzzle and laying everything out, trying to be as efficient as I could with my materials. (It's tough; there's got to be a program that can do this for me) I also used the outline engrave technique Prof. Scott discussed in class on the layers that weren't large enough to have a dowel through. I also mirrored one half of the elephant so that both sides of the finished model would show the nice side of the laser cut wood instead of the stains from the laser bed. I ended up fitting everything on 3 and a half sheets, which wasn't bad, because I had the materials for it already.

Materials Used:
         After I got all of the pieces cut out (which was really cool to watch btw), I did a couple test fits to make sure everything looked ok. Turns out I bought the wrong size dowels, which made fitting everything together correctly a bit more labor intensive, but everything still fit together. I was a bit impatient to get started, so I ended up not using the dowels at all, just lining up the holes by eye. I used locktite professional glue to stick everything together, and I completely agree with Prof. Scott. It's great. I didn't have to wait more than 30sec for any of the layers to stick together before I could stop pressing them together. I highly recommend investing in some. I then applied a wood stain to the model to bring out the grain and darken the color a bit.

Anisha Chaudhary: Week 10 Serial Slice


Concept:
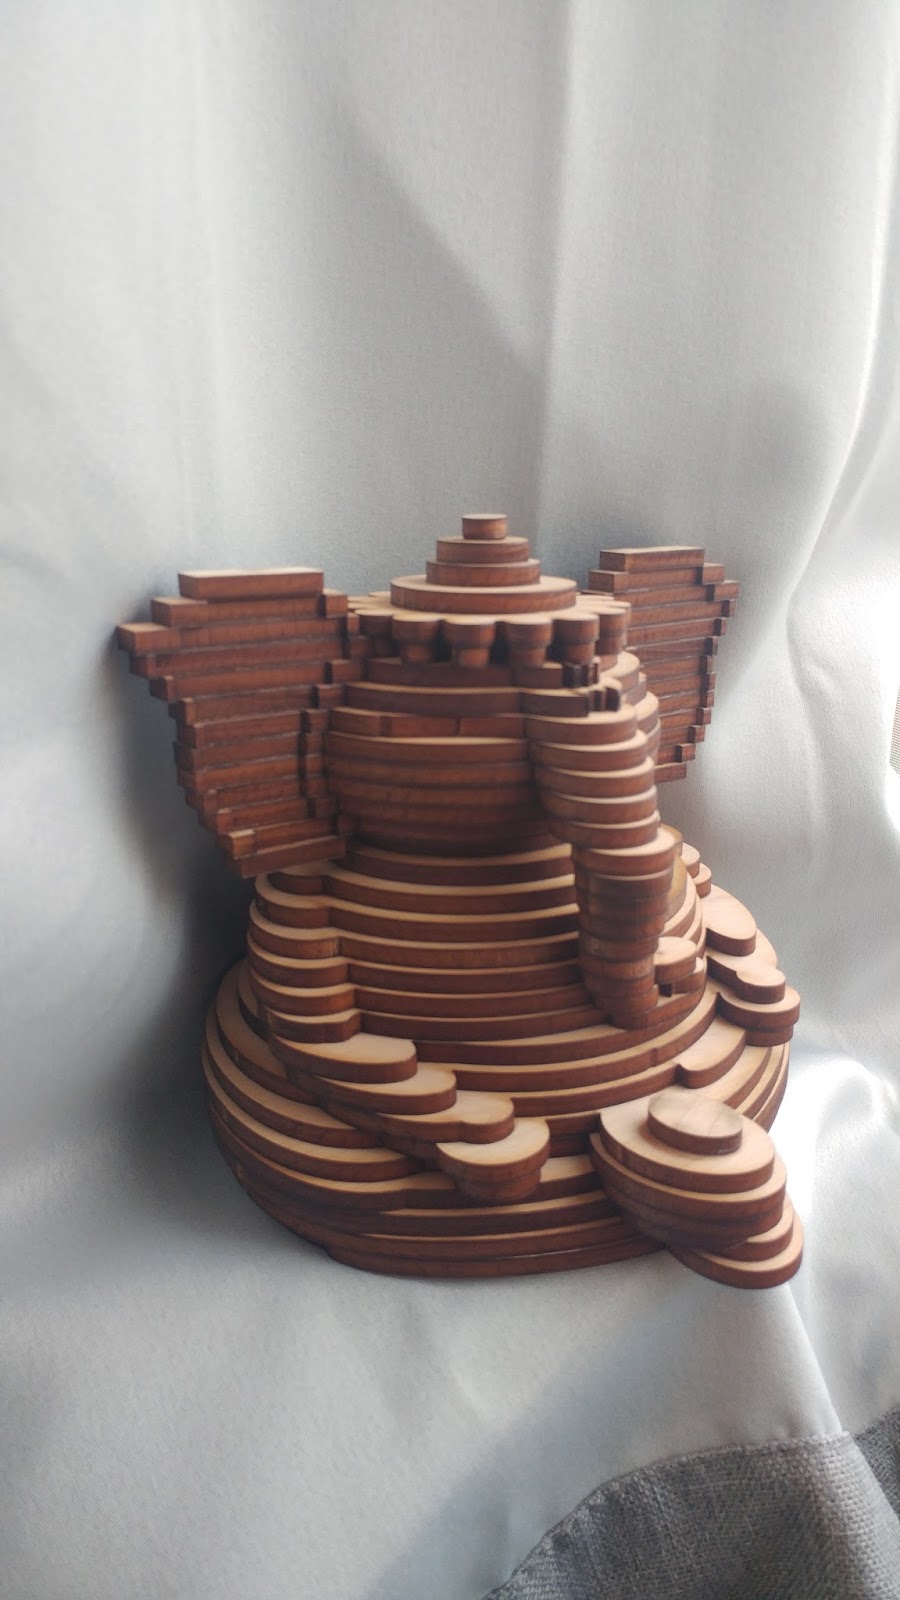
My serial slice is a statue of the Hindu God Ganesha. He is represented as a man with an elephant head and human body. Ganesha is represented in Indian art in a variety of ways. He is usually seen with a mouse at his side or an offering in his palm. He usually has a symbol on his forehead, this symbol varies depending from what region of India is depicting him. I like a lot of modern representations of Ganesha. They mostly try to capture his trunk and large belly. I didn't realize how many different depictions of Ganesha my family has in our house until I started this project. My favorite depiction is a small plastic version, where there is only his trunk, belly, ears, and a symbol on the forehead represented.
I decided to make this since many artists tend to make their own representation of Ganesha. I also wanted something I could use to decorate my home.

Modeling:
I did my best to use very basic geometry to represent Ganesha. I used two large spheres for his belly and chest, ellipses for the arms, legs, and feet, and curves for the ears and trunk. I like how I manipulated the trunk, by creating a pipe and then changing the size of it so it gradually gets smaller at the tip of the trunk.
I realized that this piece may be very bulky. Currently, I am working on laying it out on a 24" x 48" rectangle. I may have to use more than one sheet of wood. My piece is about 12" tall. I am also nervous about the floating pieces I have in the serial slice. I will have to follow what Professor Scott said about labeling, where I label chunks by having a layer as "01" and "01a" if they are at the same height. I chose to do a horizontal contour so that It would be easier for me to visualize.

Materials:
I am excited to actually get this laser cut, even though I know it will be difficult to piece together. There is not a hole for the Dowel presently, but before I layout my 24"x48" sheet, I will add them. I bought two panels of Cherry plywood offline from Home depot. After I have actually implemented and completed the set up of this project, I am thinking of ways I can add to the wood. I am thinking of adding moss to the wood, or maybe painting over the wood with a stain. I think it would be cool to wrap it in vines to make it look like a piece that belongs in nature. I will have to research how I can preserve this piece very well.


Before I submitted this piece for Laser cutting, I realized that I had a different thickness when I contoured compared to my plywood. I redid the layout so it looks like the layout below.


I made the piece about 7 inches tall in the end. It is a small and chubby Ganesh, and I love the way it turned out when putting it together. I did make a few manual mistakes when assembling this piece together. I did not plan out the trunk like Professor Scott had told me to, so there is a portion of the trunk that sticks out much more than the rest. I also mixed up some loose ear pieces. Luckily these pieces are symmetrical, but it does look odd in the way I placed them. Overall I'm very happy with the way my serial slicing came out and I think it looks beautiful with the type of wood that I got.


Monday, March 20, 2017

Griffin Korns: Week 10 Serial Slice


Concept:
I wanted to make something simple and geometric, but was a recognizable object that could be put together easily. I originally had just the house, but it looked far too plain and didn't show off the layering well, so I removed several spherical volumes from the house to make it a more dynamic shape.


Technique:
I built the house by making the body out of one cube, the door/window out of nested cubes, and the roof and chimney from one cube each. I then made three different groupings of different sized spheres and duplicated them, before placing and angling them about the house to make the silhouette more interesting, while still being clear that the base shape is a house. I used boolean difference to remove the sphere volumes from the house, as well as the windows and door.


Materials:
I picked a scaled down basic ash wood because of the texture & coloration differences, and to make the house seem small. The wood grain breaking consistency on edges also helps to more clearly define the dimensions of each layer.

To put them all together I aligned the house straight on three 1/4 inch dowel rods, but I had mistakenly entered the wrong hole size in the original file - which turned out to be .3 instead of .25. I decided to tilt the dowel rods, so that they could get as much contact with the layers as possible so it would be easier to stack and align. I then used Loctite super glue on each layer to secure them all together. While it isn't what I originally planned, I like the tilted house more.


Lauren Barbieri:Week 10 Serial Slice


concept
The best among dogs, our dear friend Tucker, graciously posed for this model (when  bribed with enough treats). I wanted to keep it a little simple and cartoonish so it would look good when sliced. the eyes are hollow. I'm thinking I'll add glass or marble eyes to the inside. 
modeling
I Worked from primitives to form the basis of the face and muzzle using control points and Boolean operations. the ears and neck were made using sweep2.
The serial slice was created right along with the way the videos said. I created cores (3 in this case) and contouring them and the model, extruding the curves created by those contours to create a digital representation of what the final model will look like. Then I laid out the curves to fit on a reference panel. 


Tucker himself is a very big dog, the rest of his litter ended up around the size of a Labrador, but somehow tucker draws more comparisons to a Great Dane in size. so I really couldn't help having three sheets. 


materials
Tucker's coat is brindled. Inter-striped with blacks and whites and light brown, replicating it proved to be a challenge. So my attempt failed in some respects when transferred into Keyshot I couldn't get my texture map's tones to show quite as I'd like. Although it still came out a nice mottled brown. I applied a bump map of wood to make it look a little more rugged. In the real slice I haven't decided definitively towards what material to use but I am leaning towards cardboard, if only to keep it from getting too heavy. 
Update: May 1
It was cut out of a Home Depot box, And came out a little fatter than anticipated but still recognizable and not too warped. Then it was glued and spray painted black. I left a bit of the brown intentionally to mimic tucker's coloring.