Tuesday, December 6, 2016

Michael Hosler- 3D Scanned Object

Concept/Methods- Working with Chelsea and Kirsten, a clay sculpture graciously crafted by chelsea was scanned into the computer after much trial and error.  Once the file was scanned, it ent through many iterations before becoming what it is now:


This was the first time the scan went through, but as you can see, it looks like a grenade went off at his feet and ripped through his poor little head... after quite some time trying to save it, it was clear it wasn't going to work out between us, so the group met back up to get a better quality scan to work with! This one was easier to work with, but we had an issue where Rapidworks kind of puked on us because of reasons...


So after we got this one, things went a bit more smoothly, but I still had trouble figuring out how to fix all the little issues without reducing the poly count too low and distorting him because i have a problem leaving even the tiniest flaw. luckily for me, just as I was about to give up on it, I encountered a friend in the lab who showed me how to re-topologize the model using reference curves in Mudbox. After this, though, something in the geometry decided that to fix him, it needed to add holes.,.


By this point, time was of the essence, so I took a step back from my frustration and figured I could approach this project from a different conceptual perspective from here on out. so I offset the object to give the holes thickness and in Keyshot, found a brushed texture and then applied a rust coloring effect on the texture and put it in water to provide more context for his state of dissaray.


Michael Hosler- Laser Engraving Board

Concept- In keeping with my love for geometrical patterns, I decided to engrave one onto a Longboard. but slapping a geometric pattern in a circle is totally lame, so I started to chop it up and move pieces of it around and play with different sizes to see what I found most appealing. these were a few of my ideas, along with the original design:


Methods- In making the original design, I generated a few simple shapes and then used polar arrays to rotate and copy the shapes until I had a really interesting pattern. then I sliced it in half and played with sliding the halves further apart and mirroring them over the center of my reference layer. After cutting my first board, it grew legs and walked away so I was forced to start again. After I cut the second board, I applied just a single layer of blue stain to give it a slight blue tint, then used paint to fill in the pattern itself with a bright green hue. While wiping away the paint, I noticed that leaving just a little bit on the surface of the board blended really nicely with the stain, so I started wiping less paint off and trying to get the colors to really mesh. After the coloring was done and everything was dry, I applied grip tape to the top of the board to finish.


Michael Hosler- Laser cut box

Concept- For the box I decided that I should make something I would use all of the time and that my trading cards needed to be organized. So I wanted to create a box that would safely house all of my Magic: The Gathering cards in an easy to access manner. However, I didn't just want to make a box and throw all of my cards into it, so I compartmentalized it into  6 drawers organized by the color of the cards and placed the 6 drawers inside of a larger housing.


Methods- I used Rhino for just about everything pertaining to this project after I got my pattern from the make a box site. after importing both the box pattern and the mana symbols from pdf format, I arranged the pieces on a 2' x 4' reference layer and used a simple engrave to outline the symbols on the face of each drawer and used inside cuts to add detail. After deciding that doing the same along he sides of the larger box may get monotonous, I decided I would simply cut out the mana symbols individually and glue them to the outside.


After cutting, I used Carpenter's glue on each joint to give the box and drawer structural integrity and assembled it.


After assembly, I sanded the outside of the large box and applied a few coats of a Pecan stain to make the engravings stand out more and then applied only 1 coat of a urethane to give a sort of rough sheen to the whole box.


Monday, December 5, 2016

Travis Fowler : Independent study wrap-up Fall 2016


Serial Slice

Concept: Sticking to this semester's theme, I  decided to explore serial slicing in grasshopper. Rather than using a model as the basis of my serial slice, I used data from grasshopper!

Techniques: 
The techniques I used to extract the data are fairly simple. I created a box that would become the bounding box for my model and then filled that box with a set of randomly generated points. 

These points' proximity to one another, in combination with a controllable threshold for how close the points have to be to "blob" together, were used to create the form in digital space. From there, I used a range of planes to intersect the digital form and extracted the contours from the intersection of the plane and the form. 

I chose to break up the form into groups so I could assemble the work without the use of dowel rods or reference lines.


Materials: For the actual implementation of the serial data, I chose a thin birch wood to keep a natural tone while maintaining the serial signature of the data.


To finish the project, I stained the wood, added accents to the edges of select contours and sealed the work with and acrylic spray.


Other:
In my effort to increase my understanding of grasshopper, I began to scour youtube for videos explaining certain aspects and their underlying concepts.

I found that many of the best videos I found were from designers and educators in the field. To the end of becoming both a designer and educator myself, I decided to document and tutorialize a fundamental grasshopper idea: the attractor.

https://youtu.be/Bqxvvz9xjGo

While this is my first tutorial, I feel as though it communicates effectively what an attractor is and some of the applications of attractors in grasshopper.


Application of attractors:
I worked with grasshopper, and illustrator/photoshop, to take an image and interpret the data to be used as a stencil for spray-painting.


Corrina Spurlin: 3D Scanned Object

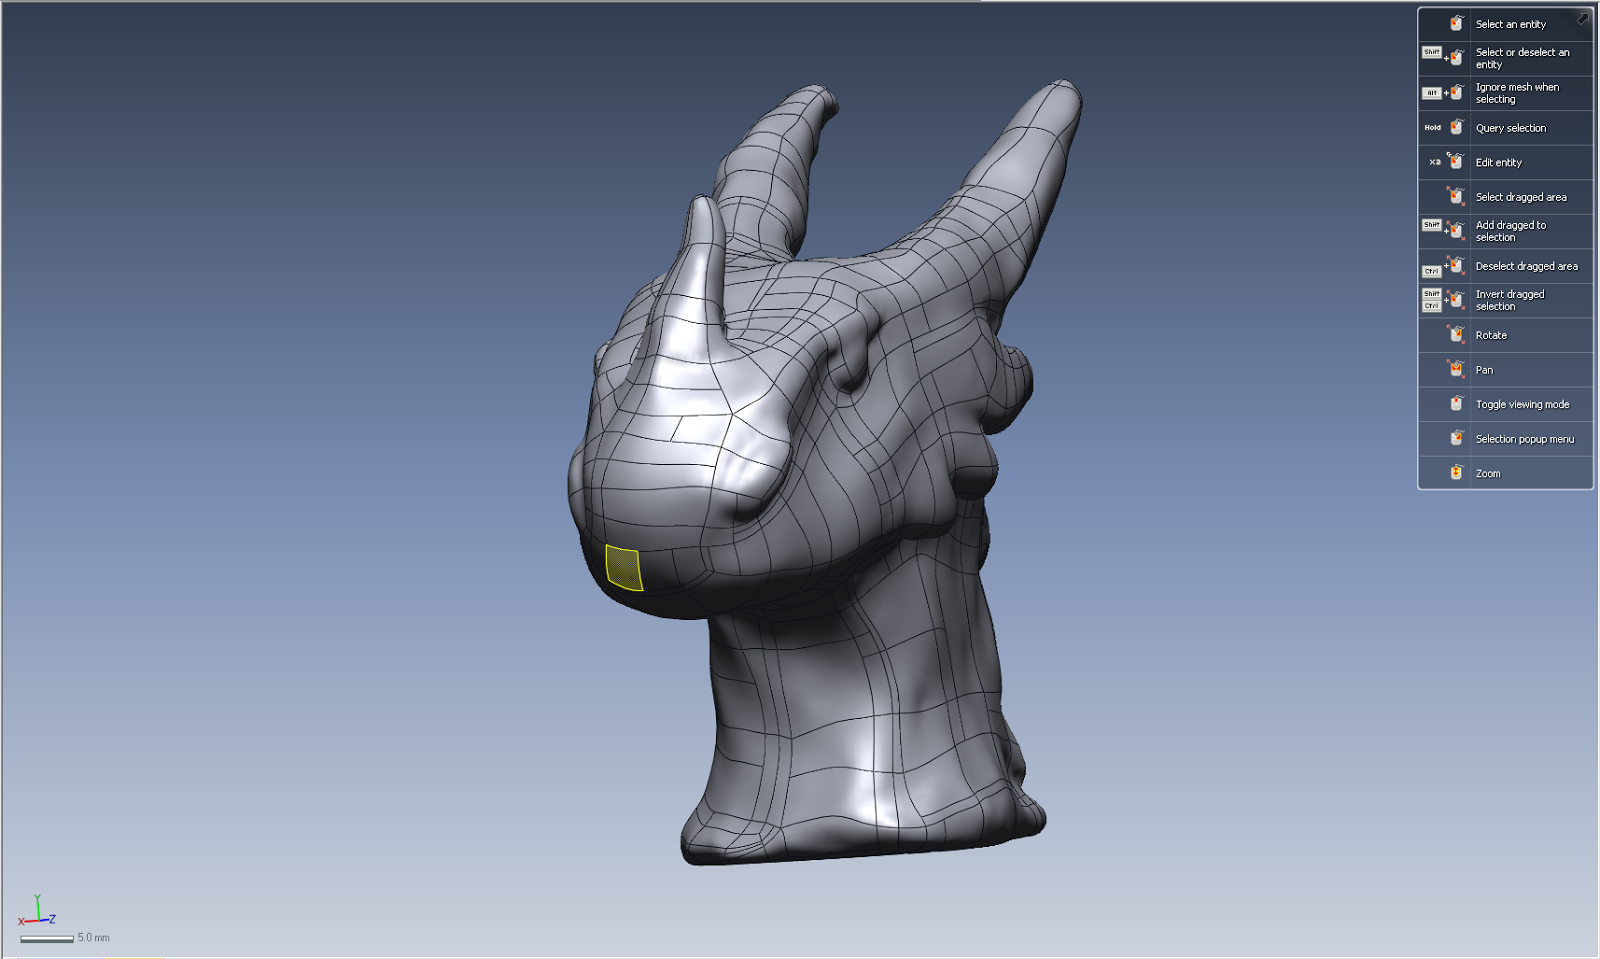
Concept Image

Prototype

Rhino import


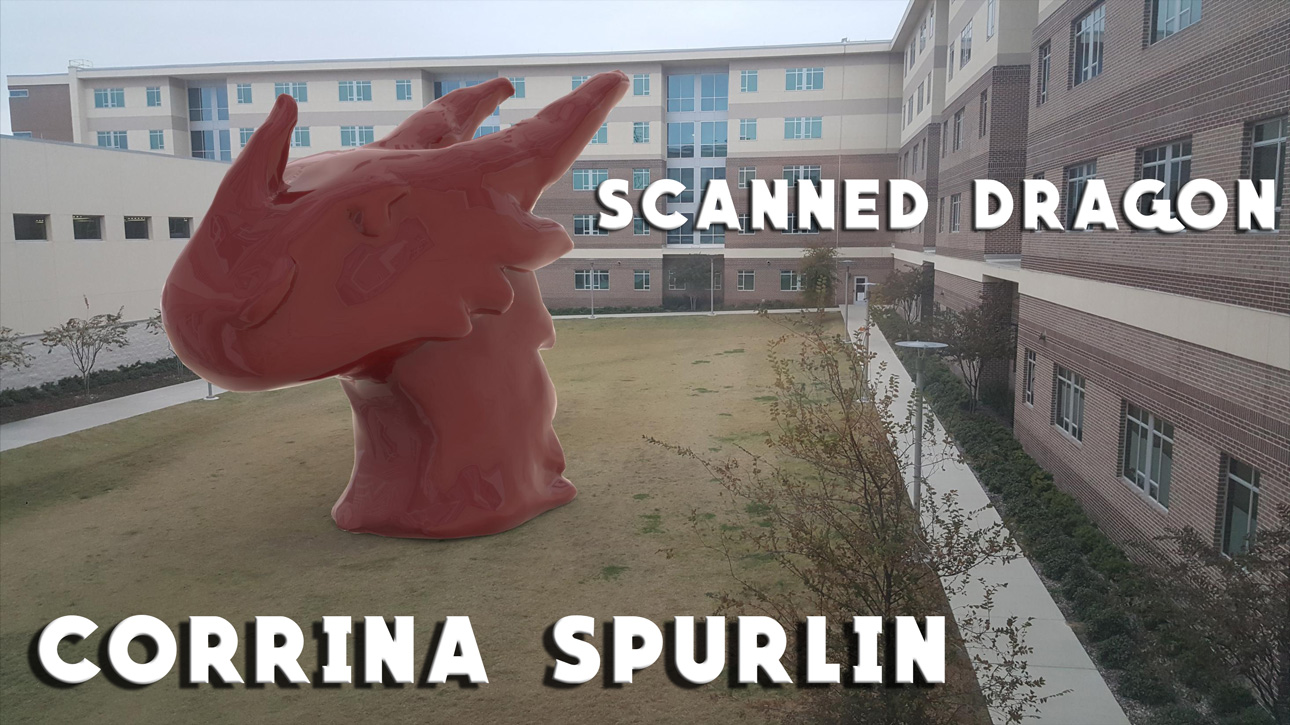
Final Keyshot


Concept:
I worked on this project in collaboration with Sarah Roberson, with the same object. The object was based of the drawing, which is a representation of Starscream from Transformers. 

Techniques:
The main technique I applied was specific editing for the Keyshot visual. I adjusted the lighting and imaging so that the final model reflected what was around while matching the scenery. The image used is of an open field behind Residence Hall West. 

Materials:
The material used to create the object was clay. It was sculpted then set. Materials from Keyshot were applied to change the object's look.

Melanie Estes: Week 15 3D Scanning

     For this assignment I partnered with Griff Crow. Our original idea was to use a crocheted object and explore the texture that was scanned. Unfortunately, crocheted items are not stiff and it was impossible to keep the figure stable to properly scan the top.


Crochet Model (An imitation of Groot)
Example Scan

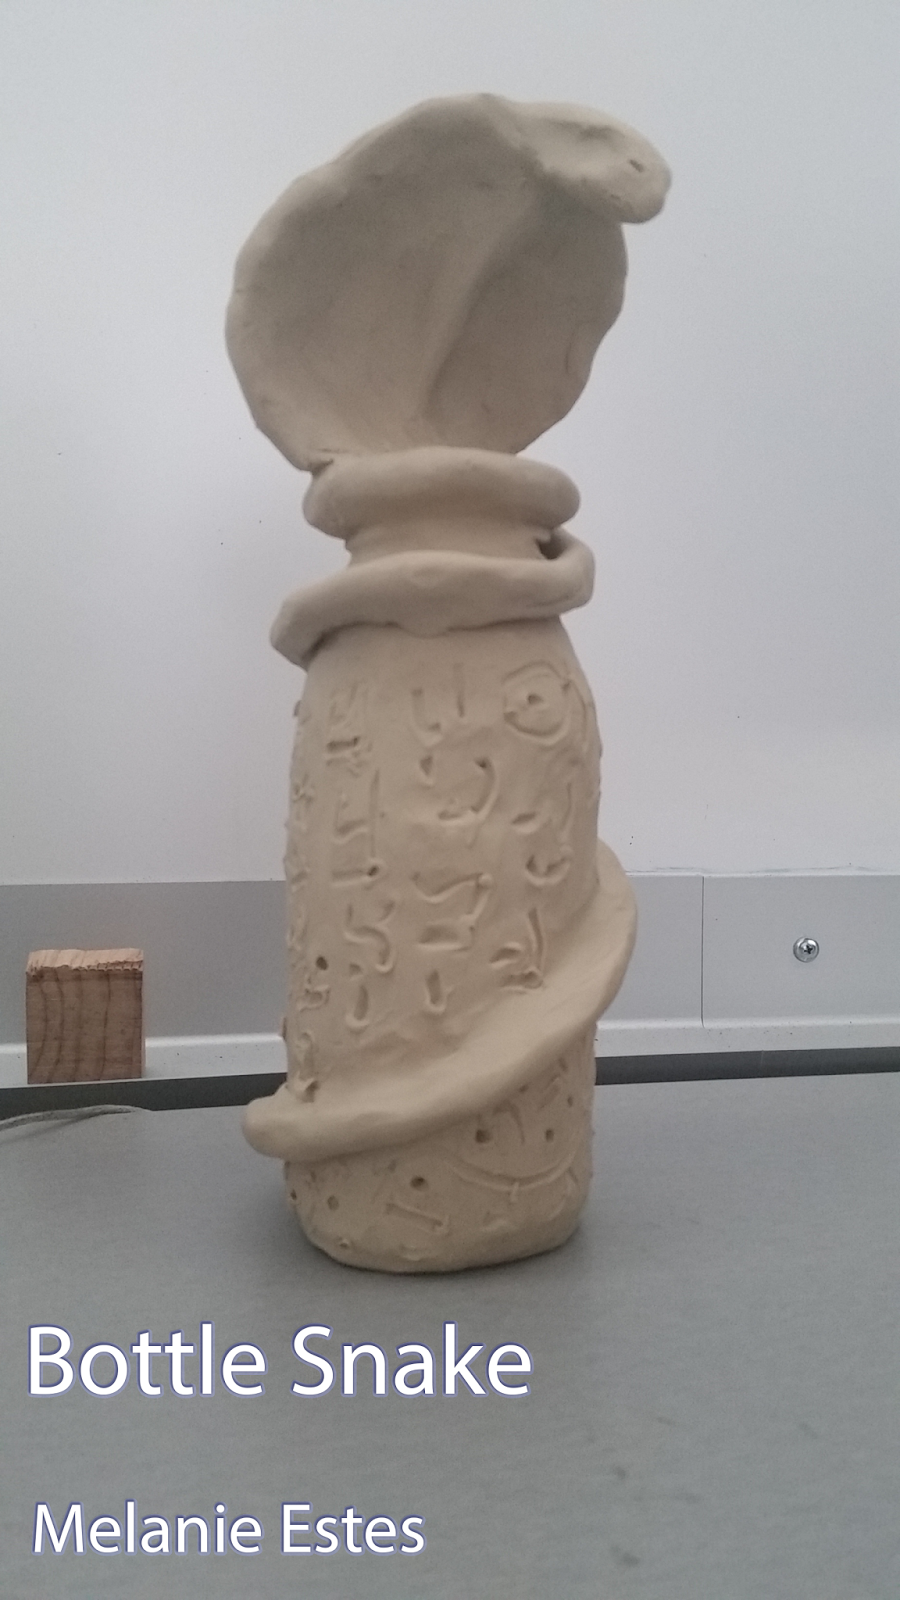
      We also created a different sculpture together from molding clay onto an empty Snapple bottle. We attempted to scan it, but the hood part of the snake was reading as a hollow object. Unfortunately, after Griff spent a few hours trying to fix it and I had no luck with it either, we realized we had to use a different model.
Snake

      To further play with texture, I created a candleholder out of air-dry clay. I chose a more cartoonish approach to contrast the soft model shapes with the hard lines between different keyshot materials. I molded a cylinder and cut out space for a tea-light candle. I then took beads of fish, dolphins, turtles, and a ship and pressed them into the sides to form a reversed relief. I carved a wavy line around the middle for the horizon.

Candle holder


Candle holder model

    We scanned it using 12 images in 360 and a single image of the top. We were able to use the impressions to align the scans. With wonderful help from Chelsea, we used the sandpaper tool to smooth it in rapidworks, added a flat bottom to the mesh, and chose a final model with a few hundred polys. I took the model into Rhino and separated sections of the mesh into different layers so they could have different materials.

Rapidworks

Ghosted painted black

Separated into layers for Keyshot
     
     I originally placed the candle in an image of the mermaid building in the north part of campus to go with the ocean theme. While the soft edges of the candle contrasted with the angular building, I felt it looked completely out of place.

Test Location

     I chose instead to place my candle indoors as though it were a regular candle. I took a few images and decided to use my desk. I moved the candle I already had in place and took a few close up shots.      
     Because I split every portion of the mesh according to the design, I applied multiple materials to create the piece. I used colored asphalt, mold-tech, and cloth materials scaled to a very small size for the fish scales. I used wood materials for the ship. The turtle's texture is made from a mold-tech. I gave all of the fish and dolphins eyes by finding fish eyes online and applying them as a color map. Then I changed the settings to UV Mapping and scaled and shifted the material until an eye was centered. I used a similar technique with the dolphins, only I used images of actual dolphins for the material. The ocean is made of a blue glass that is double-sided to add shine. The sky is a cloudy glass material; I found that the cloudy option interacted well with the sea to give it a slightly blue tint.   

Item in context

     I rendered out several passes for the context image. I added to the shots with the brush to give the desired effect. I added several layers that all add a bit more color to the candle. One layer gives slightly purple highlights to the candle. Another provides the definite shine from the light on the left side. I used an orange color on another layer to add more to the candle part itself. 
Render One
Render Two


Chelsea Griffin: Laser Cutting - Week 15

Concept: My sister is getting married in December and our niece, the flower girl, doesn't have a flower girl basket yet. I told my sister about this assignment and offered to make a basket for her and personalize it. My niece's favorite thing in the world is My Neighbor Totoro, so naturally, my sister and I came to the conclusion that that would be an ideal theme for her flower girl basket.

Vector Drawings


Rhino file

Before stain

After black stain/before varnish


Finished basket box


Technique: After drawing the images in Autodesk's Sketchbook, I utilized Illustrator's Image Trace program to create vector files. Unfortunately, when I brought it into the lab, my Illustrator file was less than ideal, so lab manager, Amanda Marder, was kind enough to correct my file via Rhino 5. I wasn't sure what size dowel rod I was going to use for the handle so I used a drill press once the wood was already as opposed to just using the laser engraving machine.

Materials: I used aspen plywood, which apparently burns pretty easily when being laser engraved, though it sanded off easily enough. I used black glass stain to help bring out the raster engravings and then finished it off with some medium walnut Watco Danish Oil.