Showing posts with label skateboard. Show all posts

Tuesday, May 14, 2019

Jesus Javier Vela: Week 12 Laser Engraved Skateboard Deck

Original Photo

Concept

     While this project's first direction moved towards developing an abstract image, it eventually modulated towards realism as opportunities for visual interpretation became apparent. The final concept was recreating a photo of my friend attempting to look at her phone while wearing an over-sized panda head. Emphasis was placed on the panda head as well as the phone because they establish the visual conflict of the piece.

Layers on Adobe Illustrator

Techniques

     The design was developed using Adobe Illustrator. A photo of my taking was minimized with a three-color image trace. While some areas of the image were reduced to few lines, others were sustained by a field of blotches fighting for space. The image was then extended into objects and ungrouped. The objects were easily selected by similar color and sorted into layers designated by engraving weight. After playing around with the design, the final weights were raster, medium, and deep.


Laser Engraved Skateboard

Materials

     I used a blank 7.5" skateboard deck for the engraving at the Machine Shop. Given that the surface of the canvas was not entirely flat, certain areas of the board were engraved deeper than others. I am still pleased with the results, but the unintended consequence did undermine some of my effort to create depth in the design by adjusting the engraving weight relative to the distance of objects in the image.

Friday, May 3, 2019

Ryland Smith Week 12 Laser Engrave Skateboard

Concept: I like the idea of synergizing with the skate community that is free form and intuitively inspired so I created a bit of a psychedelic design with the whimsical tag, "We Did It". "We did what" you ask... like I said on the board, "We Did It".
AI File
Techniques: I used Illustrator to make the design. I traced an image of the board and scaled it for the reference layer. I pulled in a design of a cow elk I made in photoshop as a raster engrave. I then formed the various shapes and set a fill at the same color with the stroke at .01. The laser engraver ends up forming the fill in raster but the edges are crisp using the vector stoke on the edge. After it was engraved the, "W" in "We Did It" had disappeared. So I masked off the letters and spray painted. There was bleed through the mask so I took a sharpie and outlined the text adding more contrast. Then I did a coat of polyurethane. After that coat dried I again went over the outline of the text with a sharpie and finally added a second thicker coat of polyurethane.
Mask

Just after spray paint

First coat polyurethane 
Materials: Baltic Birch Wood,  white spray paint color works well on wood, black sharpie for rich black outline of text, semi-glossy polyurethane. 
Final Board


Tuesday, December 6, 2016

Michael Hosler- Laser Engraving Board

Concept- In keeping with my love for geometrical patterns, I decided to engrave one onto a Longboard. but slapping a geometric pattern in a circle is totally lame, so I started to chop it up and move pieces of it around and play with different sizes to see what I found most appealing. these were a few of my ideas, along with the original design:


Methods- In making the original design, I generated a few simple shapes and then used polar arrays to rotate and copy the shapes until I had a really interesting pattern. then I sliced it in half and played with sliding the halves further apart and mirroring them over the center of my reference layer. After cutting my first board, it grew legs and walked away so I was forced to start again. After I cut the second board, I applied just a single layer of blue stain to give it a slight blue tint, then used paint to fill in the pattern itself with a bright green hue. While wiping away the paint, I noticed that leaving just a little bit on the surface of the board blended really nicely with the stain, so I started wiping less paint off and trying to get the colors to really mesh. After the coloring was done and everything was dry, I applied grip tape to the top of the board to finish.


Monday, December 5, 2016

Draven Ashorn-Hejl: Laser Engraving Project - Skateboard


Concept: Ever since I was little playing Tony Hawk's Pro Skater 2 on rented PlayStations I'd wanted my own custom skateboard like all the skaters had, with a cool design based on their personal branding. With this project I finally got to fulfill that wish and designed a board based on my personal branding that I've built up online. For a while I had trouble coming up with what to put on the board besides my branding (just like real skaters) and a hex grid (because hex grids are cool), but then it hit me: I could make a tableau listing my completed projects, so that when I had the board kicked up and in hand like a cool skater it would serve as a list of my accomplishments while proudly displaying the branding I had completed them under.


Technique: I used Illustrator to design the board, using layering, masking, and some numerical parameter tweaking to get everything just right and all fitting onto the board. All of the engraving done by the laser cutter was done raster style at maximum depth for a solid, deep engrave.


Materials: I bought one of the skateboards Professor Scott recommended because I trust his judgement, and used the laser cutter at the UTD Fab Lab to handle the engraving.

Tuesday, November 1, 2016

Corrina Spurlin: Week 11 Skateboard Engraving

Illustrator Design

Engraved Board
Close-Up of Engraving
Attempt with graphite


Concept
The concept for my skateboard design largely played off of the visuals that came from my 3D Printed Model. I wanted to continue the rose-like theme, while upholding a rigid and geometric aspect to it as well. I wanted to contrast from my 3D model, however, in that the design would appear generally intricate and compact, instead of simple and open. 

Technique
The main techniques utilized in this assignment were the line tool and pathfinder in Illustrator. I also used the rotate tool to create the radial flower designs that sit between the diamonds. Pathfinder was used to crop an inverted version of that design so that it could appear again, just in a different form. 

The file was setup to match the board as closely and accurately as I believed possible, but when it came time to engrave, problems arose and the engraving ended up being off-centered on both axes. 

Materials
The materials used within this project were the skateboard deck, and use of the program Adobe Illustrator. 

The material of the board created an issue for me when it came time to actually engrave, as it had an outer non-wood protective layer that caused the engraving to look different than I would have preferred. The laser had to do more work to get through to the wood, so when it did it was weaker and didn't appear dark. I plan to engrave my design again in the future with a board that either does not have a protective layer, or one that will be easy to sand down off the wood. That way the final product will look much darker (and as close to black as possible without any of the design).

It was recommended to me that graphite or charcoal could be used to fill in the design to make it appear darker, so I tried to mark graphite onto one of the small diamonds to test this theory. As it can be seen in the final picture in the series, this caused the raised layer to look darkened, after wiping off excess, instead of the engraved level. 

EDIT:
I attempted to re-engrave my design with a slightly different material wood that I additionally sanded prior to the laser engraving. The result was far better than my first attempt. 


Monday, October 31, 2016

Brandon Wehenkel: Longboard Engraving


Photoshop Original

Photoshop Final


Rhino example


Concept:

I don't skate.  My brother does.  Since he does I asked him what he wanted on the bottom of his longboard.  When I was younger I got an email while I was away from home that my brother had broken his collar bone while longboarding down a steep hill.  He told me he wanted an omage to his collar bone on his longboard.  Longboard  Inspiration


 X-ray

Predator Organism Radiolaria
Vertebrae seen through an electron microscope


Modeling Techniques:
I uploaded the images to photoshop and photomanipulated the images to the longboard example I gave in the concept.  I used curves and saturation to create a very blown out image.  I used various tools in photoshop: eliptical, rectangular, magic wand, quick selection tool, brush tool, spot healing brush, healing brush, patch tool, eraser, paint bucket, lasso tool, eyedropper.
In Illustrator: Image Tracing, Pen Tool
In Rhino: Scale 1D, Dimension --> Linear Dimension
I ended up ditching the Rhino & Illustrator idea and just manipulating the image in photoshop till I got a very different appearance.  The design wasn't very cooperative with the laser engraver so I ended up enhancing the contrast with the exposure setting.  I adjusted gamma to .26 (almost all the way to the right) and I adjusted the exposure to multiple different spots: I started on a lower adjustment of +1 and I believe I adjusted it to +14 for the final design.  Because of this I lost a significant amount of detail.
I had also used pixelation and greyscale to my advantage to get more detail out of the shadows that I wanted in the X-ray, without the pixelation I would have lost all detail.

Materials:
The longboard is made of pine.  I did a test on Oak because I had an excess of that wood at home.  Its an expensive test, but I didn't want the wood to go to waste.  I ended up not doing a 2nd test and just editing the design five different times to be printed on the pine board.
I used a spray on sealant to clean up the exposed laser engraved areas.  But I didn't want to use paint on with a brush because I fear that I might have some slight clumping in the pixelated area.

Final

Chelsea Griffin - Week 11 - Laser Engraving: Skateboard Deck


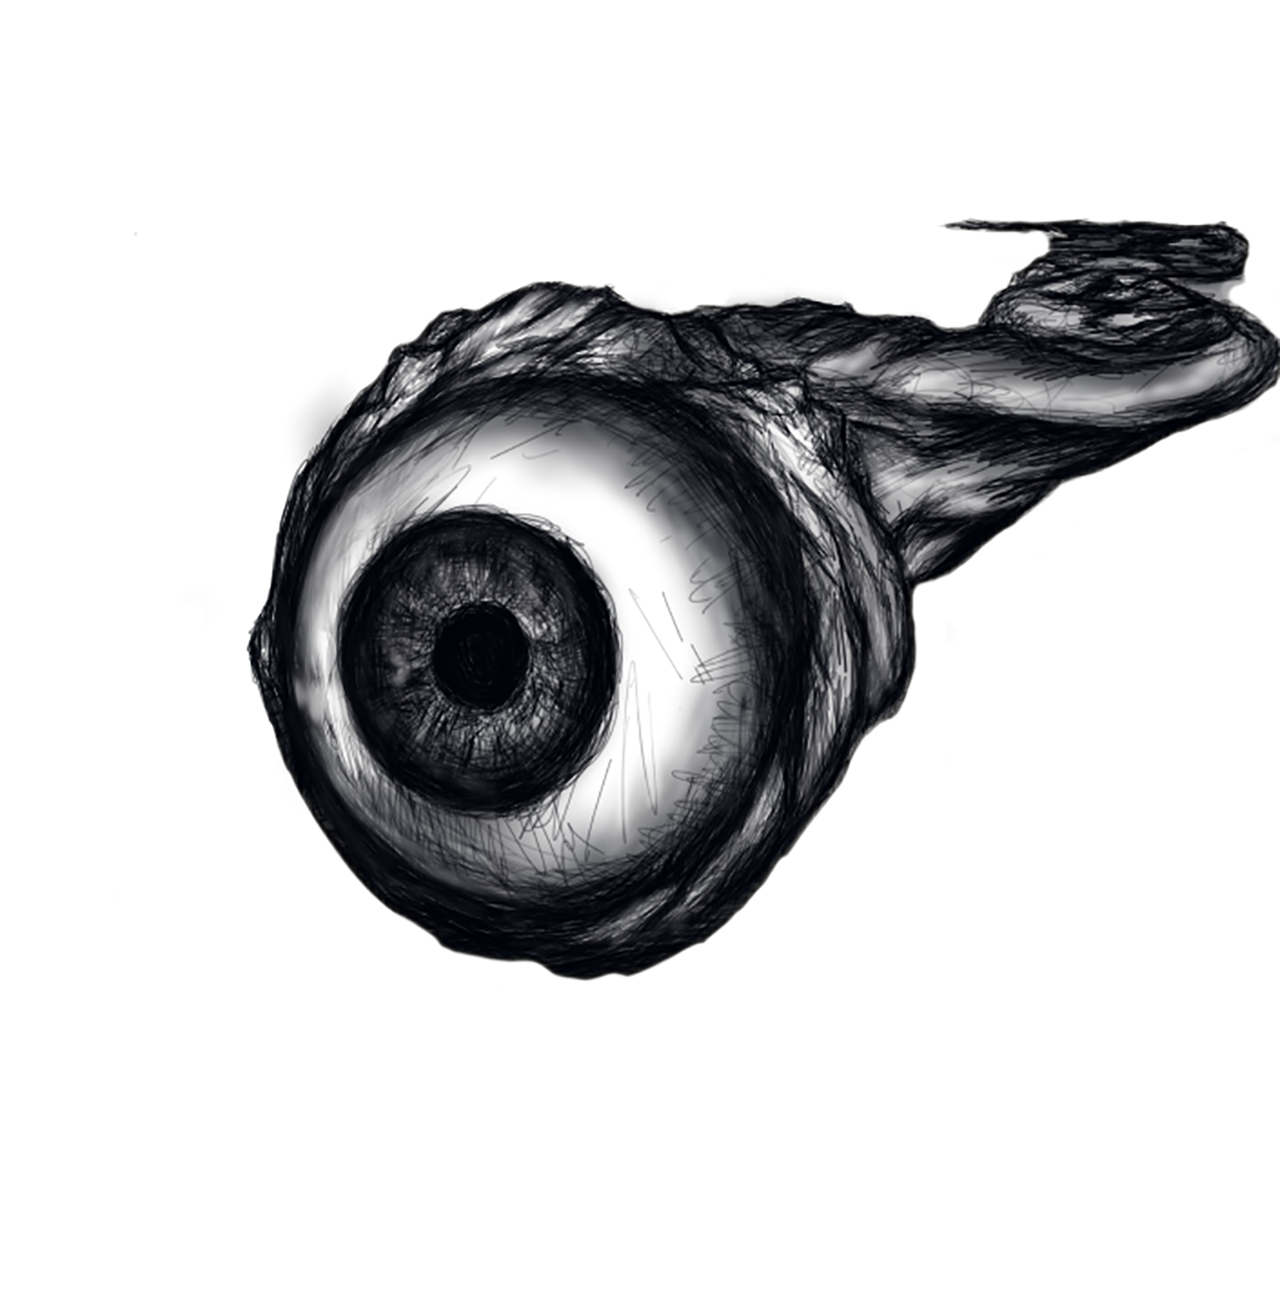
Concept : For this assignment, I knew right off the bat that I wanted to engrave a drawing onto my skateboard deck. I wasn't initially sure what kind of drawing to put on the board, but I knew that I wanted something that could somehow represent my own artistic identity. I might've mentioned in an earlier assignment that I often incorporate eyes into my work. I appreciate not only the aesthetic of the eye but also the deeper concepts that have been associated with them throughout human history.

Initial Sketch in Autodesk's Sketchbook


After using Image Trace in Adobe Illustrator

Image in 1-Touch Laser Photo

Test engraving on medium-density fibreboard

Deck after laser engraving


Deck after coated with transparent black stain, sanded, and finished with Watco Danish Oil (Medium Walnut)


Techniques : I drew the eye in Autodesk's Sketchbook using the pen and pencil tools, as well as a bit of airbrush. Once satisfied with the image, I opened the file in Adobe Illustrator and used Image Trace. I decided to raster the entire image.
Materials : For the trial engraving, I used some material that I had on hand called MDF (medium density fibreboard). It's not the same material as the wood of the skateboard deck, but I still felt it gave me a rough idea of what the final engraving would look like and helped me determine the different aspects I needed to fix in my Illustrator file. I stretched the file a bit when putting the image onto my skateboard template. I realized after the trial engraving that I didn't much care for this and plan on scaling it back to it's original state.
Once the deck was engraved, I decided to bring out the engraving a bit more by using a transparent black stain. After this, I lightly sanded the board in an attempt to get rid of the intense glossiness of the laminate that came with it. Once I was satisfied with the texture, I went over the entire board with some Watco Danish Oil.