Sunday, November 27, 2022

Yadira Anguiano: Architectonic Lamp

Design Intent

In designing this lamp, I wanted to create an object that didn't feel too rigid or cold. Instead, I wanted my lamp to have a "soft" and bouncy shape. I used this approach as I created prototypes using Professor Scott's parametric lamp script. 

Modeling Techniques

I began by creating a round massing shape. By extracting isocurves and then creating pipes from these curves, I ended up with my final shape. Then, I inserted the shape into the lamp slice script which gave me the required slices and a basic model for my object. I extruded the planes given from the script, creating a solid that could be rendered. The biggest challenge for me during this stage was finding a shape that worked in keeping the lamp's "roundness" while also retaining its structural integrity. As for the resulting laser cutting curves, I separated each into their proper layer and sent it to the UTD machine shop. For the bottom layer, I also created a 1 inch opening to support my light bulb. 


Materials

I chose to use plywood for a final version of this lamp. In Keyshot, I rendered my lamp using a similar colored wood. I also made sure to add a light source in the center of my model in Rhino. Since I wanted my result to feel warm and cutesy, I used pink and peach colors along with a matching font to continue with the theme. 


Once the project was cut, I applied a white wood stain to lighten the lamp's color. After that, I assembled my lamp and photographed the final product. 


Final lamp


Helena Silva: Week 16 Serial Slicing

 Concept:

    For this project the overall intention I had for my design was to do a simple bust of a creature that was part human and part owl. The reason I wanted to incorporate owlish features is because as I was designing my creature I realized that it was just a human huntress. I knew I needed to include some kind of animal or monster features to make my design a creature or humanoid of some kind. In the end, I utilized the shape of the helmet of my huntress to give off the idea that she is not just a hunter but also part owl. The feathers that cover the chest will also be a feature to help with the overall concept of my creature.

Research and Inspirations

Sketch 1- Perspective and Right View

Sketch 2- Front View

Sketch 2- Breaking down the creature


Techniques:

    Due to the overall design using highly complex shapes I used Maya to create my creature then export the model to Rhino. My first attempt was done in Rhino but I knew that Maya would help me create the specific shapes that I needed to create my creature. In Rhino, I used Extrude and the Polyline tool to create the creature during my first attempt. From there I got stuck, I would then go to Maya to create my creature with square and spherical shapes. Next, to build my model I would also use Extrude, AppendToPolygon, InsertEdgeLoop, DeleteEdge/Vertex, and the Multi-Cut tool. I continued to use other tools but these were my to-go-to to create my creature in Maya. Next, I export my Maya model to Rhino as an OBJ file. In Rhino I only made slight fixes such as sorting the creature into parts in order to prep the model for laser cutting.

    The pro's and con's I had with this project are that I wasn't aware of just how much vertices or points slowed down the laser cutting process and just how expensive it would of been if I hadn't fixed the issue. During this specific process, I learned a new tool such as ReducePolyline. This tool helped reduce the amount of vertices on the polyline while trying to maintain the original shape as much as possible with some change. The pro's to this change and fix is that it made the laser cutting process cheaper and faster. The physical build was also a challenge due to the model coming out bigger than expected. It came out more taller and wasn't identical to the original shape in Rhino. As such I had to improvise how to stay within the requirements while rebuilding the model to look identical to its original expectation seen in Rhino and Keyshot. To make the model more identical to the Rhino model, I used left over cardboard to shape the red drapes, the front part of the helmet and feathers. 

Laser Cutting Layout in Assigned Layers

Maya Model

Ghosted- Assigned Layer

Ghosted- Naked Edge Analysis

Ghosted- Orthographic View

Materials:

    I used a rough paint material for my Keyshot images. I wanted to use neutral to warm colors for my creature as to not create so much attention to the creature. I did this intentionally so that if the creature were to go into heavy concept art, the colors would illustrate strength, caution and stealth. I kept the human aspect by painting the skin a light peach color. The lighting was tricky for this project due to the colors of the helmet and skin being so neutral. To fix this issue, I adjusted the lighting to capture the best presentation of the overall bust when came to capturing the perspective, and close-ups.

Orthographic View


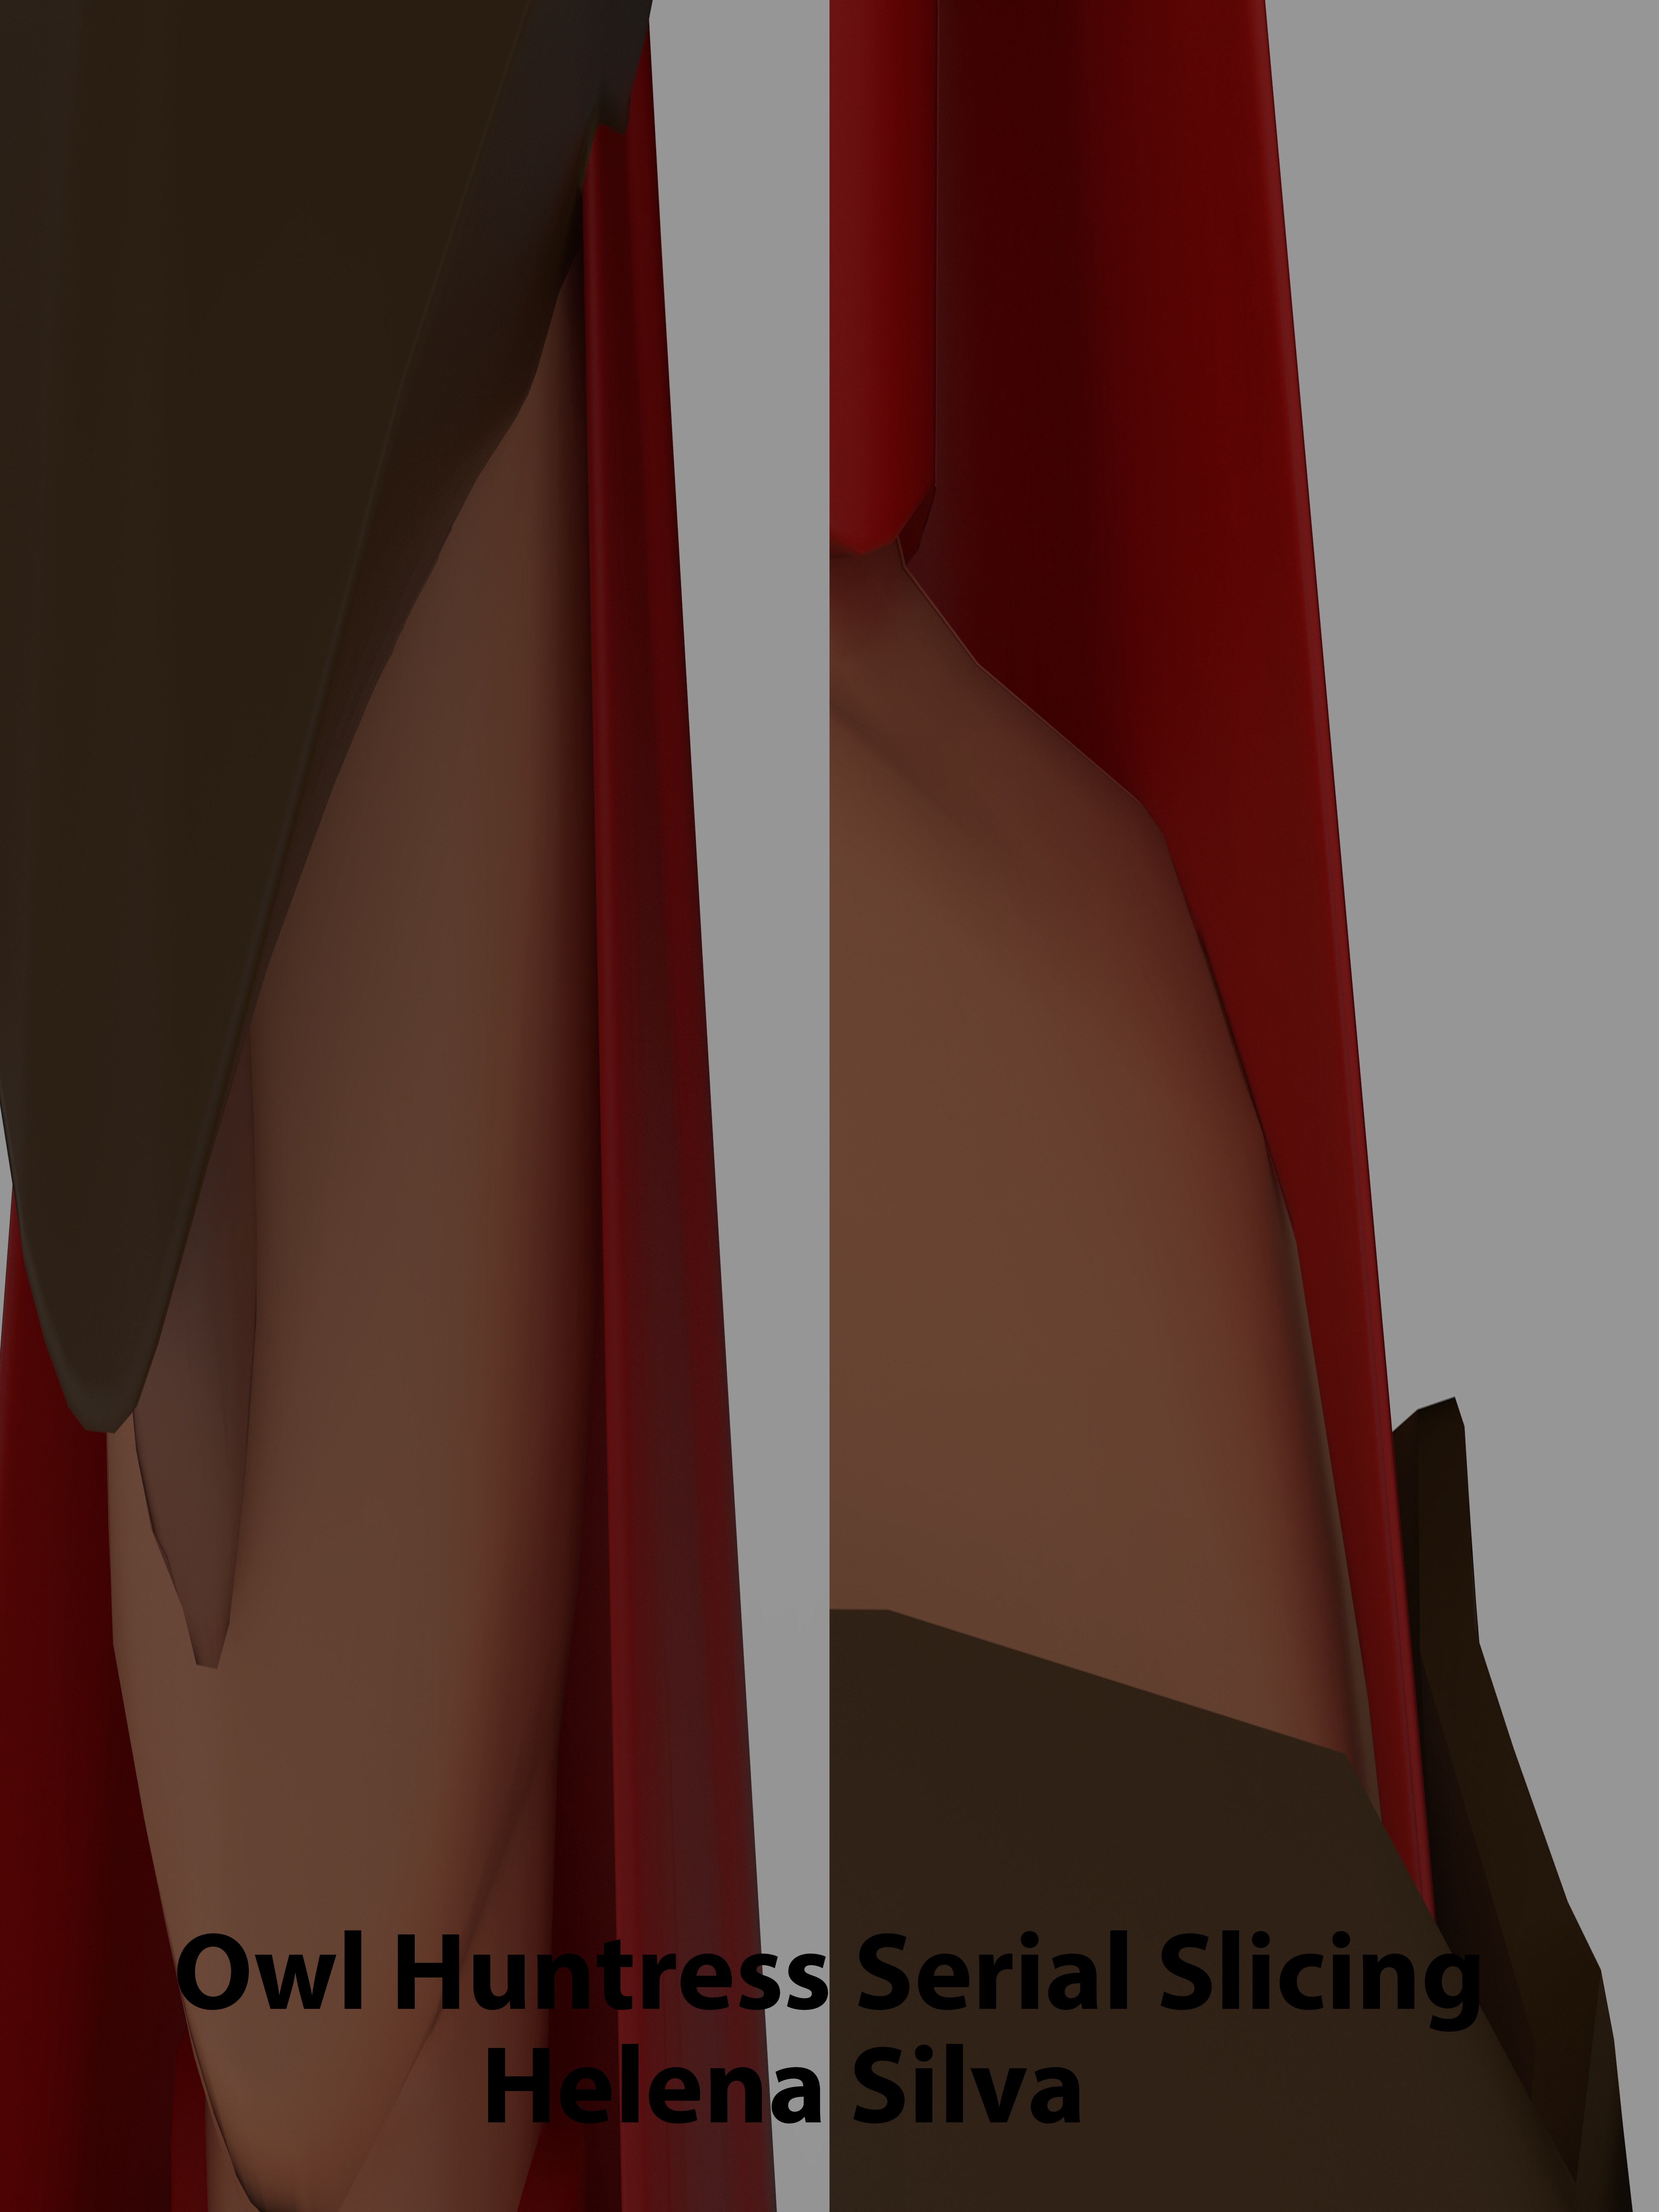
Close-Ups
Beginning Process

Ending Results


Austen Sartain: Architectural Grillage-- Lamp

This project was interesting because so far it was perhaps the simplest in terms of effort required, yet it did a great job of making one consider how to use objects to create interesting grillage. Much of that comes from seeing how different your original model looks compared to what it looks after being put through the Grasshopper script.
As previously stated, one can see in the above image how different the original model looks compared to the aftermath of the grillage.

One of the techniques I learned during this project is how to use the gumball to edit the width of a surface in a precise manner. I found that you could click on the directional arrows and type the your desired width and press enter. Using this method I was able to create my final model that I used to render. To say once more, I found this project interesting because it forced the modeler to consider more closely how to use the exterior of their model to ultimately generate an interesting interior.

Saturday, November 26, 2022

Josh Rainey Project 4 - Architectonic Lamp


   For my lamp project, I was inspired by spiders and their webs. I wanted to create something that one could have out in their own house year-round. With this in mind, I want to create a very sleek design with some cool carvings into it. My initial idea was something more modern, but I also felt like a sharp design would look nice, with this in mind I implemented a sort of spider web into my lamp.


   For my design, I imported my MakerCase prototype into Rhino. I did this in order to create extra straight lines, arches, and openings. Following this, I divided them into layers for laser cutting and extracted them to create a solid 3d model. Once I was happy with how the model turned out in Rhino, I exported the model to Keyshot. In Keyshot I was able to test out a few different materials and environments and shape them to my desire. In the end, I chose to go with a darker more aesthetic feeling, I really wanted the lamp to not stand out too much but when you could see it it would look very clean. I wasn’t able to mess around too much in Keyshot with the lighting or fancy variables, but for a base, I think this lamp is a good start.


All the work was done within Rhino. I wanted to spend more time getting familiarized with the software and use what I learned in a few of the LinkedIn learning sessions.


In Keyshot, I used a metallic surface in order to give it that modern feeling, the only thing I was not able to do was to create a lighting effect which I am still working on. For the background shot, I chose a kitchen counter as it is a similar space to where I have my lamp.


Saturday, November 19, 2022

Austen Sartain: Extra Credit--> Laser Cut Skateboard Raster

 Intent:

I wanted to create a design that takes advantage of a laser cutters ability to raster at different depths depending on the lasers power, speed, and the amount of space between lines.


Modeling:

The modeling was a very simple process that only used the polyline tool to create each shapes outline, and then the planarSrf functions to create the actual surfaces. After that, it was just a matter of layering them and coloring them.

The image depicts the sun shining over mountain peaks. The darker the color, the deeper the raster was burned into the skateboard.


Here, the layers are separated by the how burned they are, with the least at the top and the most at the bottom. There are several ways to produce this difference in raster depth. The laser cutter I use uses the program Inkscape to setup the laser cut. In the program, you can change the width between each pass the laser makes. The closer the darker and the farther away the lighter. You can also change the way the laser passes across. This means you can change it from going straight across, to up and down like a heartbeat monitor. This also affects the how much it burns the surface. The final two ways to edit the raster is changing the laser movement speed and the power level of the laser. Power level 100 is usually used to cut through materials, while levels around 50 to 30 are used to rastor. The reason being is that if you use 100% to rastor, your material will most likely start burning.


Austen Sartain: Extra Credit--> Laser Engraving Skateboard

Intent:

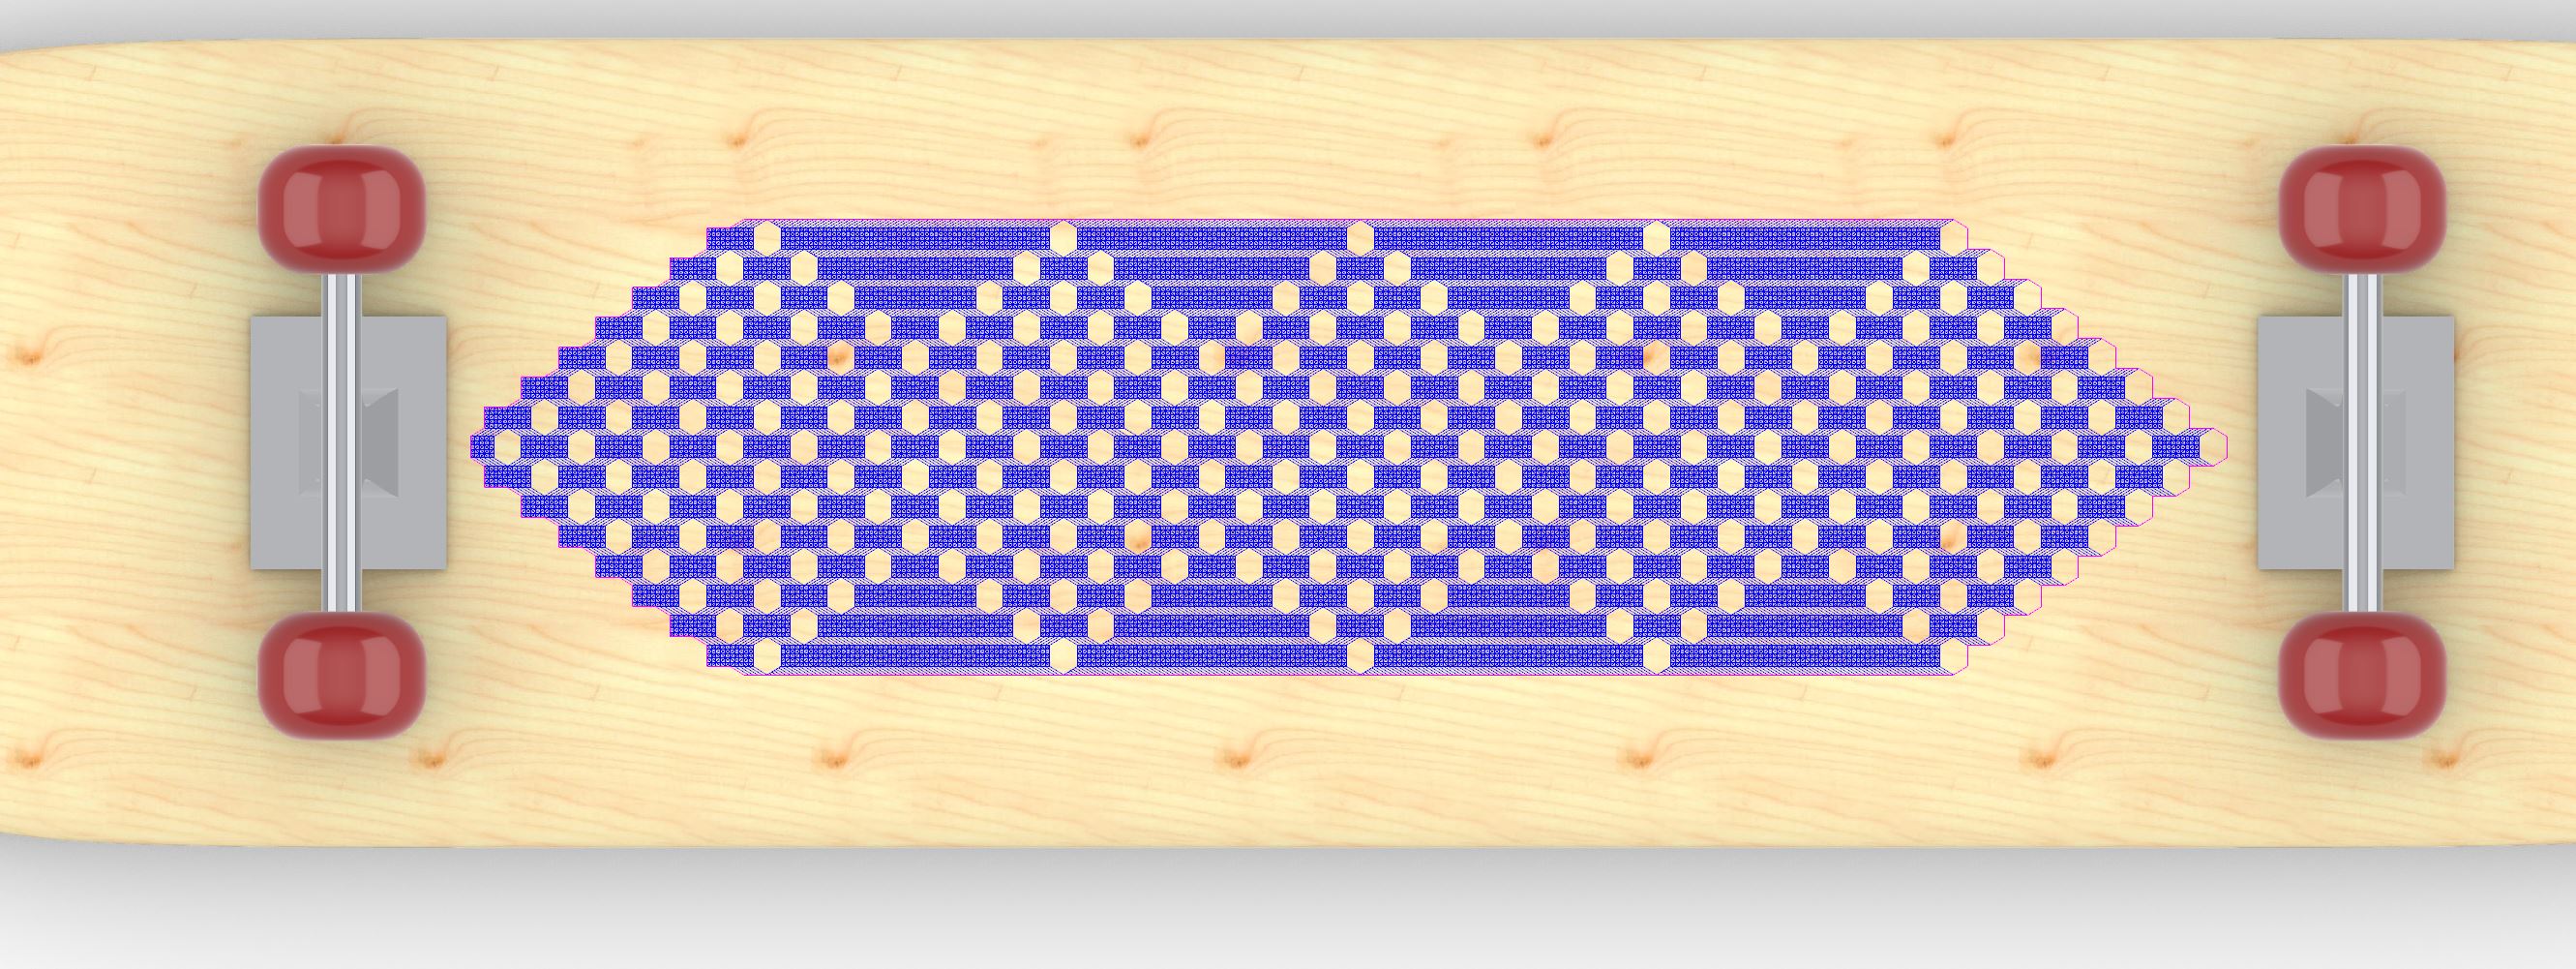
I wanted to design something that was very geometric and complex while also being something that could easily be repeated. With that in mind, I came up with a design that relied solely on the use of lines.

Base Design:


The initial design is pretty basic,  but I used it to create the final design. I created it with the polyline tool. While not visible in this image, many of the lines are overlapping each other. Luckily, the laser cutter I use has a function that makes the most efficient path by deleting things that overlap so that there is only one line segment rather than multiple overlapping.

Final Design:

I used the previous design like a tile to create this larger and more complex design. The reason I chose to create a more geometric design like this is because it is simple and very easy to edit, not to mention it's repeatability. That made it really easy for me to try out a bunch of different designs before deciding on the final one.


Friday, November 18, 2022

Jolynn Yeh Project 4 Radial Waffle

 References


My references were buildings, I wanted to go for an asymmetrical and merged building. So, I combined squares and cones. I wasn't sure at first what I wanted to do so I just randomly merged shapes until I got what I have now, and I liked it.


Modeling


When modeling I combined all the shapes I wanted to put together. Some of the slices were a little combined so I manually separated some of the shapes and curves to get to how it is now.


Rendering

I had made the materials wood because it is being cut into wood. I was sure how to add the light at first but then I found the add light button. I also turn the brightness down in the environment to make the point light in the middle more obvious.


Final

The final turned out smaller than I thought it would. The wood slices were also a little loose, but I was able to put it together and have it stay together without the glue. It looks so good in real life and put together.