Showing posts with label flashlight. Show all posts

Monday, October 9, 2023

Nibiru Panneflek-Cook ATCM 3355 F23: Project 2 Flashlight

Flashlight: Decorative Flashlight Casing

Concept

Drawing inspiration from the thalassic patterns and delicate coloring characteristic of Delftware, I seek to produce a visually stunning accessory that blends traditional craftsmanship with modern utility. In addition to using the recognizable blue and white palette, I will integrate recurring motifs associated with this style of pottery – such as elegant curvature and concentric patterns – into the ornament's aesthetic language.

Reference(s)

Delftware Plate

Processes

I sculpted the sleek silhouette of this casing in Rhinoceros 3D by using BooleanDifference in combination with curves and primitives, subsequently extrapolating a surface from the partial wireframe with the Revolve command. Afterward, I used small pyramids and the PolarArray function to cut a series of notches out of the circumference of the piece's top edge, a minimalist approach to evoking a sense of cyclical motion akin to that imbued in the originals by their complex illustrations. Additionally, I used the Project tool to define the grip and recesses, Trimming the latter outlines to create ergonomic cavities in the shell; the former inherited its shape from the waves prominently featured in Delft artwork. Finally, I Filleted and Chamfered all edges to ensure a clean finish.

Deliverable(s)

Black Ghosted Image

Color Ghosted Image
Render w/2D Ortho

Render w/Details

Materials

My digital object utilizes Rhino's stock porcelain and blue glaze ceramic materials, choices appropriate for Dutch faience. I printed the prototype using white PLA filament painted with a blue art marker.

Printed Model


Monday, October 10, 2022

Brittany Han: Week 4 Flashlight


 Inspiration

    For my flashlight project, I was really inspired by rings bands and stems without the stones. I thought this would make for a cool affect when the light was turned on, the top is the main point where this shows. However, for the main body I wanted to make sure there were enough divots and groves do the user wouldn't loss their grip.


Modeling

    For the body of my sleeves I use curves to get the main shape. I filleted most of my edges to stay with the theme of the rings as they don't have sharp edges normally. I used solids ArrayPolaring them around the main body surface, and to add the holes and divots I used bolleanDifference to subtract them
Flashlight Layers


Flashlight Specs
Rendering

    For rendering I used Keyshot to get the front and back profile of the flashlight. I decided to leave my render black for a clean look. I will revisit this in the future to change the colors to their respective looks.
Flashlight Front Render
Flashlight Back Render
3D Print

Sleeve Upright

Sleeve Front

Sleeve Back
Final Look with Flashlight

Flashlight On Pattern

Flashlight On Upright

Flashlight On Front

Flashlight On Back


Taylor Champ: Cutlass Saber (Flashlight)

 Inspiration

I've noticed I always find great inspiration and never stick to it fully, even if I want to. For this, I took inspiration in art from the world of Star Wars, a Corellian cutlass. Corellia is most well-known as the birthplace of Han Solo, but based on the information I read, he's not the only pirate to have come from the planet. I liked the idea of a pirate styled saber, with a handguard like a rapier or cutlass. In the end, my result was far more cartoony, but I still am quite proud of it.


Modeling (Renders)


Finished Result


The 3D print was done by the UTD Machine Shop, but was filed and sanded heavily by myself given the incredibly unhelpful supports, including a support that cut the inner compartment into two half circles. I then cut, glued, and sanded a bubble wand to give the appearance of a true lightsaber, a short dagger style. Overall, the design was most hindered by the damage the supports caused, I believe I could have found a design that would have yielded a cleaner result.

Sunday, October 9, 2022

Lindsey Nguyen : Week 4 Flashlight

 Design Intent 


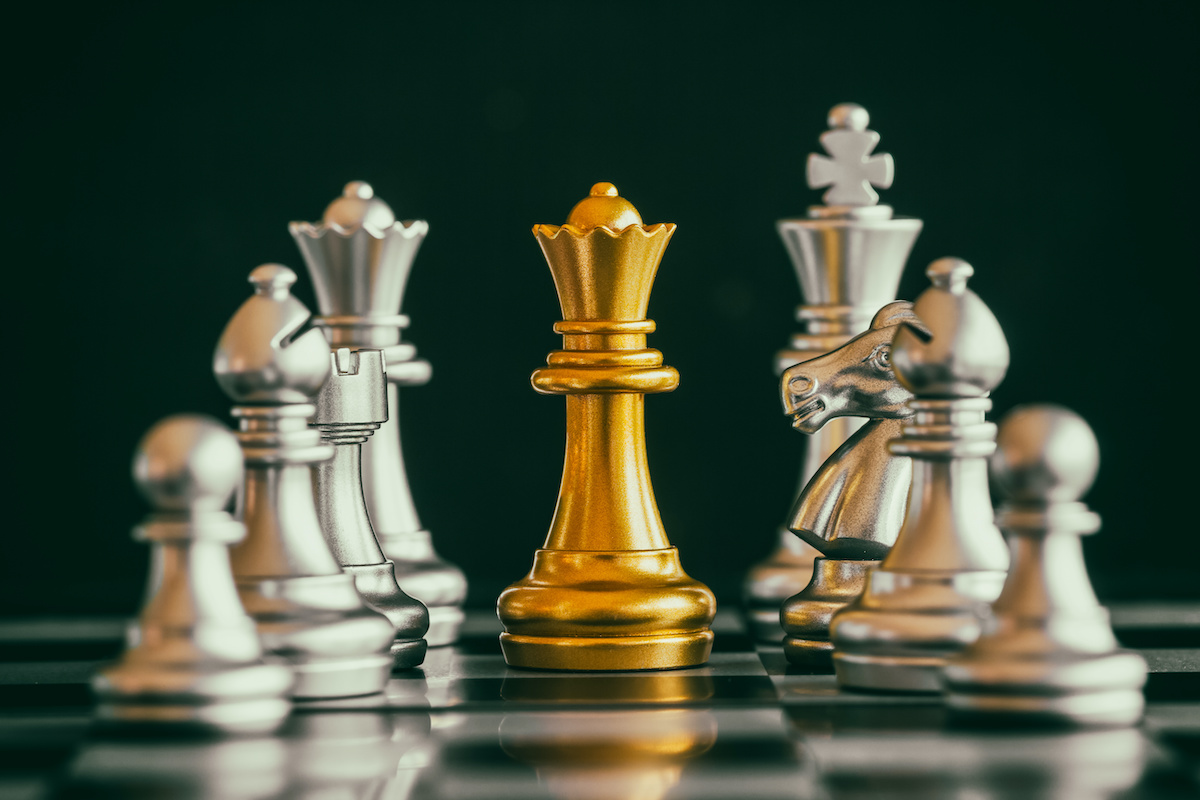
For my flashlight sleeve project, I decided to go for a curved rigid item just like a chess piece. I designed the flashlight sleeve to resemble one of the powerful pieces, the queen. I didn’t want the sleeve just to be an exact replica of the queen piece but to add some personal take onto my sleeve.


Queen Image Reference 


Modeling Techniques 


For the body of my flashlight sleeve, I used the surface or profile of the sleeve by mainly using curve tools, such as curve Boolean and revolving it once I was done. After creating the body of the flashlight sleeve, I used a mixture of chamfers and filets to smooth out the profile. The next part from the body, I decided to create the crown on top of the flashlight sleeve.  I mainly used tools such as the curve tool, array polar, and mirroring. Once I finished the crown of the sleeve I then used the Boolean union. After creating the crown, I then moved forward on creating some holes or adding some shapes into the sleeve, such as spheres near the crown which were used with array polar and Boolean difference. Then the holes of the cubes were also made with array polar but were going through the sleeve in order to create the holes with Boolean difference. Lastly, I created an arch in the middle of the flashlight, which was a curve around the flashlight and placed a pipe, then a Boolean difference to create a notch on the sleeve. 


Ghosted Rhino with 2D Model 
Rendering / Materials 


I rendered the model using Blender. This is my first time using blender, so it was already difficult learning the process on how to render which was so different from using keyshot. I decided to make the sleeve a black base entirely, to really give that chess piece feeling. A shiny glossy look for the sleeve had a nice finish for me.  Then I created the glowing effect, to model how the flashlight would look. 


Blender Rendering Image 

3D Print

    I printed my model with the UTD Makerspace with black filament. Below shows two photos of my model one with the light on and one without the light. 


3D Model Flashlight with light on 

3D Model flashlight with light off 


Saturday, October 8, 2022

Faith Romero: Week 4 Flashlight

Design Intent

Lightsaber View 1

Lightsaber View 2

    For this assignment, I decided to model my design based on a lightsaber I made at Disney Land. I wanted to create the texture that my lightsaber had on a smaller scale so I looked at the design and took elements and sketched them out. 

Modeling Techniques

Rhino Ghosted View


    To model my design I began by getting the correct measurements and creating multiple references. I created a rectangle for the flashlight's original measurements and scaled them slightly for the 'wiggle room' and then offset the rectangle creating the outer wall. I created another set of references to make sure I didn't go too far into the wall. I then added lines to place the button hole and figure out how I wanted the top of the flashlight. I trimmed the excess lines and had a side profile of my flashlight. 
    I then began with adding the 2D shapes such as circles and rectangles. When I figured out where I wanted them placed I trimmed the extra lines. I made sure to fillet my edges all over the model. Once I found the profile to be something I liked I made it all one shape and revolved. After I revolved I added a pipe and polar arrayed it around, in between the pipes I added a rectangle and polar arrayed it then I boolean differenced to make cutouts. Finally, I added some rectangles at the bottom and arrayed them once again to fill the empty space. 

Rendering/Materials 

Keyshot View

    For Rendering, I went with three materials, for the main body I choose a painted metal. I liked this material on how the light through the cutouts reflected the light. For the accents, I chose another metal type one being anodized and the other with a zinc polish. I chose them because of the contrast they created. Finally, I added a texture. I decided to add a texture that showed the depth of some of the peaks. 


Prints


Monday, February 24, 2020

Vee Valavil: Week 6 Flashlight Model


Design Intent
The design intent was to create a flashlight that reflected the exciting, awe-inspiring scenery of where the Rolling Loud Concert will be held which is Miami, Florida. I wanted the flashlight to look like the poster for the event that is shown below:


I wanted all the colors in the poster to be reflected on the flashlight model I created

Modeling Techniques
I created the flashlight outline using Curve Boolean to define all of the edges of the flashlight. After using Curve Boolean, I filleted all the sharp surface to provide a sleek, modern design to the flashlight. From there I used Rotate to take the initial template, do a full circle rotation, and create an outline for the flashlight.
To add the designs on the flashlight I used Flow along the surface by first creating a template of the designs that I wanted implemented on the flashlight and applying it to the flashlight surface. 


Material Choices
I chose plastic as the material and bright, vibrant, contrasting colors to bring out the designs implemented on the flashlight


Emily Barry: Flashlight


Inspiration:


For this project I wanted to create something with an aesthetic of bees because with my last name being Barry, I was always called Little B growing up. The honey dipper was the starting point of my design, and influenced the shape. I like bees, and I thought that it would make for an interesting flashlight cover. 


Modeling Techniques:

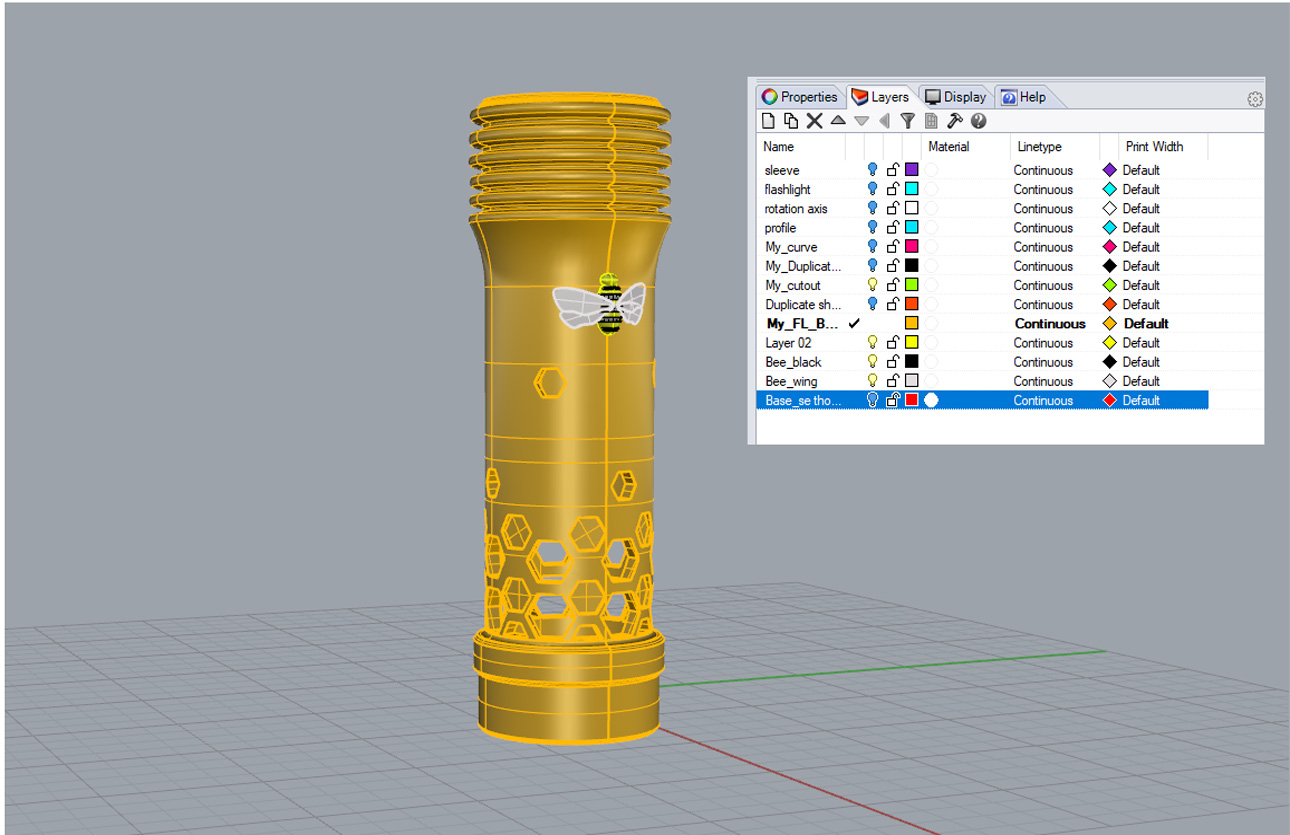
The tip of the flashlight cover dips in and out in rings so that it looks like the end of a honey dipper. the bottom of the flashlight cover has honey comb shape cutouts and indentations. Each honey comb ring gets a little smaller until they break away and float up the cover. I like the cutout honey comb shapes because it breaks up the side of the cover, and I have a blue flashlight so it will create an interesting contrast. I added a bee to really make it clear what the design is, and to try an create a more complex shape in Rhino. It creates a focal point and makes it interesting to look at overall. 

Materials: 


I chose a cloudy yellow plastic for the base material. It is reminiscent of honey, and I like the way the light shines through it. The bee body is made of gold metal, with the stripes being a dark purple metal. The wings are a a shiny lavender paint. I wanted the bee to be reminiscent of jewelry. I am very happy with this design and can't wait to print it out. 

Sunday, February 23, 2020

Drew Psencik: Project 4 Flashlight

Concept:

For this flashlight I wanted to steer away from the traditional, block design of a flashlight. I decided that I wanted the shape to mold to the hand more so it slowly tapers in the middle that will feel nicer to hold. After designing the curve and creating the detail. I wanted the flashlight to have another use. I designed a fixture at the front of the casing to hold little discs that will affect how the light escapes. These discs would be able to be switched out fairly easily.

Modeling Techniques:


To create the initial flashlight shape, I created a curve that would match the dimensions of the flashlight while also creating some detail on each of the caps. However the slot in the top was designed at the end. I then took the outer wall and curved it in to create a more ergonomic feel. I then used the revolve tool to create the shape. From there I created a simple smooth line and used the vacuum command to shrink the line to the case and used polar array to copy them around. The slot was created by using booleanDifference on a combination of a cylinder and rectangle with a small notch out of one side. From there I modeled a disc with a star design on it, this would also have a nib sticking out allowing the disc to lock into the flashlight. 


Materials:


When texturing this flashlight I wanted to create a classy type of flashlight. I decided the combination of gold and a rich wood stain would match well and used that. The inside was a form of grid cutouts that gives the case a look that it has an additional layer adding depth. I textured the discs the same as the caps so that when inserted, they would disappear into the cap and the flashlight would just work.