Monday, February 24, 2020

Rahul Nair: Week 6: Flashlight

Concept:
For my flashlight sleeve, I decided to make my interpretation of the video game character Samus's gun arm. It's not an exact replica because it looks different in most games, so it's more of an amalgamation of designs. It extends a full inch above the top since the gun arm has an attachment that extends out similarly.
Process:
I began with the same flashlight sleeve as the tutorial. After creating the outline using the poly line tool, I filleted and chamfered all of the edges as I saw fit. To create the proper pattern on the upper part I used grid snap to ensure the distance between the indents were identical. After I revolved the main part, I wanted to create the two circles on the side and two wires coming out. I created some cylinders and used the Boolean Difference tool to achieve this. Then, for the top part of the gun I used a polar array to create the connector and then a hollow cylinder around. I then filleted the edges all over.


Materials:
For the materials I used a green metal as the main body. I then chose a slightly duller metallic green for the little cylinders on the side. The little energy cables are made of glass, sort of to imply that there's something running through it. The inside is a blackish brushed steel, only really visible from the open end of the gun.


Vee Valavil: Week 6 Flashlight Model


Design Intent
The design intent was to create a flashlight that reflected the exciting, awe-inspiring scenery of where the Rolling Loud Concert will be held which is Miami, Florida. I wanted the flashlight to look like the poster for the event that is shown below:


I wanted all the colors in the poster to be reflected on the flashlight model I created

Modeling Techniques
I created the flashlight outline using Curve Boolean to define all of the edges of the flashlight. After using Curve Boolean, I filleted all the sharp surface to provide a sleek, modern design to the flashlight. From there I used Rotate to take the initial template, do a full circle rotation, and create an outline for the flashlight.
To add the designs on the flashlight I used Flow along the surface by first creating a template of the designs that I wanted implemented on the flashlight and applying it to the flashlight surface. 


Material Choices
I chose plastic as the material and bright, vibrant, contrasting colors to bring out the designs implemented on the flashlight


Cameron Steele Project 4 Flashlight

Concept: 

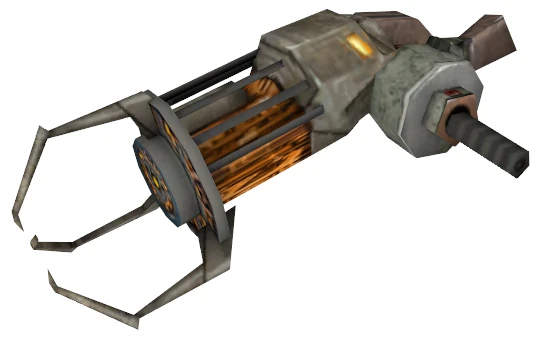
Image result for gravity gun half life
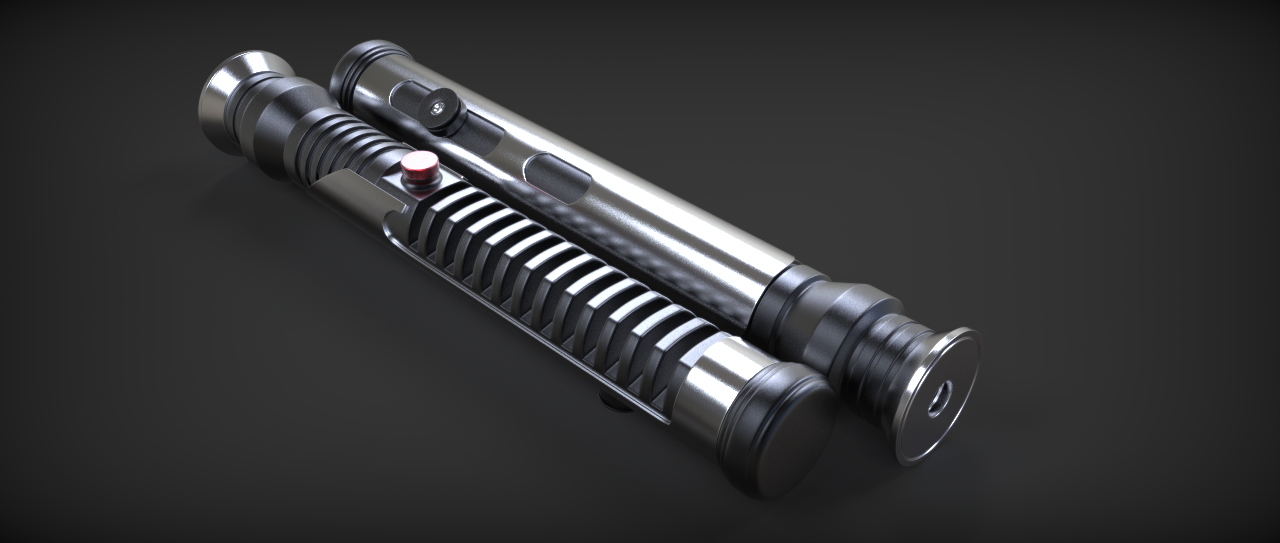
Image result for lightsaber

The concept for this model is based on a combination between the gravity gun from Half-Life 2 and the depictions of light sabers in Star Wars films and movies

Process:

The process of making this model involved Boolean Operations, Polar Array, Revolve and Filleting. I wanted to make it look very industrial, sharp and sleek.


Material:


Emily Barry: Flashlight


Inspiration:


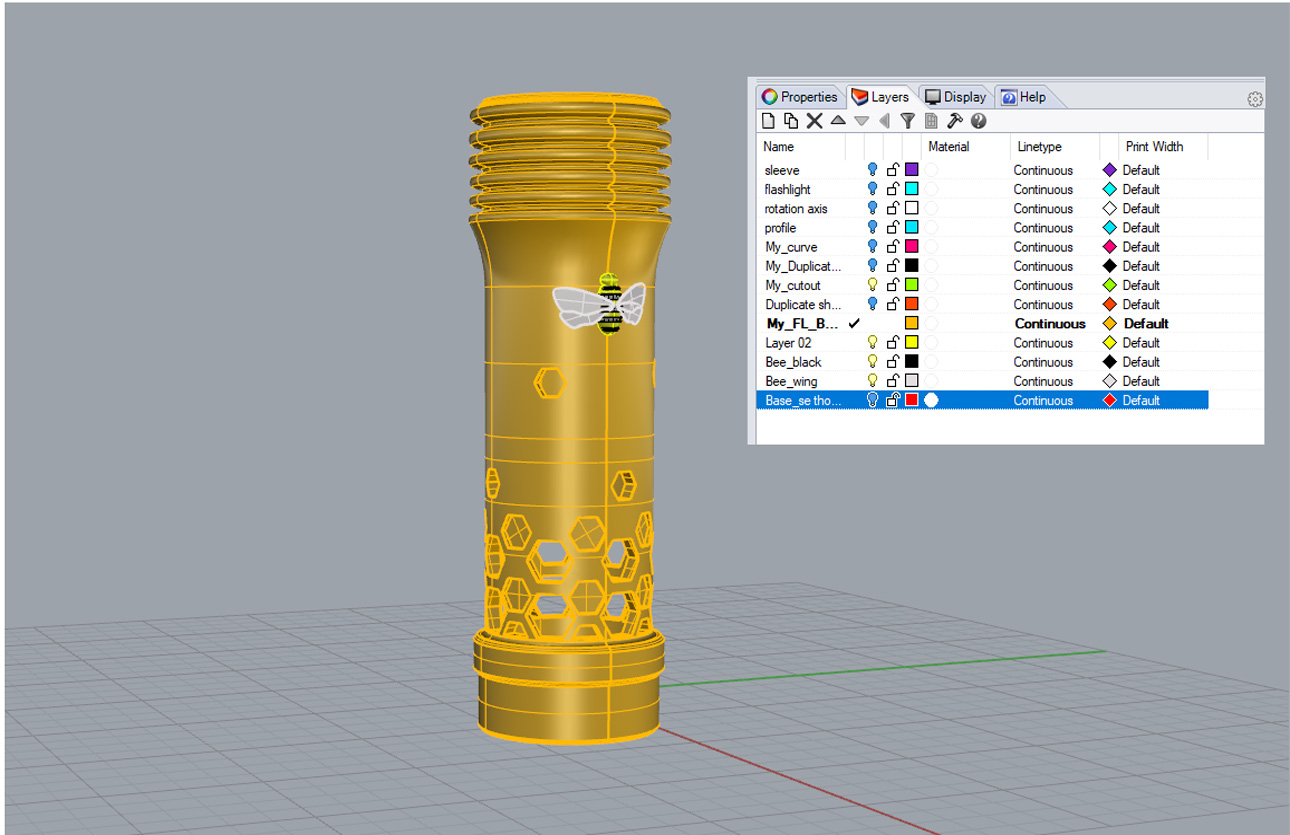
For this project I wanted to create something with an aesthetic of bees because with my last name being Barry, I was always called Little B growing up. The honey dipper was the starting point of my design, and influenced the shape. I like bees, and I thought that it would make for an interesting flashlight cover. 


Modeling Techniques:

The tip of the flashlight cover dips in and out in rings so that it looks like the end of a honey dipper. the bottom of the flashlight cover has honey comb shape cutouts and indentations. Each honey comb ring gets a little smaller until they break away and float up the cover. I like the cutout honey comb shapes because it breaks up the side of the cover, and I have a blue flashlight so it will create an interesting contrast. I added a bee to really make it clear what the design is, and to try an create a more complex shape in Rhino. It creates a focal point and makes it interesting to look at overall. 

Materials: 


I chose a cloudy yellow plastic for the base material. It is reminiscent of honey, and I like the way the light shines through it. The bee body is made of gold metal, with the stripes being a dark purple metal. The wings are a a shiny lavender paint. I wanted the bee to be reminiscent of jewelry. I am very happy with this design and can't wait to print it out. 

Eddy Martinez Project 2 3D Print


Concept: For the my 3D print I wanted to make a small scale of a playground geometric climber that you would find in parks and recreations. TopMod made it very simple to create a symmetrical structure that has a similar look to those that already exist to this day.


Process: In order to create the climber I started from a cube and made the overall structure of the climber the used dodecahedral extrusion to make the top of the climber as the new starting point. I the used the add handle tool to create an connect the top to the bottom and deleted the starting structure I had made in the beginning. To smooth out the structure I used doo Sabin to smooth the hard edges and finished it with wireframe modeling to create the holes and openings.


Materials:  For the material I went with a bluish hard plastic/metal and added a smudge texture to make the climber look like it was under use. For the environment I choose a typical gassy park area to place the climber.


Delaney Conroy: Week 7 3D Print

Concept: The inspiration for my design was these minimalist plant holders. I have a small glass that I have been using for propagation and wanted a way to incorporate it into this project. The constraints of this meant that I had to use exact measures of the glass itself, as well as allow for light to penetrate the design in order for it to remain functional for propagation. 


TechniquesIn TopMod, I played with the remeshing tools in order to get a tessellated design that I liked on the surface of my icosahedron base. I used the wireframe modeling 2 to make the thin but intricate detail across the surface. Next, because I knew I wanted this to exist on a flat surface, I used the cut by face tool to flatten one side of the model, before taking it into rhino and using the control points to remove the opposite face to create an opening. 

Materials:I chose an aluminum material to show the intricacy of details in this piece as well as emphasize a light feeling within the design and its scene.


Jacob Sears: Model for 3D Printing

Model for 3D Printing:


Concept:
For my design i wanted to create something that had a sort of repetitive patter/ design so i decided to reference a fullerene (which is a type of carbon molecule) because of its repetitive hexagonal structure. However i wanted it to be a bit more interesting than this and have a more natural appearance so I wanted to add a sort of spherical virus type shape to the mix and have the hexagons look more tendril like.


Technique:
For my technique, i started off with a dodecahedron and then used the doo sabin command to add more faces to the object. after that i selected all the triangle faces and extruded them twice with the size of the second extrusion being reduced. After which I used the add handle function to connect all the triangles to form the hexagonal tendril pattern. I then extruded all the hexagonal faces the same as the triangles, reducing the size of the second extrusion, and then ran the catmull clark command twice to round everything off and make it look more natural.


Materials:
For my materials i would like to have the model printed and then cast in bronze, using shapeways, as i would like the model to be approximately 2 inches tall and be a sort of paperweight/ desk toy since i have a small obsession with small metallic objects ( I've literally purchased metal cubes off amazon before for my desk at work).