Showing posts with label Assignment 3. Show all posts

Monday, March 13, 2017

Brandon Wehenkel: Serial Slice


Close Up (Physical Object)


Ghosted Black 3D Scan (Before)


Ghosted Black Serial Slice (After)


Ghosted Black Serial Slice


Concept:
Fall 2016, created a bust of a character of mine with polymer clay then scanned him into digital information.  Because I had several models 6.3M poly, 900k poly, 12k poly, and a 3k poly I thought that maybe this project would be perfect to test the serial slice design with him.  I have a facination of anthropomorpic design so his overall style is designed from several animals:  Gorilla, Chimpanzee, and Human.


Ready To Cut


Modeling Techniques:
How I made the model please refer to my 3D Scanned Object post.
My model started off as 6.3M polys.  I reduced it down to 12,744 polys for this project.  I used Mudbox to do this.  I pressed page down to change the normals map to level 1.  Then I exported as .obj and uploaded it to Maya where I used the cut faces tool to make a nice base for the model.  I used the edge selection tool and the face selection tool to delete any of the excess polys under the line.  Then extruded the mesh to close the hole.  The fill hole command didn't work for me.  I forgot how to manually close it in Maya so I made the hole fairly large so that I could just close it in Rhino with a series of mesh tools.  I used Mesh --> Mesh Edit Tools --> Delete Mesh Faces (to remove several of the weird naked edges around faces); Mesh --> Mesh Repair Tools --> Rebuild Mesh (to eliminate the rest of the naked edges); Unify Normals; Fill All Holes.

I used contour for the serial slicing as seen in the tutorial from class.  I separated each curve by .1875 inches.  The dowels cut are at .25 inches in diameter.  The dowel placement is in a slightly different spot than from the image above.

There are four holes in the model for dowels.  Because my traditional sculpting capabilities aren't perfect the figure isn't symmetrical; remember I used a scanner to make this model so all of that information is also translated. When I put dowels into the shoulders they popped out in bad areas.  I attempted to place the dowels in the most central locations. One of the dowels does not go all the way through while the other pokes out and stops at one of the outer slices.  I did not want it to go through because it would have created an ugly exit. 

I had to use a vice, nuts, and a ratchet strap to press all of the parts together.  I ran into a minor issue with warping so the ratchet strap was useful for pressing the materials together during gluing.


Keyshot Serial Slice (Front)


Materials:
In Keyshot:
I used Soft Maple and mixed mauve with the woods texture to get the color of wood that closely resembles that of Medium-density fiberboard.

In real life:
The wood I purchased is MDF, like I mentioned above, 1/4" 2'x4' sheet which for some reason is actually 3/16" - .1875" at Home Depot.
I found a metal threaded dowel that was 3' long in the parking lot about three months ago.  It is 1/4" in diameter.   I figured I would need it someday since I have 3 various sizes at home of various material types.  I have a few nuts at home that would work for securing the wood together.
I also have plenty of wood glue as well.


 Keyshot Serial Slice (Right)

Keyshot Serial Slice (Back)


Bubbah Natural Light Interior


Comparative


 Bubbah Natural Light Exterior


Bubbah Natural Light Exterior - Backside

Monday, October 31, 2016

Chelsea Griffin - Week 11 - Laser Engraving: Skateboard Deck


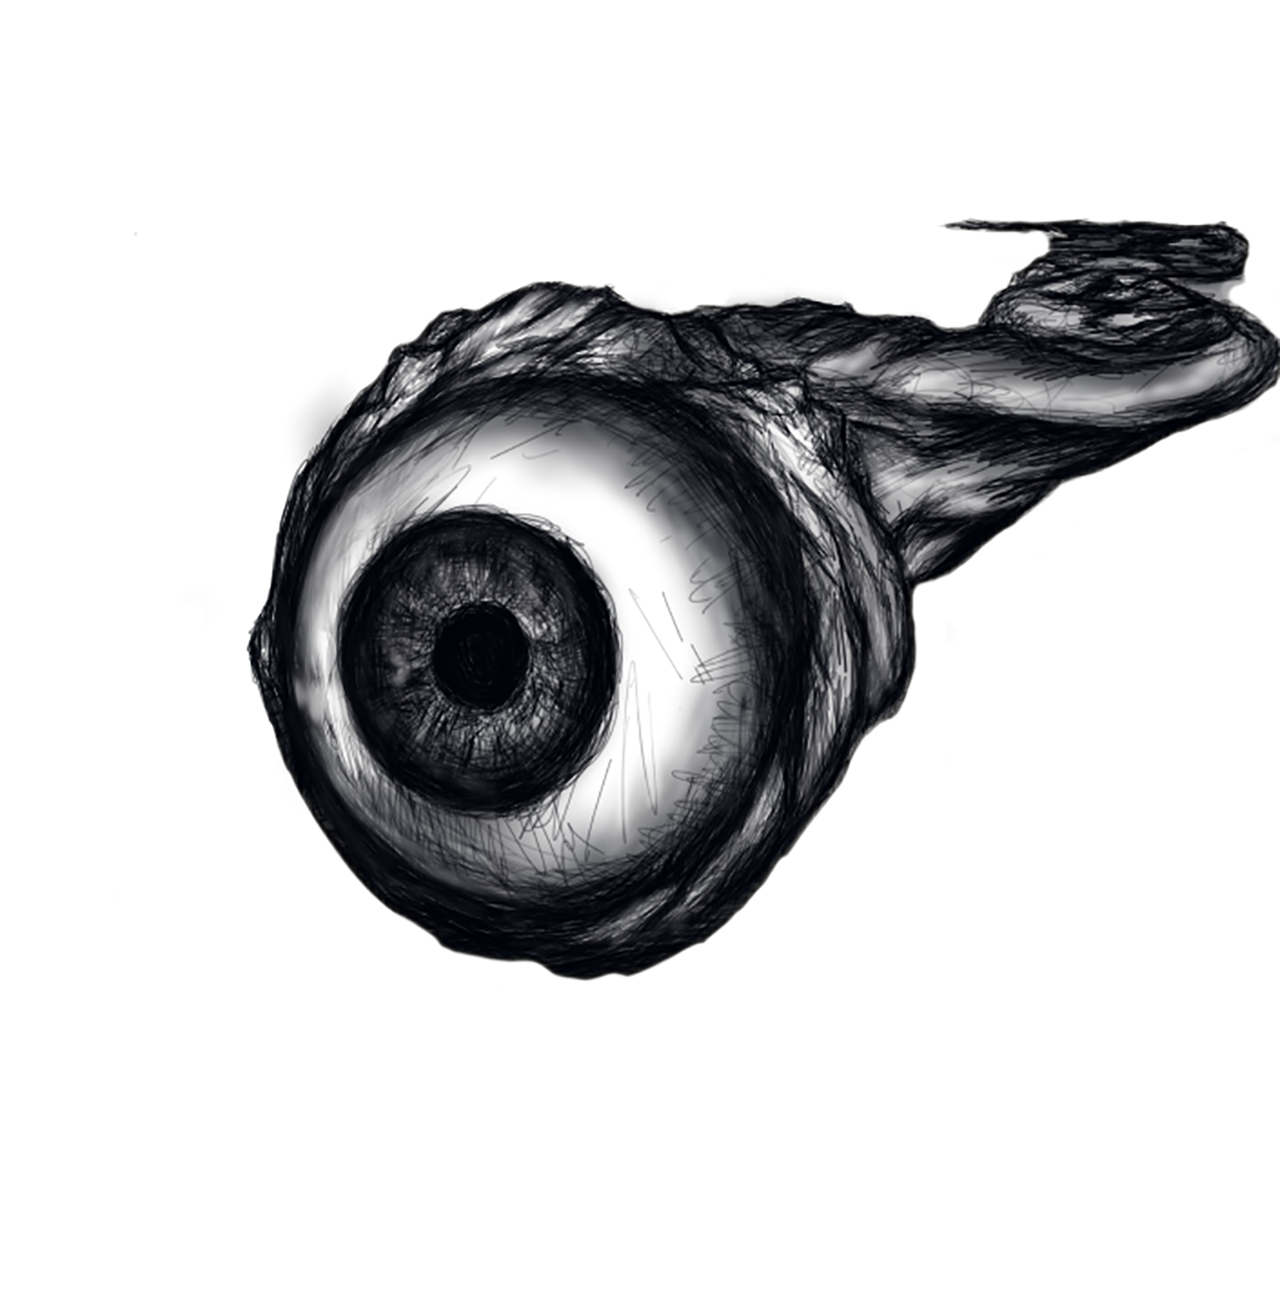
Concept : For this assignment, I knew right off the bat that I wanted to engrave a drawing onto my skateboard deck. I wasn't initially sure what kind of drawing to put on the board, but I knew that I wanted something that could somehow represent my own artistic identity. I might've mentioned in an earlier assignment that I often incorporate eyes into my work. I appreciate not only the aesthetic of the eye but also the deeper concepts that have been associated with them throughout human history.

Initial Sketch in Autodesk's Sketchbook


After using Image Trace in Adobe Illustrator

Image in 1-Touch Laser Photo

Test engraving on medium-density fibreboard

Deck after laser engraving


Deck after coated with transparent black stain, sanded, and finished with Watco Danish Oil (Medium Walnut)


Techniques : I drew the eye in Autodesk's Sketchbook using the pen and pencil tools, as well as a bit of airbrush. Once satisfied with the image, I opened the file in Adobe Illustrator and used Image Trace. I decided to raster the entire image.
Materials : For the trial engraving, I used some material that I had on hand called MDF (medium density fibreboard). It's not the same material as the wood of the skateboard deck, but I still felt it gave me a rough idea of what the final engraving would look like and helped me determine the different aspects I needed to fix in my Illustrator file. I stretched the file a bit when putting the image onto my skateboard template. I realized after the trial engraving that I didn't much care for this and plan on scaling it back to it's original state.
Once the deck was engraved, I decided to bring out the engraving a bit more by using a transparent black stain. After this, I lightly sanded the board in an attempt to get rid of the intense glossiness of the laminate that came with it. Once I was satisfied with the texture, I went over the entire board with some Watco Danish Oil. 


Sunday, October 9, 2016

Michael Crow: 3D Printing Assignment


Concept:
The Legend Of Zelda is my quintessential connection to all things nerdy. It is what made me want to pursue my career in animation, modeling and video games. In the N64 Game "Ocarina of Time" you are sent to several dungeons to collect "Medallions" to beat the game. To me each of these medallions represent challenges I have overcome in my life. I consider learning the ability to create physically what i perceive visual a milestone in my training and a talent to carry forward with me. So I decided to recreate these medallions and a base fitting them.


Modeling Techniques:
Each medallion started out the smae with a wide cylinder base, using a slightly smaller copy of the base with a Boolean difference to create the raised lip edge. From there it was mainly simple shapes, adjusted using their "Control Points" and duplicated to create the reliefs I needed to Boolean Combine or difference to get the shape I wanted. from there I was able to Fillet the edges to create a nice swooping join along the edges that wast to wide or to pointed.


Materials:
3D Print - The medallions were all 3D printed at the UT Dallas Art Barn Fabrication Lab, using ABS plastic. These were then coated with 3 layers of XTC-3D to give the model a more cohesive look and provide a primer for the different colored Acrylic paints. One different color for each of the Medallions. The base was laser cut from 11x14 sheets of .25" thick Acrylic. A base and a Top layer were cut and the sides facing each other were sanded down and conjoined using Super glue. Once that was hardened the entire base was sanded using 120 grit sand paper and coated in multiple layers of Black Gloss Spray Paint and the Golden triangles were attached with super glue


.


Keyshot - Starting with the base,I wanted it to be a dark stone color and texture, that way it would set a nice background for the colors used while also not really creating a distraction from the key parts of the piece. At first I wanted to make the medallions out of some sort of precious stone such as jade or ruby; depending on its color. However with such a dark platform the colors, being as transparent as they are, didn't get the effect I wanted across, instead much of their color was lost to the base. So instead I used textured and colored glass. It would make the model much more affordable, and even more importantly, give each of the medallions that transparent shine and luster, while still proudly displaying the color desired.


Saturday, October 8, 2016

Brandon Wehenkel: 3d Printing Assignment


Black & White Ghosted


Colored Ghosted


Concept:
I served onboard the USS Leyte Gulf (CG-55) from 2010-2012.  When thinking of things to create in 3D I figured a replica of something I once worked, served, and lived on would have been cool to recreate. So my inspiration came from my familiarity with the ship.  I really enjoy boats and sea life so creating this complicated structure was a reminiscence of my past.  I didn't know how to start so I looked up videos on youtube and a boat builder for Rhino was very helpful.


Overview


Front


Modeling Techniques:
First I followed the tutorials I found on Mr. Peterson's youtube page.  Then I used Points On and molded the linear lines I created to make a skeleton ship hull.  I used roughly 3 different shaped curves to create the bulbous bow on the front of the ship.  Then about 7 more curves using the same technique to create the rest of the ship.  The bulbous part was the hardest because when I mirrored over the geometry with loft I found some clipping.  I spent about 3 hours just messing around with the points on the curves to create the right shape.  After I was able to successfully mirror over the hull with as minimal bending between the connecting points I used cap planar holes.  The backside of the ship (aft face) did not close with planar holes so I had to use blend surface and it worked eventually.  Throughout the entirety of the ship, I had done multiple cap planar holes and blend surface to close the shapes.  Most of the shapes are just boxes that were cut with a polyline projection and then used the trim and cap planar hole technique.  I did the same technique with the hallways in the forward, midship, and hangar section to create the "simulated" rooms where the doors are open on the main deck.  Everything else is just mainly shapes, which I  extruded or intersected into other surfaces so they would print right.  I used polyline/arc to create the curves in the guardrail on the forecastle (front section of the ship) and blend surface to close the shape.  That was a little bit of a challenge since some of the curves didn't want to close once I projected a shape to cut and trim. I missed a lot of details (ex, anchor, propellers, guardrails that aren't walls but actually rails) that I was hoping to add to the various levels of the ship but after a while, I realized the parts were going to be too small so I stuck with what I had.  When I feel like revisiting this model I'll edit the parts I don't like, and add the details I do want to make something that I feel is a completed piece.


The hardest parts were the curves in the hull and the gun mounts.  Those took the longest to manipulate to create a comprehensive surface.


Forecastle POV


Aft Missile Deck POV


Materials:
I used swirled aluminum and then changed the color.  Because these ships are just aluminium with deck grey paint on top.  The smoke stacks are rubber material because those are usually very hot areas where the paint melts off and all that is left is a dark burnt color.  It's dangerous to be around those because shards of metal can fly out of them at random times.  The radars and satellite dishes are plastic and I changed those colors to be a little lighter than the paint of the ship because they are irradiated a lot of the times from radio signals and their paint is usually fried as well.  The only difference is they aren't exposed to high amounts of heat.


Before Chemical Wash


 Size comparison with minor broken parts (not pictured)


First I looked up if just putting spray paint on a ABS plastic model would be fine without first fixing it with a sealant.  I came to the conclusion that spray paint doesn't eat the material so I risked it.
On the actual model, I started with a silver spray paint to make a shine. Then I went over it with a dull hammered grey spray paint to give it less of a brand new look. I did some minor touches with a brush. Then I painted the underside where the ship usually sits in the water with a textured red-brown spray paint to simulate rust.


Painting Rust


Painting Grey


I carefully painted a black line that separated the grey from the rust.  I continued to do some minor detailing with black painting the deck black and some of the weapon barrel tips as well as the smoke stacks.  Then to finish the model completely, I added the white CG55 on the front bow with its signature alphanumeric nomenclature.


Finished Product

Sunday, October 12, 2014

Christopher Chambers - Project 3: Serial Slicing


For the first Serial Slice assignment, I decided to create some hand-sized hammers, of the sledge variety. Image courtesy of the GNU Free Documentation License.


The plan's to slot hard material over the inverted slots on the hammers' heads to make some simple, functional (if decorative) hammers. Given the scale wanted for structural rigidity, I had plenty of room to fit two!


As for cost... Definitely not feasible to print, for this size. Slicing would certainly be more cost effective, especially given that this is the price for one!


Renders will be provided when I next get chance to make it to campus, under the line below.

-----


I've got to say, cutting glass is tempting.

Saturday, October 11, 2014

Andrew Kelly: Project 3: Serial Slices

Rhino Screenshots
Following are some different screenshots from Rhino showing the slice layout and the three versions of the model.


----------------------------------------------------------------------------
Thematic Description
     For this project I wanted to make a more complex shape in rhino to explore more organic curve modeling methods, including different functions to connect and extrude surfaces. With the bounty of autumn upon us, I was inspired by the falling leaves and the balding trees, and I wanted to make a totem to them

----------------------------------------------------------------------------
Inspiration
     Recently I've been spending a lot of time outside because of a busy schedule, and I took pictures of some inspirational fall things I see daily that influenced my process:


----------------------------------------------------------------------------
Renders