Showing posts with label Fall2014. Show all posts

Monday, December 15, 2014

Brian Chancellor: Week 14-15: Pepakura


When designing a chess piece I thought a lot about the roles each piece plays in the game.  I decided that the King should be a large lumbering beast since he can move in any direction but only one space at a time.  Once I had decided to make a king piece, I thought about a theme.  I came to the conclusion that I should make a TRex piece.  Not only am I fascinated by dinosaurs, but TRex means King of the Tyrant Lizards.  This makes it a perfect pick for a King piece of a dino themed chess set.


It was very difficult to model this chess piece.  I ended up remodeling it three or four times due to trying to make this organic shape fit within a reasonable poly count.  

The most difficult part for me was laying the pieces out in pepakura.  I must have redone this process eight times.


Below are the next two steps where I took my pepakura files and first transferred them to Illustrator.  There I made sure the lines were properly segmented for folding.  I also made sure that the color was correct for laser cutting.  Then I moved the AI files into Rhino so I could make sure they were formatted properly for the laser cutting machine.  I probably redid these steps six or so times.  I would make a small mistake somewhere and have to redo the entire process.  This project was the most difficult for me and if I was to redo it, I would pick a much simpler shape with fewer faces.


My files did not end up getting printed due to my many errors when creating the Rhino files.  I did get my final version in on the dropbox before the cutoff time.  The last issue I did not see was that my inner cut lines were much to small and the cutting process would take an hour per sheet. My final files were on 2.5 sheets of cardboard.  This would be unreasonable to cut these because it would take too much time out of other people's projects.  In the future I would make sure I have more uniform faces on my 3D model so that I can have larger inner cut lines.  This would help with both assembly and cut time.

I choose to render my lizard King in keyshot with a black plastic look because it is supposed to be a chess piece and ideally it would be made of plastic.


Brian Chancellor: Week 13: Geometric Unfolding 101


For this project I really wanted to play with the negative space and the shapes I could cut into the cardboard faces.  I really dove into Illustrator and my main inspiration for this practice piece was the various tools in Illustrator.  I have not had much practice and I more or less played around with the various functions until I found something I liked that worked well with the cardboard.  Below you can see my cutout and since this was printed directly from the Illustrator file, I have no 3D Rhino model or keyshot model to show.  


Brian Chancellor Week 11: Architectonic Lamp


This is my architectonic lamp.  For this project I decided to try for something very unique and more difficult to make than my previous project.  I drew inspiration from the marker's shape that is in the Dead Space franchise.  You can see that image below.


I created two separate spiral shapes in rhino.  I twisted each around a central axis and inverted one.  After that I made sure to hollow out the center with an inverted cone.  this would allow for the cord and bulb to fit snugly.  I made sure that the bottom hole was one inch in diameter so that the base of the lamp would fit well.  You can see my base model below.


The next few steps took me the longest.  I had to repeat the slicing part of this project four or five times to get a shape I was pleased with.  The first time I also made the pipes to large and had to come back and edit the slots.


And here below is my lamp cut and assembled.  It turned out much better than I had expected with its unusual shape.  It was difficult to piece together much like a puzzle.


In keyshot I choose to use a glossy black plastic material.  I wanted the lamp to look ominous and the black color goes back to the inspiration I took from Dead Space.  With the sharp corners and spiral shapes black makes the lamp look ominous.


Sunday, December 14, 2014

The-Phong "James" Pham, Michelle Villarmarin, Ryan Whorton : Pepakura Chess Piece

We chose a knight and a pawn for our pepakura assignment. We though the horse head of the knight piece would make for an interesting shape, and we thought the pawn could create the lowest poly count. We thought that the juxtaposition of pushing one piece to the 200 poly limit next to a piece where we tried to use a few polygons as possible would be interesting.

We split the build in building the base and the head separately and the pawn was simple enough for one person. We did simply polygonal modeling. Working on one half and mirroring the other half for symmetry. For the ears of the horse we did a boolean union and used the interactive split tool to clean up the mesh.

For the materials we chose a black finish. We felt the sleek look would compliment the low poly designs, giving it a more sophisticated feel.

We looked at sculpts of horses for inspiration
http://www.fly-by-night.net/horsehead.html


Monday, December 1, 2014

Nicolas Vallier - Project 7 - Geometric Unfolding

For my geometric unfolding, I chose to make a twisted triangular prism. I liked the shape of it because it looked impossible from certain angles. The impossibility sort of loosely ties into Doctor Who, (in which basically everything is impossible. This was even more apparent when I tried to put it together and I had no idea what to do.


Monday, November 17, 2014

The-Phong "James" Pham: Week 11 Waffle Lamp

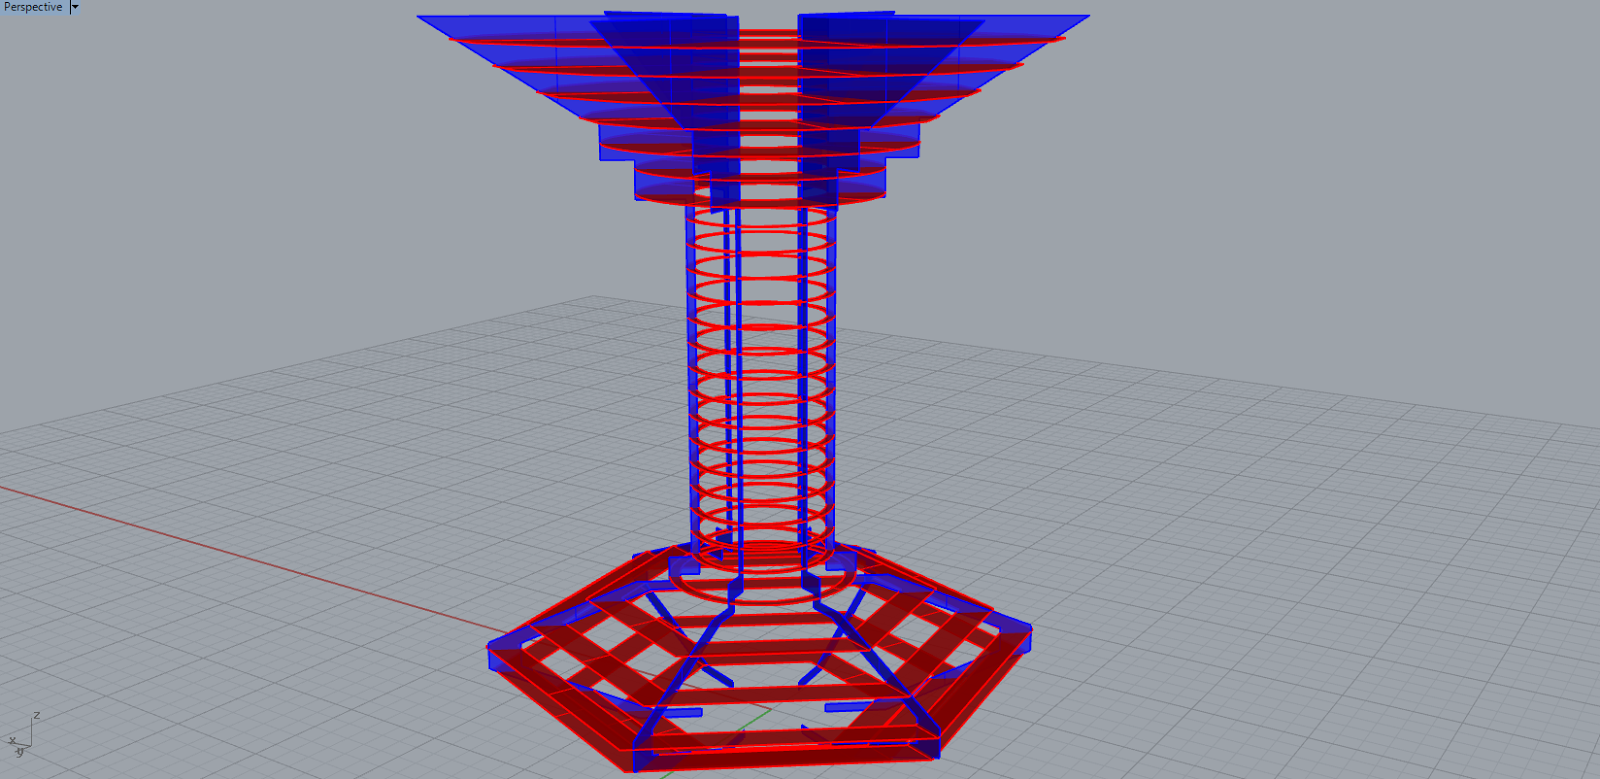
                I created rectangle shapes and use the BooleanUnion command to connect them.  I also used the BooleanDifference command to remove chunks from the object. I then used a cylinder to cut out the inside of the lamp. I used the Section command to make the x and y planes. I had difficulty with the pipes not snapping where I wanted to, so I used the CutMyRibs script. After using the MassiveUnroll script I had to use the explode and extend command on some curves to fix some of the bugs that the CutMyRibs script can cause. Then I organized the layers for the laser cutter.  

                My inspiration came from memories of my father's old work place, when he was an engineer working at Ericsson. My memory was that the building was very geometric, so I looked up cubic architecture. The waffle looked matched well with their logo,

                I chose a blue anodized brushed aluminum and a white plastic for my rendering, the colors of the Ericsson company. I couldn't quite figure out how to create the lighting for the keyshot rendering nor did I really know how to include the 2D laser cutting curves into the rendering.


Friday, November 14, 2014

Nicolas Vallier - Project 6 - Lamp

Test Shapes:

TARDIS (from Doctor Who) Inspired Model: "T40"

"Cragg"

"Helmet"

"Unicron"

 This is the one that I decided on. 

Inspiration:
Inspiration for this piece came from a device on Doctor Who called "The Moment," which was a box/weapon that was so powerful, it became sentient. 

In regards of design, I couldn't make the gears on the side of the box prominent on the model if it was sliced, so I made it a prominent feature of the top part of the piece.

Naked Edge Check:


Update - The Print Out: