Showing posts with label Waffles. Show all posts

Sunday, May 1, 2016

Thomas Perugini: Waffle Structure

For a long time I was uninspired in what to do for this project. Then I came across some images of retro-futuristic ray guns. I believe this type of style is called "Gothic raygun." It is a bit of a 1940s-1950s prediction of what the technology of the future would look like.


 To create the model I drew a curve for the main body silhouette, and then extruded it around an axis. I then made a curve for the handle and trigger guard, and extruded it. The fin was also a curve that was extruded. The tip was a flat cone object with a sphere at the end. I then used the cut my ribs code to make the outlines for the laser cut.


 I used .25' cardboard for my final product, and I removed more extraneous pieces from the trigger guard and the handle to make it easier to hold. The main body was a little tight, but I got it all together in the end.


Monday, April 13, 2015

Tanner Mortenson Week 12: Geometric Lamp

For week 12, I continued to build on the idea for my geometric lamp.
After last week, I had finalized my idea and began to get the design ready for Laser Cutting.
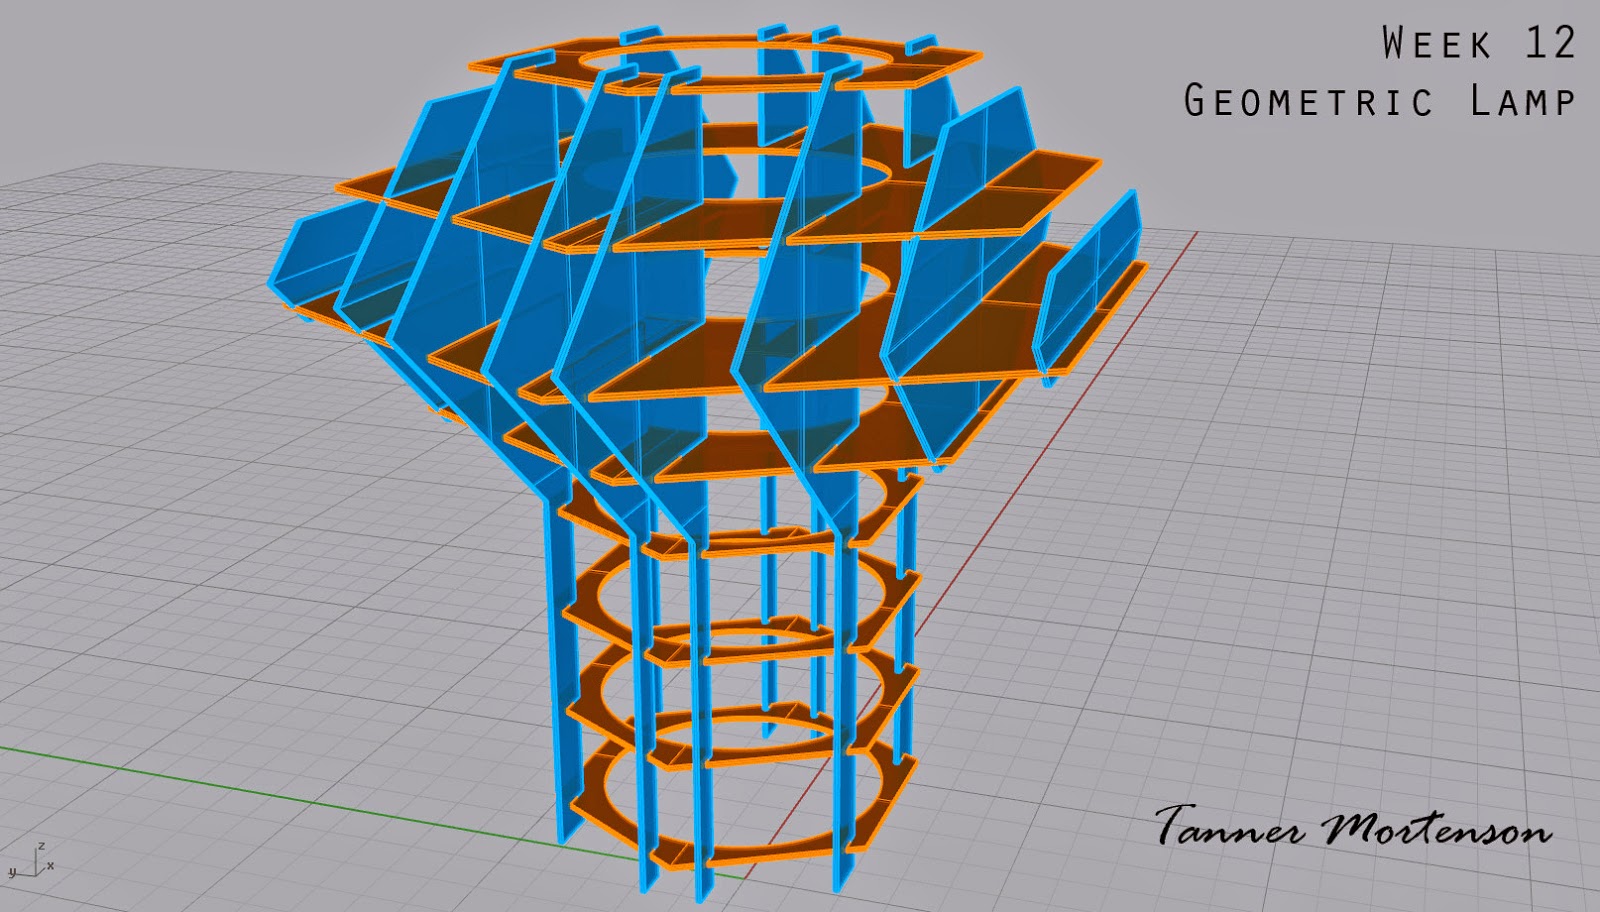
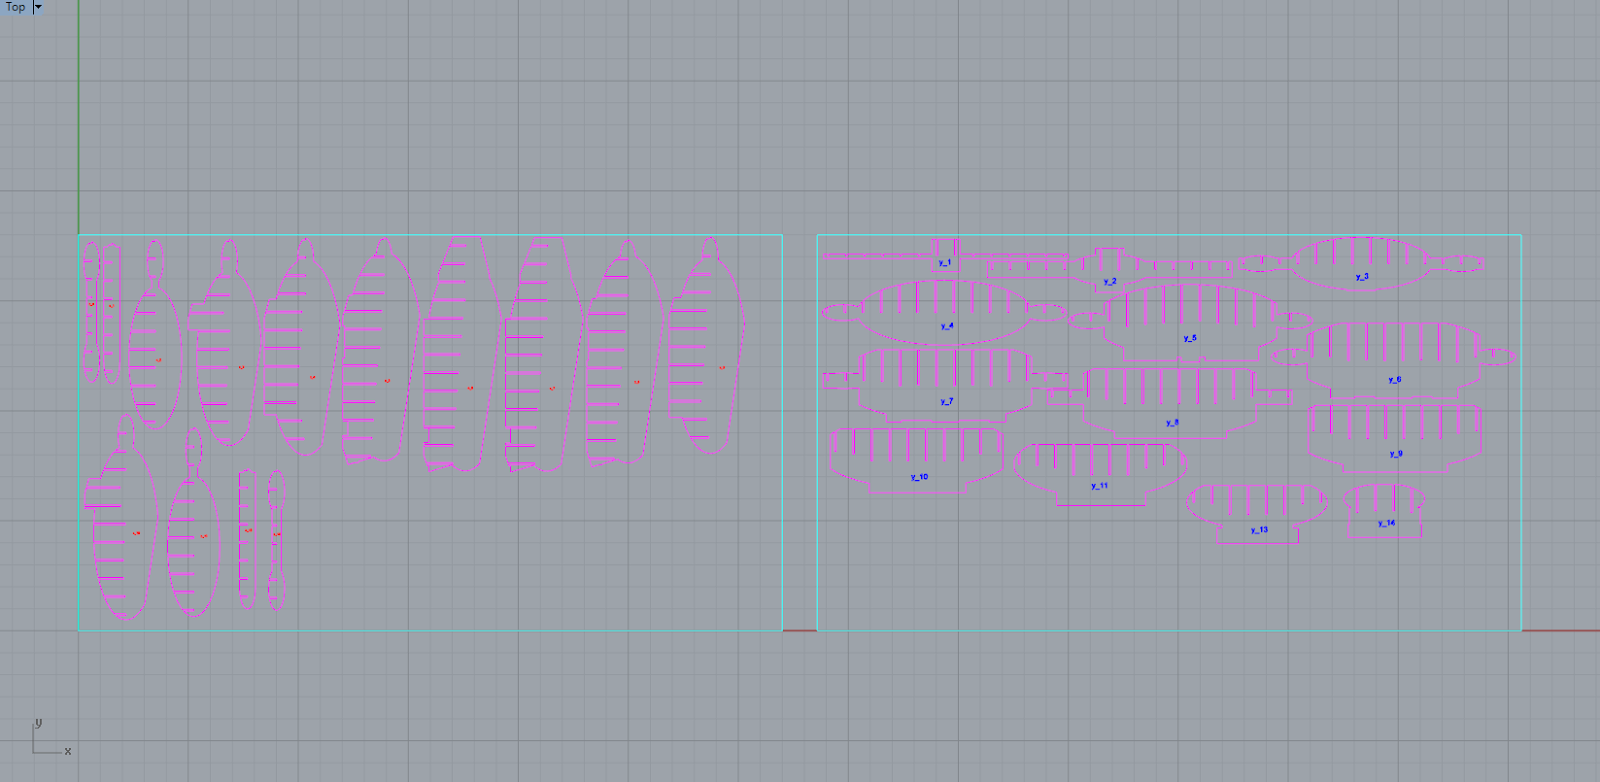
Once the design was finalized, I used two helpful scripts within Rhino- "Cut My Ribs" and "Massive Unroll". Cut My Ribs allowed me to select the different oriented pieces, and then allow the program to automatically cut slots into each piece upon their intersection.  Next, Massive Unroll allowed each of those individual cut pieces to be laid out cleanly so I could then arrange them on my cutting sheet.

I chose to use a 30x36 sheet of plexiglass to make my lamp out of, purchased from Home Depot.
In addition, I had to get another small piece of plexiglass to account for the excess pieces that were unable to fit on just one sheet.  

I decided to choose the thinner plexiglass sheets to reduce the overall weight of the lamp. Looking back, I would have loved to know silicone was not the best adhesive for this project, as it turned greasy and was not clear as I had hoped it would be.  It was also very flexible still when dry, so the structure of the lamp was very shifty.
The light was placed in the middle of the upper portion of the lamp, allowing light to not only be projected left to right and out of the top, but also downward in an ambient fashion.
This unique direction of light is one of the reasons I chose this design.

Rhino model screenshots:


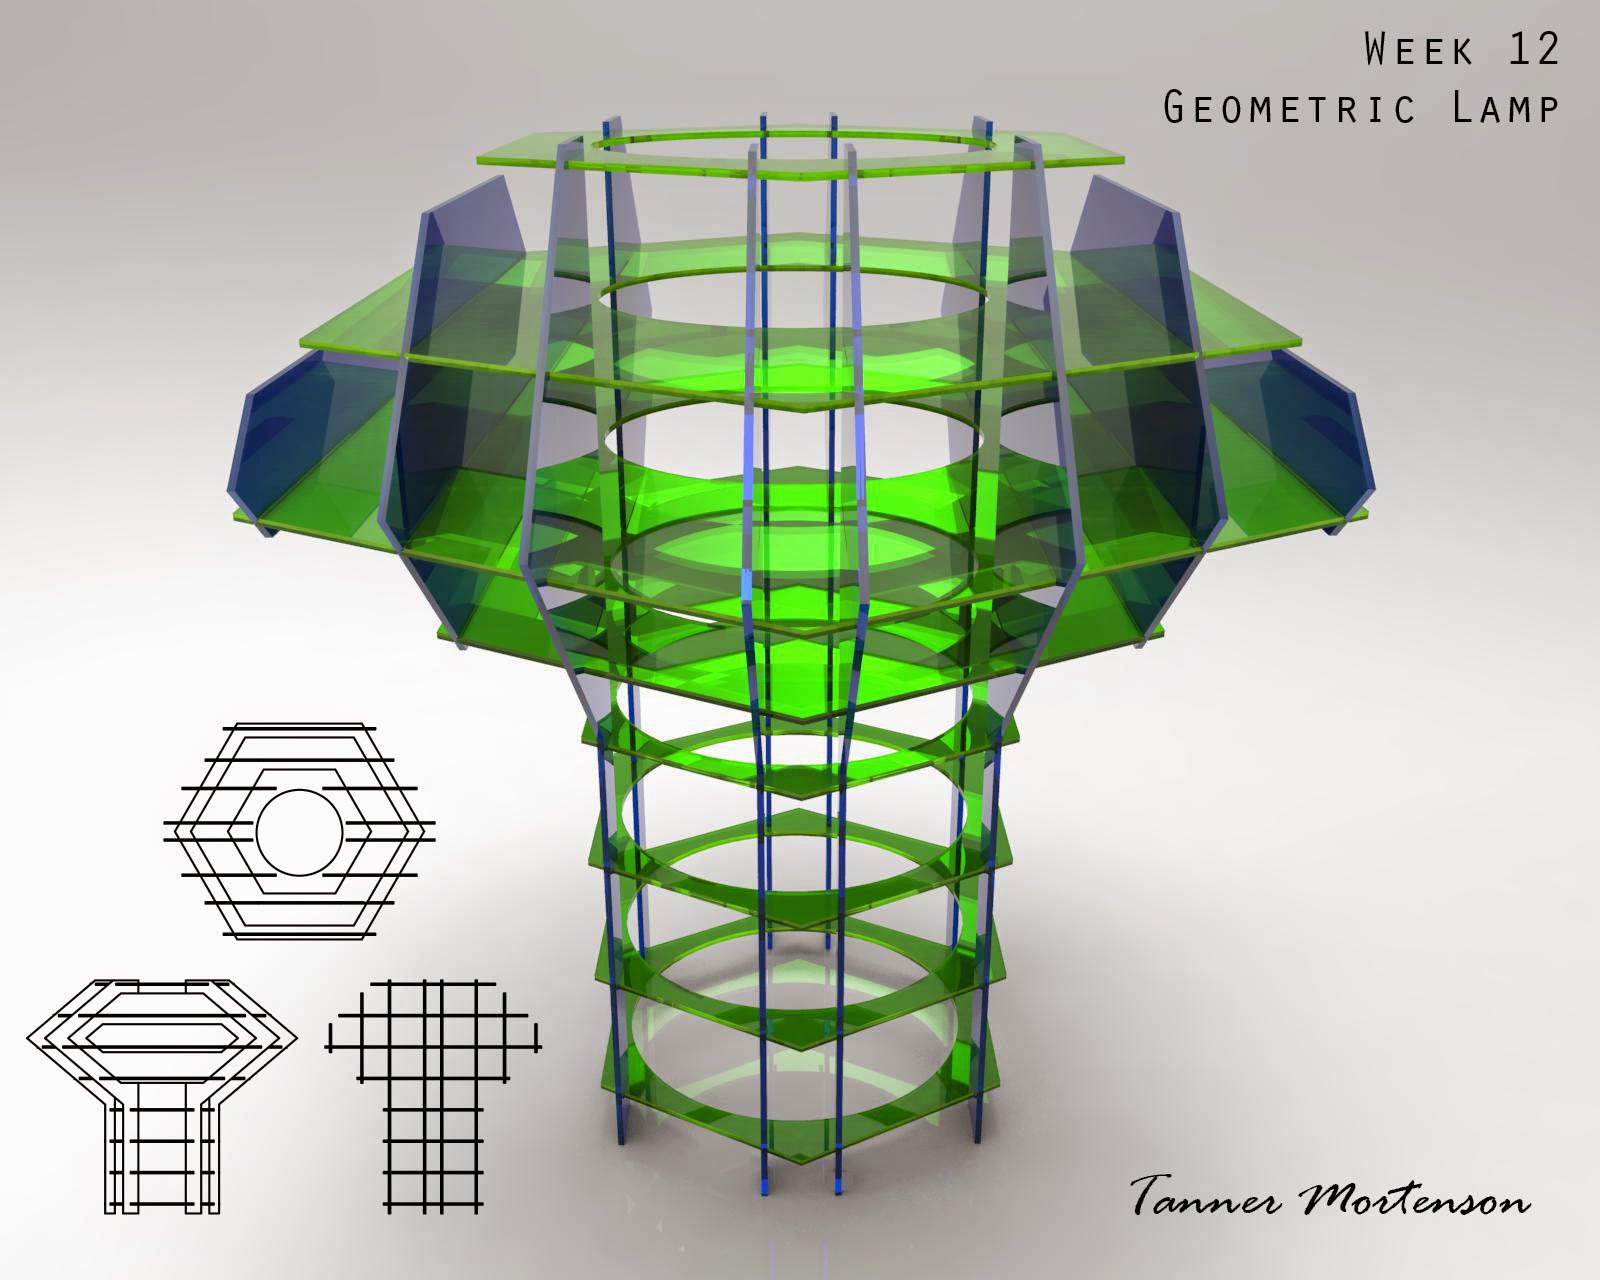
Laser Cut sheet design and layout:

Keyshot Renderings:


Final Product:


Light on: 


At rest on a stool.


Monday, March 30, 2015

Roman Hunt: Week 10: Waffles

For this project, I wanted to reuse a model I had already created in order to get a feel for the extent to which the waffle cutting process could be applied to geometry not created with it in mind. Given that this was my first time using the process, I also thought it best to use a relatively simple foundation that could be easily sliced and assembled. Ultimately, I went with a lighthouse that I made last semester; after consulting with Professor Scott, I further simplified the model, reworking the upper section to the point that the model now feels more like a tower or skyscraper.

As I recall, the methods used to create the original model were fairly straightforward. I began with a cube and scaled it to get the basic shape before adding and working with edge loops and extrusions to refine the form. The light and roof of the lighthouse were separate pieces of geometry.

When selecting materials in Keyshot, I decided to use a combination of worn metal and stone, giving the impression that the structure was made of several different elements and was somewhat rugged from age.

Original lighthouse model
Simplified model (left) and waffle sliced model (right)
Laser cutting board layout
Keyshot Render A
Keyshot Render B

Assembled Model

Thursday, December 11, 2014

David Billings: Week 10 : Waffles

My design intent for this piece was one that could display a unique form and shape while having a minimum number of waffle structuring to display this. Inspiration for this came from utilizing the basic shapes of geometry that would be easily recognizable in form with minimal structuring. 

Created in Rhino I used the boolean functions to combine cylinders, spheres and cones into the final shape. After using the provided scripts to waffle the structure I began selectively removing pieces in order to minimize the structure while retaining its form

The material I chose in keyshot was that of wood as it was intended to be cut out of, and not taken into a further material or direction than that.


Monday, November 17, 2014

Ed Whetstone: Project 5, Waffles (Ripple Clock)

This post has all content for Assignment 4, serial form for laser cutting.

See all updates below the fold!


Friday, November 14, 2014

Nicolas Vallier - Project 6 - Lamp

Test Shapes:

TARDIS (from Doctor Who) Inspired Model: "T40"

"Cragg"

"Helmet"

"Unicron"

 This is the one that I decided on. 

Inspiration:
Inspiration for this piece came from a device on Doctor Who called "The Moment," which was a box/weapon that was so powerful, it became sentient. 

In regards of design, I couldn't make the gears on the side of the box prominent on the model if it was sliced, so I made it a prominent feature of the top part of the piece.

Naked Edge Check:


Update - The Print Out:


Sunday, November 2, 2014

Nicolas Vallier - Project 5 - Waffle ("Handles")

For this project I took some design cues from the Cybermen (of Doctor Who). I thought about making a shell of their outer casing for their face and using it as a wall mount. It could probably be used as a night light, lamp, or other fixture. 


Rhino Screenshot with no Naked Edges:

Rhino Screenshot 2 (backside): 

I'm having trouble with exploding the y part for laying into the boundaries. 
Keyshot renders coming when I can get access to Keyshot at UTD.

Update:

Keyshot Images


2nd Update:
I redid the slot parts to better fit my board (to .16). Also, due to problems with the middle two pieces, I removed them and replaced them.

Layout:

3rd Update: 
Due to the unroll/cut ribs script acting up, I had to edit the middle of the head so that the ribs would appear. Also, on the final model (the printout) I had decided to remove the top rib, because it wouldn't work out,


The Print Out: