Wednesday, November 29, 2023

Daniel Morel ATCM 3355.001 F23: Project 4: Makercase Lamp


Concept:

                My neighbors and their love for EDM DJ “Subtronics,” were the inspiration for this project. We’ve become great friends (they even dog sit for me), they know about the things I do here in ATEC, and have mentioned that it would be great if I 
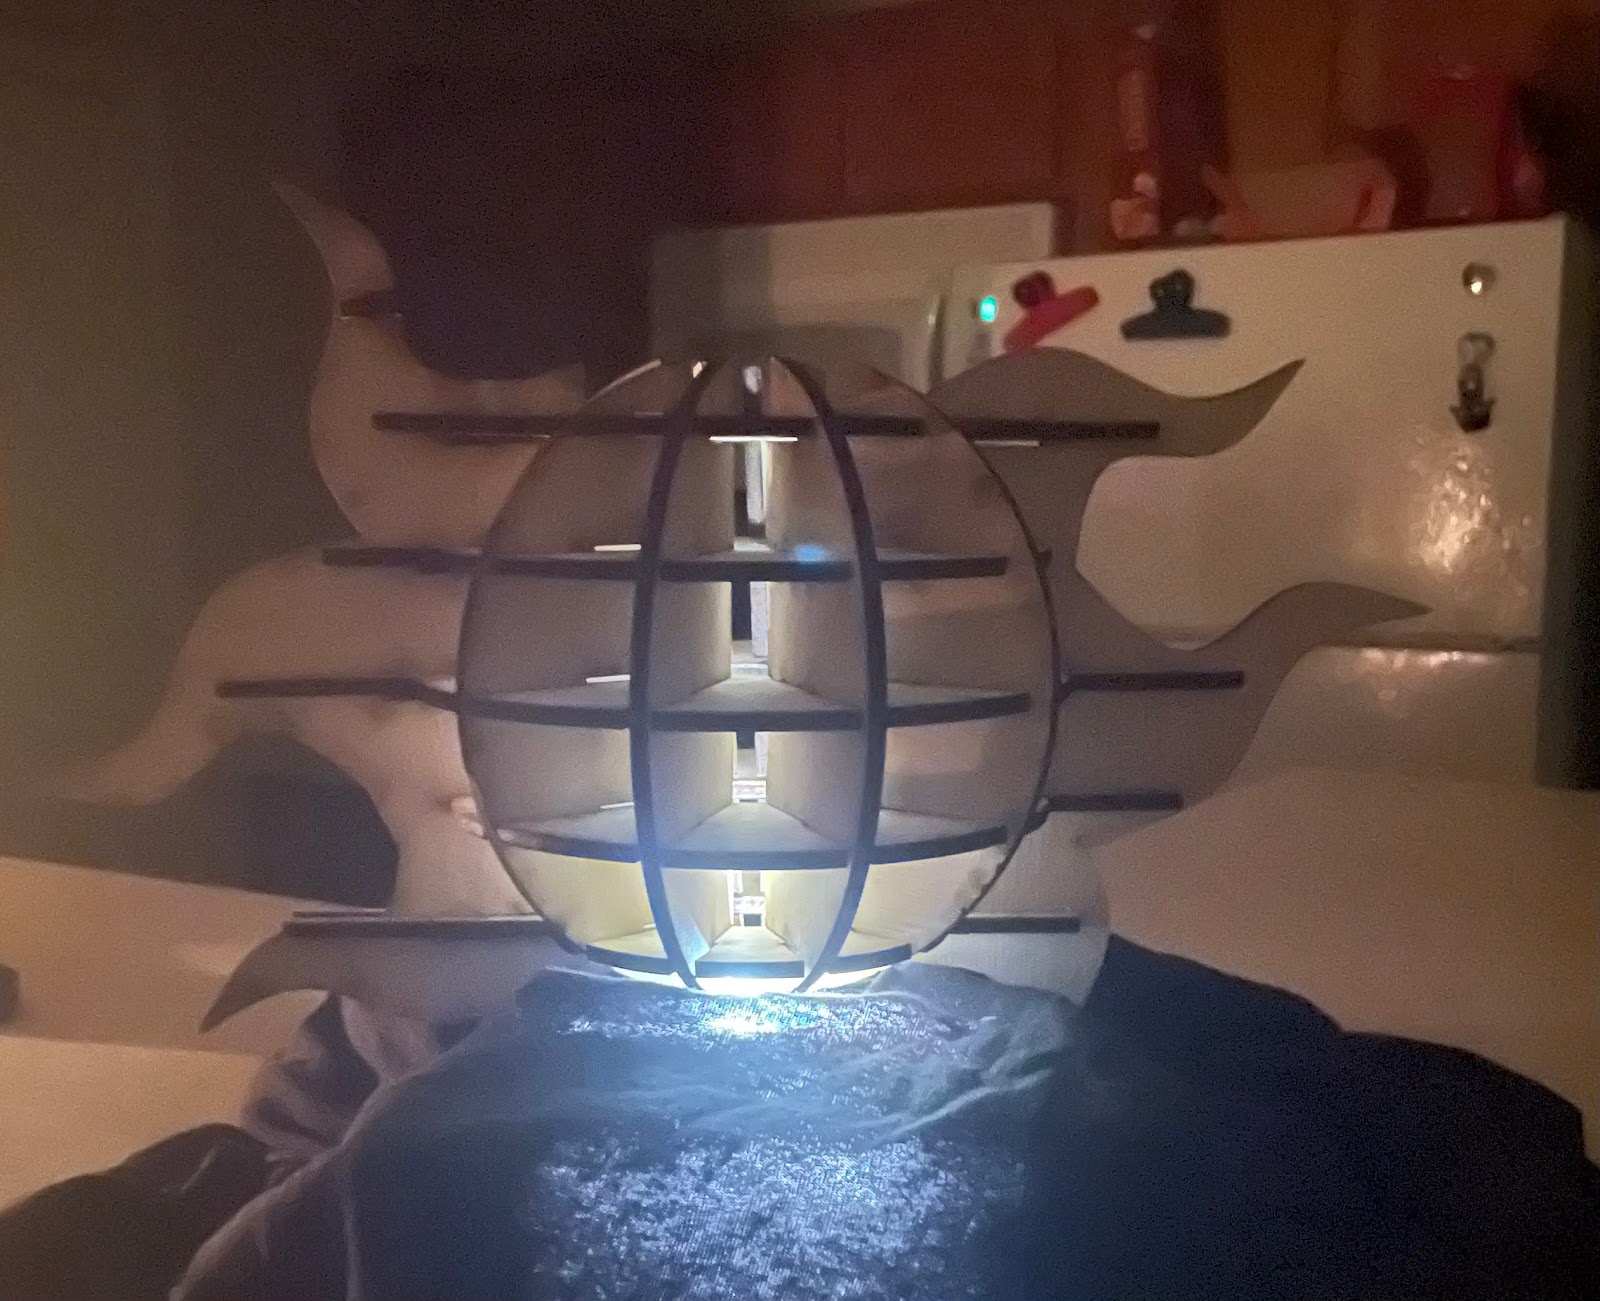
made them something with the Subtronics Cyclops logo (top right corner in pic). Enter our lamp project and so I set out to design something that would encompass their love for EDM and my appreciation for them.

Process:

                I started with some research and sketches to get some early layouts of the logo and symbols for other things you might see at a concert. The Adobe Illustrator tutorial videos got me thinking I could pull some stock vector art to turn into engraving patterns and so I toyed with that and the tween curves techniques while developing my design. I used Makercase to get the big panels cut before bringing everything into Rhino for adjustments like trimming all the overlapping lines so the laser wouldn’t make a mess of things at cut time. Some extrudes got me the 3D model to render in Keyshot where I played with labels to simulate the engraved areas.


Materials:

                Aside from the Sande Plywood, and other items off the shopping list, the only things I added were some sketchbook paper to cover the Cyclops logo cutouts and some Varathane wood stain in smoke gray. Combined with the burnt edges from the laser cutting I should end up with a nice coloration that matches their home décor and a soft diffuse light that should blend in with their own in-house laser shows and mini raves


Monday, November 27, 2023

Clement Lee ATCM 3355: Project 4 Makercase Lamp


Makercase Lamp: Jigsaw


Concept
I thought of the mathematical achievement recently (2023) found by Craig Kaplan et al.: the discovery of an infinite set of aperiodic monotiles. since the lamp has four sides, i decided to use both ends of the set, which do not force aperiodicity, namely the chevron piece and the six-figure, as well as the now-famed icon of the hat tile and the spectre tile, a weakly chiral aperiodic monotile

The gist of the paper is that Kaplan et al. found a tile that can tile the plane without having a repeating pattern

Process
I watched as many videos as I could on such subject, and skimmed the paper, but I could not understand how a tile arrangement like such was generated. What I do know is that all instances of the tiles that I will use can be made with increments of 30 degrees. I made each pattern manually, using the above animation as a reference. 

I used the makercase website, but I realized from the generated 3D model that the formation was not what I wanted, so I decided to just use the makercase model as inspiration to make my own template. 

Then, I used a curve attractor setup and used random curves as input, and the tiling as a set multiple input curves. A tiling is defined by shapes that fill a plane without gaps or overlaps. This implies that in no instance should any of the baked tiles remain its original size, as a tiling has duplicate edges everywhere. i had different ranges of sizes to rescale to, and lowered the range values for one side so that you can rotate the lamp to allow in less light


Materials
My friend James Malik helped me get quarter inch wood, and another friend Andrew Scott gave me a light cord


The North Lab was helpful in cutting it, and it cost me 15 minutes (16 dollars) to laser cut the wood. The technician respaced the figures so that it was closer together so that it wasted less wood and took less time
The wood was really easy to put together, and Andrew Scott gave me some loctite glue which cures within ~5 minutes, which was really quick. It felt deceptively simple, maybe I did something wrong but did not catch it. 

Conclusion
This is not my first time laser cutting, but I was surprised at my results nonetheless. If I were to make a lamp from my own terms, I would try to emulate a yosegi pattern (japanese parquetry shown below) on the side, next time I might play with the overall shape of the lantern. 


Skylar Fornfeist - Architectonic Lamp


Concept:


I decided to make a lamp that replicated the sun. I wanted to push myself to make and hollow out something that was a little more problematic and it ended up working out. I loved the idea of having a sun-shaped lamp radiate from the inside with a light. I love the end result and will most likely end up making a moon lamp to go with it. I didn’t mess with the settings that much since I liked the way it looked with the original settings. I then messed with the scale so I could fit all the pieces on one board. 

Process: 

The process began with trying to make the circular shape of the base and then drawing the flames with curves. I then hallowed out each piece individually and merged them all together. I used the provided grasshopper script to radial waffle it. I didn’t mess with the settings that much since I liked the way it looked with the original settings. I then messed with the scale so I could fit all the pieces on one board.


Materials:


For the renders, I used different types of wood to accentuate the warmness of the light. I used a sphere with a luminescent material to act as the light for the lamp. This casts a warm glow on the wood. In real life, I used a quarter-inch-thick piece of birch. I love how both versions came out.


Caleb Wang Project 4: MakerCase Lamp

 Concept: I wanted to make a small lamp that would be cozy and give off a lot of light. 

Process: Starting with the MakerCase software, I designed and downloaded the outline file and imported the .svg into Rhino. Using the provided Voronoi script, I adjusted the settings until I found a pattern for each side that I liked. I decided to keep the number of cells rather low, at 12, so that there would be more open space for the light to shine through. After formatting the cuts to the required guidelines for the machine shop, I sent it over to them and got my pattern laser cut.

Upon receiving the cuts, I realized that the notches at the bottom of the lamp sides were a bit too small for the bottom slab to fit in. I ended up sanding down the edges of the bottom slab on each side with 100-grit sandpaper to make them thin enough to fit in the notches. I then superglued the sides and notches together, and then superglued the light fixture to the hole in the middle.

Materials: I ended up going with a piece of birch sande plywood. As this was my first time laser cutting, I learned a lot about the process and things to improve on for next time.


Reina Park: Architectonic Lamp

Concept:


For this project, I tried to create a lamp resembling a mushroom house I've always dreamed of having since childhood. I thought the texture and color of the wood panel and the theme would get along well due to its natural aesthetic. 


Process:


To start off, I first built a mushroom model in Rhino by using curves and loft commands. Then, I resized the bottom part of the mushroom and used boolean difference command to create a divot that represents the door. I also crated a 1-inch cylinder so I can put a bulb when I'm putting my parts together. And then, I imported the given Grasshopper into my Rhino file to slice my model. I adjusted a few things including slice counts and interaction offset. Then, I baked my sliced lamp model surfaces for laser cutting.  


Materials:


For the rendering process, I imported the lightbulb model seen above to my lamp model file so I could use lights on my model. Afterwards, I imported the lamp and lightbulb into Keyshot. For my lamp, I used Maple Wood Rough Material. As for the lightbulb, I used Area Light 1200 Lumen Warm #5. I ended up slightly adjusting both the brightness as well as the color of the light itself.


James Malik ATCM 3355: Project 4 Makercase Lamp

 James Malik

Makercase Lamp


Concept

I was inspired by honeycombs and beehives. I attempted to stay within the shapes and typical beehive vibe. Feels very open and free. 


Process

I used the website given to get the box shape. Followed by applying each script to a different side. I played with the shapes, which eventually turned out how I'd like. I attempted a few different ideas but settled on this one. 


Materials

I purchased the wood required and the Loctite. This project was easy to complete from there, using the laser cutter. As for the digital version, I used wood to fill the image color.


Each layer is highlighted differently. 

Aesthetic

Team Jacob?


Jinkies!


wow

Rickie Jones ATCM 3355: Project 4 Makercase Lamp

 Makercase Lamp 


Keyshot 1

Concept:


Reference 1

Reference 2


My makercase lamp was inspired by gothic architecture. More specifically the straight lines, the sharp objects and the engravings within the architecture. 


Process:

Laser cut curves

Ghosted and Make2D


Firstly I started by using the makercase site to make a box with with 5 fingers and no top. I exported that into rhino and began using the provided voronoi definition on two sides of the box. Next I used the provided lines definition on the two other sides that have the cross on it. I then added the cross and two logos that I had made back in high school to the front and back. I boolean differenced the logos and cross out of the box. Lastly I chamfered the bottom of the box to make it look more sleek. 


Materials:

Keyshot 2

Keyshot 3


I got the wood laser cut and assembled using Loctite. This lamp was partially made with the idea to give it to my mom so I added white parchment paper to the insides of the lamp to help the light give off a modern, warm tone. I also decided not to paint it because I like the burn marks from the laser.


Michael Murphy - ATCM 3355.001 Project 4: Makercase Lamp

Concept:


I was inspired by the elemental symbols from the cartoon series, Avatar the Last Airbender. The designs felt like they would be great for a lamp, especially with one element on each side. 


Process:


I started out the process with makercase and figured out the length I wanted for each side. I did four sides and the bottom to focus on without a top. Then I created the shapes for the lamp on Rhino 7. The air and earth symbols would be on the front and back sides while the water and fire symbols would be on the left and right sides. I experimented with grasshopper to see if I could change the curves. Later on, I used simple shapes to represent the symbols. Once I had the file prepared, I brought the materials I ordered for laser cutting. 


After doing the laser cutting for all of the sides, I had to make sure that they would fit together to create the lamp. Not every side was aligning exactly the same, so they were glued for the lamp. 


Materials:

I used plywood as the material to do laser cutting on. I also got a lightbulb and a chord for the lamp to work. Once all of the wooden sides were cut, Loctite glue was applied to hold up each corner and the smaller circular circles in one of the sides to keep the shapes together. 


Sunday, November 26, 2023

Tately Diep - ATCM 3355.001 Project 4: Architectonic Lamp

Concept:

Shiitake Mushroom (Hanagiri Cut)

For this project, I was inspired to create a mushroom lamp, however, I wanted to add a unique twist to the generic mushroom shape. My design was influenced by the Shiitake mushroom and the traditional Hanagiri cutting technique applied to Shiitake mushrooms that appear as a four or six-pointed diagonal crossed shape. This cutting technique supposedly helps with flavor absorption and release in cooking purely for aesthetic reasons.

Process:


Radial Waffle Black Ghosted View

Radial Waffle Arctic View + Laser Cut Curves

I made my Radial Waffle lamp by utilizing the Grasshopper script provided by Professor Scott which requires a Mesh or Solid form with a hallowed out middle. I started by creating the rounded dome-like shape of the mushroom's top and bottom. I used Boolean Difference to cut out the Hanagiri cut and the cylindrical hole to create a spot for my light source. When creating the Radial Waffle 3D- Model, I took the laser-cut sliced model from the Grasshopper script, and then PlanarSrf the curves, ExtrudeSrf as a solid to create 1/4" thick panels that would replicate the laser-cut wood.

Materials:

Radial Waffle Render - OFF
Radial Render - ON
For materials, I decided to go for a simple light wood that would resemble the wooden panel that I would be laser-cutting with. Although the actual model has burned edges that make the lamp have a darker wood appearance, I kept the material light as I liked the clean look of the light pine wood. I also added a small light source inside my renders to replicate what the final modeled lamp could look like as the light peaks through the waffled layers.

Final Lasercut Lamp - OFF/ON

Overall, I would say I am satisfied with how my Shiitake mushroom lamp came out. I debated whether to paint the wood all dark brown to make the lamp color more cohesive, but decided to leave the wooden panel's original color as it gives a great contrast from the burned edges. I also decided to go with some LED fairy lights rather than a tea light as I thought it would be a tight fit for the light source and overall produce less heat than a light bulb. What I would've changed would be to create the lamp on a slightly larger scale and create a bigger opening in the middle to support larger light bulbs, but I like how the smaller version came out.