

Black & White Ghosted

Colored Ghosted
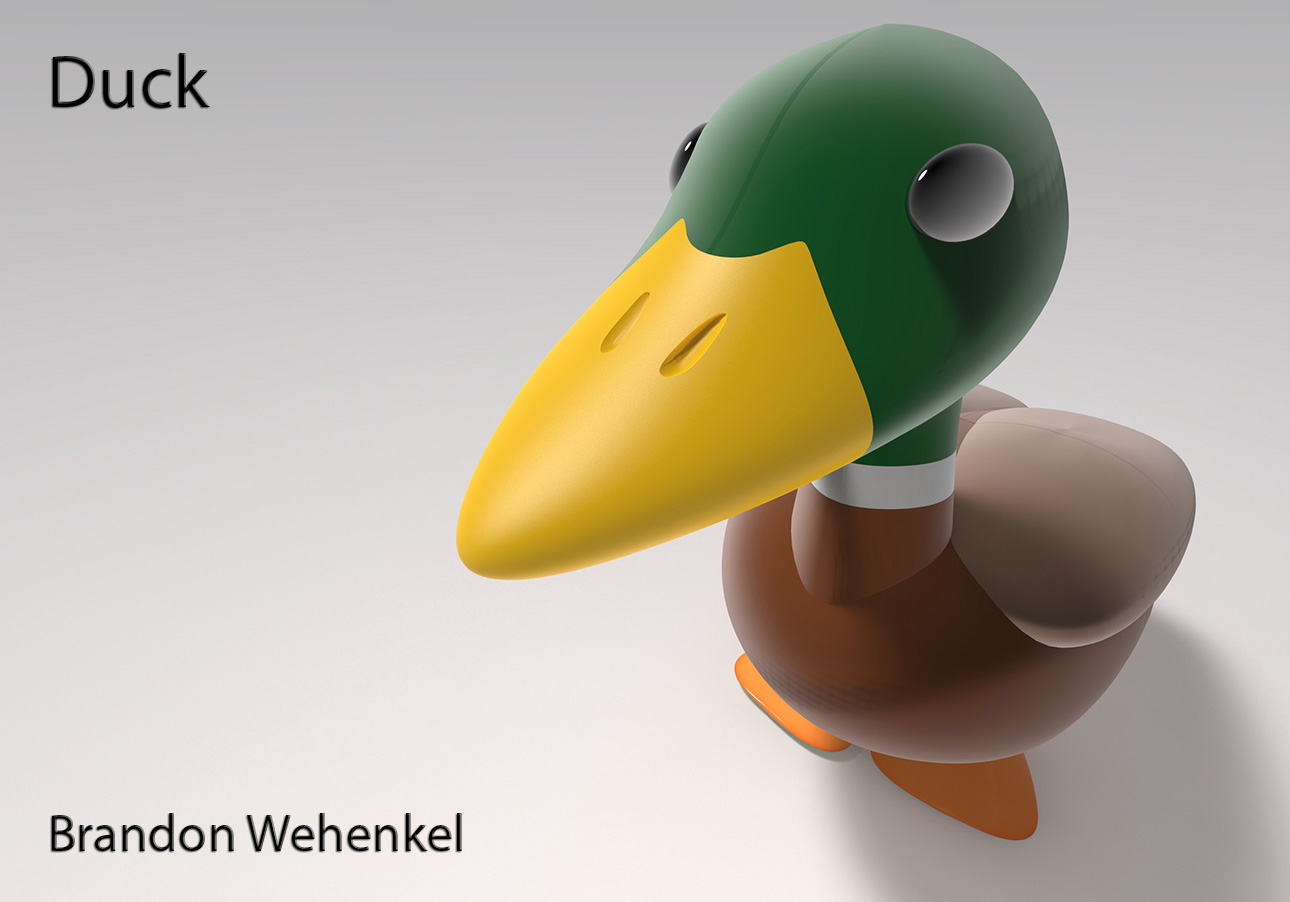
I googled "Duck" and saw a Mallard duck and thought it was the cutest variant of duck that I could find. I liked their distinct green head. I don't see ducks very often and I noticed a lot of the submissions were of rubber ducks, so I felt that making a more natural duck would be interesting.

Modeling Techniques:
I followed the tutorial to the teeth. This was my first organic model EVER and it was quite up there on the difficulty scale for me. Just like the tutorial guided, use Edit --> Rebuild, to create more geometry in the sphere to work with. Press F10 to get more vertex points to manipulate in to workable shapes. Use Transform --> Set XYZ Coordinates to manipulate points according to set coordinates. Use Polyline tool to Project new curves onto surfaces. Use Trim tool to cut out holes. Use Blend Surface to create the neck. Repeat steps for new geometry. I used Boolean Difference to create the wings and the nostrils, and Boolean Union for the flippers.
When designing the duck I had noticed that the body shape and the neck were different than what the tutorial had described so that's where I broke off. I added the wings to add more detail, and the flippers to balance the body. I also skewed one of the feet to hopefully aid in the stabilization.
Materials:
I liked what the Velvet material did to imitate the sheen of the feathers on the birds head. So I added that material on everything except the flippers, the eyes, and the beak. The beak and the flippers have a hard plastic material. The eyes are a translucent metal with black as the diffuse.

Problems:
- I was not sure how to create closed polysurfaces once I used the polyline tool to dissect and trim the shapes. The best example was the beak to the head, the complex line that I drew to create the curve could not close to make a closed shape. I was using Cap Planar Holes and Extract Surface but they weren't working. In the initial photo when displaying that I had zero naked edges, I had combined the head and the beak as well as the few parts of the neck together so that I had closed poly surfaces. Then once I took the photo I separated them to take into Keyshot, where I had a couple errors. I fixed the errors by re-opening the program till there wasn't any texture bleeding, that way I could separately materialize each part the way I intended.
- I had more than one seam ending in the textures on multiple surfaces. I was unsure how to fix them.
No comments:
Post a Comment