
Surface Population: Xforms
Concept
When I wanted to start, I wanted to have something that was fond in my memory. When I was little walking on the yellow groovy blocks on the floor was always fun to me. Now I wanted to recreate an object with the same fun to feel in the hand. To do this, the object must be relatively small and have smooth grooves in it.

Process
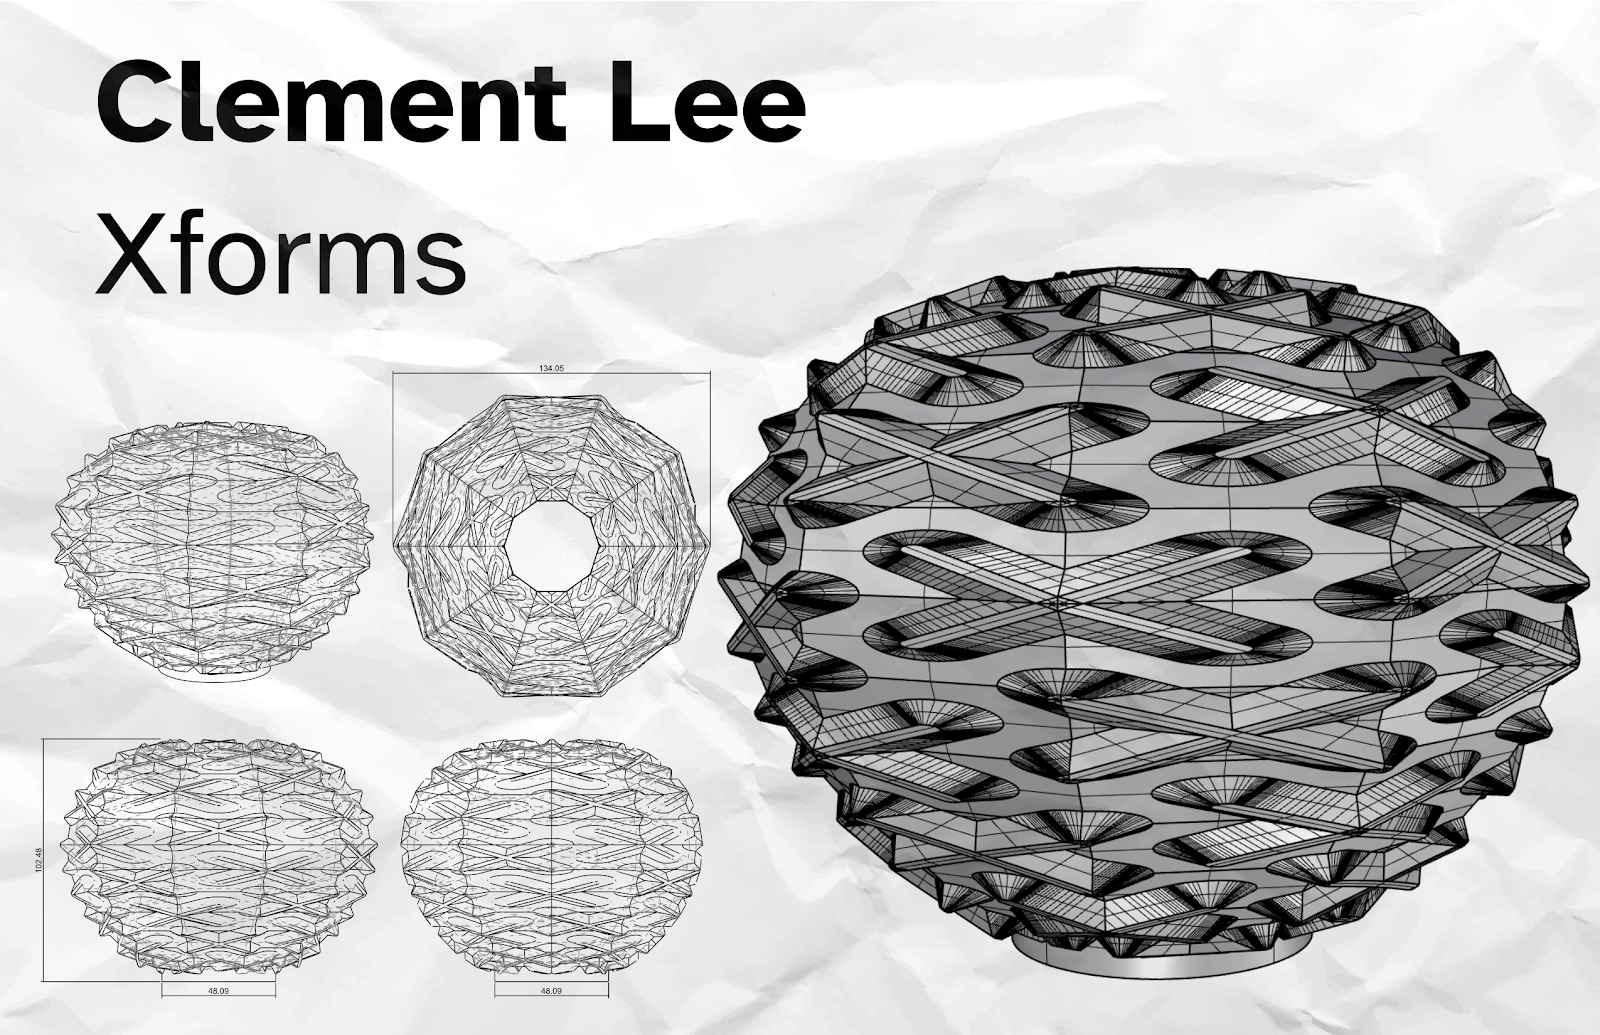
I designed many mazelike structures my design could have had, and in the end, I decided on having cross shapes that are rearranged in a specific pattern and loop. my final schematic is as follows and has 5 unique pieces, the X form and the 4 X appendages.

Now that the planning was done, it was time to make the crossform. To do so, I built an X with two lines and used offset to make a bubbly outline of the X for both sides, and then offset again with a lower distance. I raised the inner distance outlines upwards and lofted the two and did planar surfacing to finish the base form. I used boolean functions to shape the form to different sections of the piece, and had to use a cube bottom to get pieces with floating bits to union together.

Here, we have the large X and the 5 children of the Xform.
I had to adapt the Grasshopper script to take in multiple geometries and I remembered seeing a script similar to that but I could not find it. so I just used the longest list operator and set it to wrap so that it would feed the geometries in the order over and over again.
Another problem I faced was the surface population would sometimes go backwards or fill the inside of the profile. This was mitigated successfully through the use of the Dir command, which allowed me to set the normals to flip outwards and to flip around the U and V axes.
Materials
Finally, I brought it to Keyshot. I noticed that you could bring in your own HDR so I decided to download a equirectangular room template and make a neon effect that traces around the room and added neon X's. I wanted a white texture so I settled with the concrete texture. I kept the default glossiness as it was a 3D printable object, and plastic is somewhat glossy anyway. 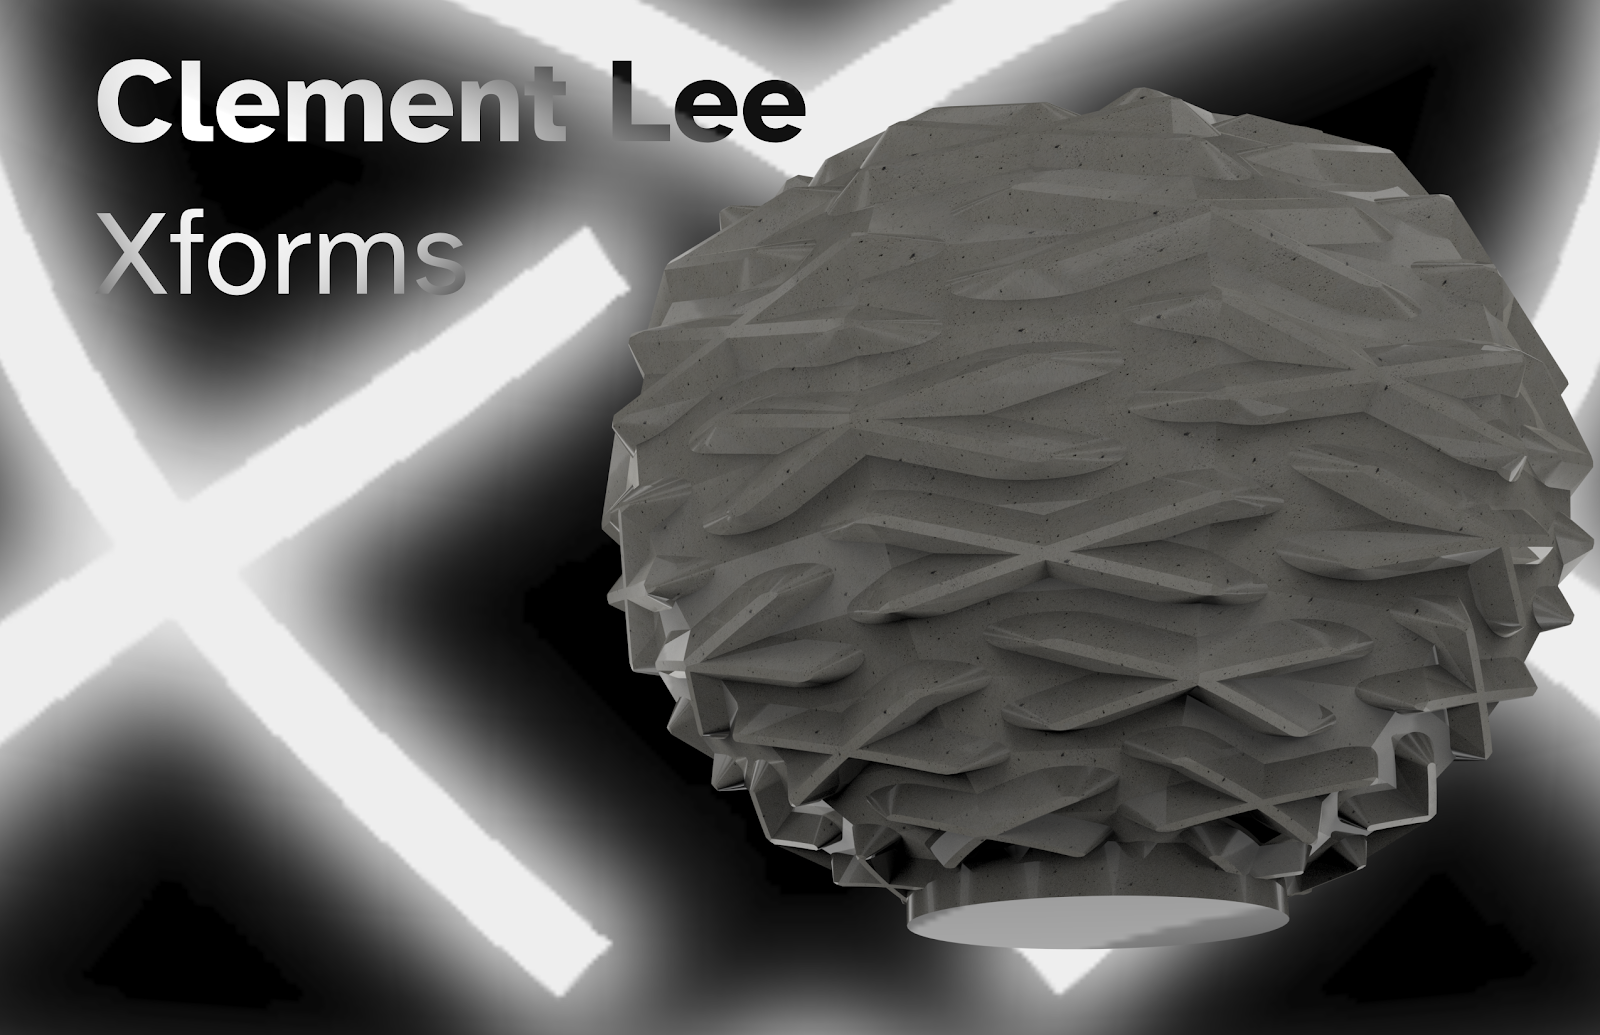
Printing took a day and a half. The supports were set to normal. Removing it was a huge pain since the plastic was sharp and gave a lot of cuts. But I think this was worth it, because it turned out really nice. I was told to next time set supports to Tree and that it was a hidden feature in Cura. I plan on printing again now that I know this feature.


No comments:
Post a Comment