Showing posts with label Chancellor. Show all posts

Monday, November 3, 2014

Brian Chancellor Week 10: Waffles


This is my waffle plane for this week.  I decided to stick with a plane because it reminded me of rolling hills and something more abstract.  I think it fits well with my first projects theme as well.  I like how the very sharp edges contrast with the smooth curves of the plane.


These images are my Rhino shots.  They show the edge flow and the one material I applied to keyshot this waffle with.


This last image is my sheet all laid out for laser cutting.  I might need to re-size or just laser cut multiple objects to assemble.  I am not sure yet.


And here is my final waffle all cut out and assembled.

Saturday, October 25, 2014

Brian Chancellor: Slots


My design was inspired by the ball of whacks.  I have one sitting on my desk in front of me while I work.  I really like the way the triangles combine to form different shapes.  The overall shape of the ball is also very geometric.  From this inspiration I focused on hexagons and sharp edges.  This is how I came to get my root node.

The techniques I used to create these slots are very much the same as the video.  I went and changed the basic shapes to better fit my inspiration but the overall Rhino techniques are the same as the video tutorials.  I added some random circles to engrave on my pieces to differentiate them from the ones shown.


My material is .3 inch thick hardboard which I got at Home Depot.


After a few mistakes and remakes, I got the slots done with the correct notching.  Here is a robot structure I made with my final slots.


Monday, October 13, 2014

Brian Chancellor: Project 2: Flashlight Sleeve


Project Description:

For this project I created a flashlight entirely in Rhino using curves.  I drew my inspiration from a Star Wars.  

I wanted to create a case that was easy to grip.  This is why I have so many ridges on the handle. When modeling this piece, I used the curve tools in Rhino to revolve a case for the flashlight.  Below you can see the different layers I divided my flashlight into. 


For my rendered images, I attempted to get a very functional look.  I wanted to ridges to be very grip-able so I used a rubber look.  The copper highlights make it look futuristic.


Sunday, October 12, 2014

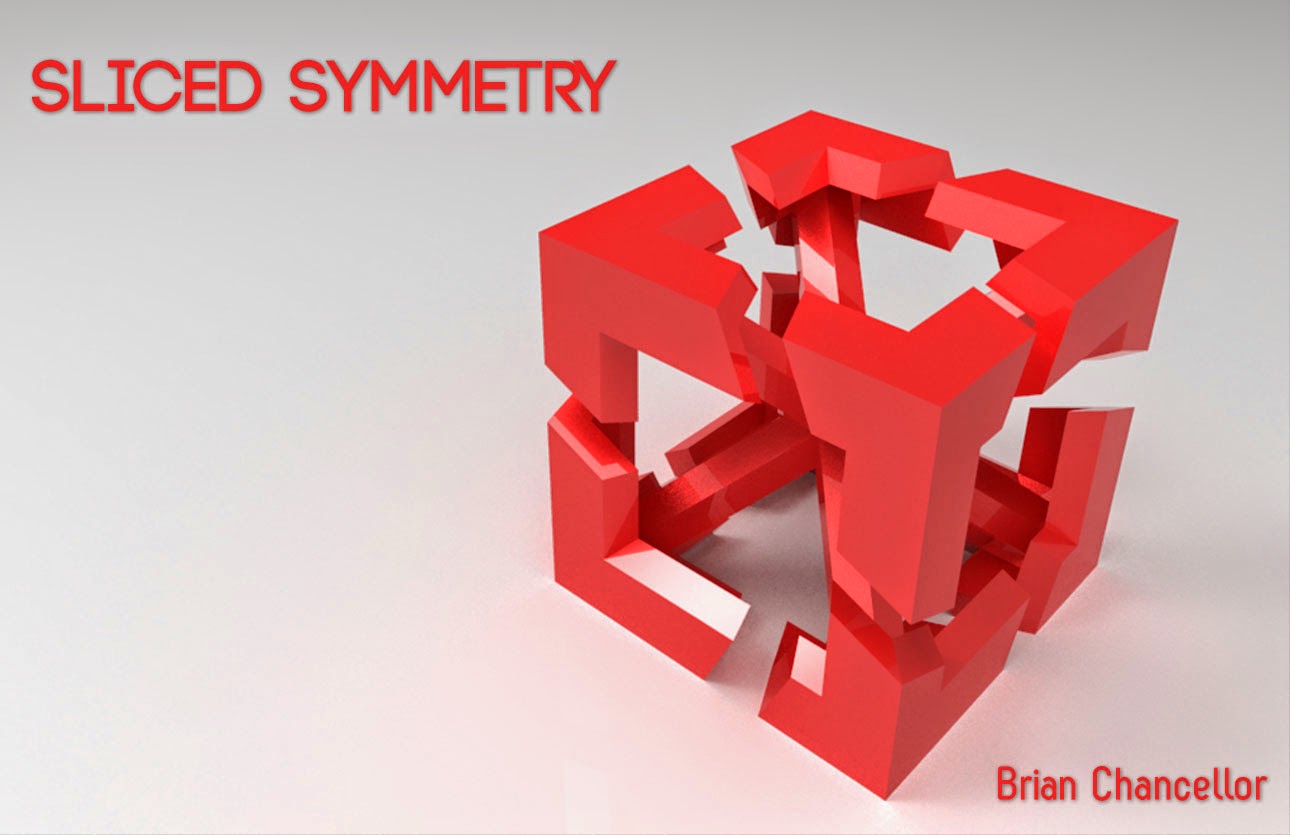
Brian Chancellor: Project 1: Sliced Symmetry


Project Description:
This project had a very simple idea behind it.  I wanted to create something both puzzling to look at as well as being very tactile.  I originally had this idea when messing about with this Japanese puzzle called Vortex.
This puzzle struck a very strong chord with me.  At first glance I thought the puzzle to be simple and symmetrical, but the more I handled the puzzle, the more I came to realize that each element was indeed unique.  I took this as my core idea.  From there I drew inspiration from these pieces.  

This piece is standing at the University of Michigan.  It was made by Tony Rosenthal in 1968.  It is 15x15x15 feet and made from CorTen Steel.  This piece also spins.  This gave me the second part for my 3D printed piece titled Sliced Symmetry.

 I have also been spending a lot of time at the Perot Museum this semester.  It helped me decide on keeping my model very cubic.  The building was designed by Thom Maybe.


When I was modeling this first piece, I spent a lot of time and effort to keep each side unique while maintaining the illusion that each side is the same.  I used a lot of grid snapping to keep each point in relation to the others.  I used the multiple view ports in Maya to make sure that when I ghosted the model, I could see the side directly opposite was indeed sliced a different way.  I rendered Sliced Symmetry in Keyshot.  I stuck to one material because I believe if I used a different color on each side, it would lose its unified look.