Concept:
For my costume i want to do a hunter with a skull for a mask. I am basically taking my skull from the 3-d assignment making a low poly model of it and then going to add fur and metal to it to give it a primal feeling.
Techniques:
I will be importing the maya file into rhino and using the reduce mesh reduce the polygons. I then will import into pepakura to get my files and import into photoshop.

Showing posts with label Week 10. Show all posts
Showing posts with label Week 10. Show all posts
Monday, October 30, 2017
Hannah Barnes: Week 10 Cardboard Ball
Concept:
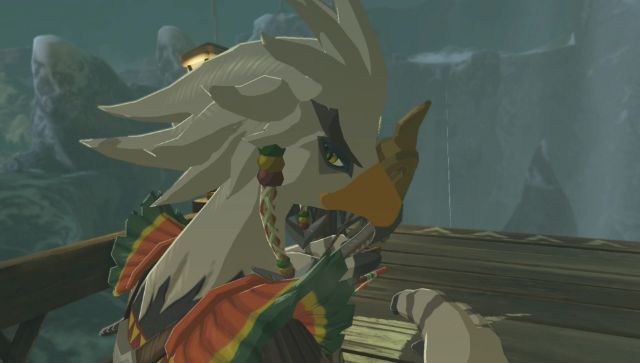
For my costume, I wanted to create a bird mask emulating a species from The Legend of Zelda, known as the Rito. I decided to create the upper half of the birds face with only the top part of the beak, then I added thick feathers protruding from the back of the mask, as seen in the Rito reference picture. Originally, I wanted to leave the cardboard white then add colored cardboard for decoration on the mask. After some complications building the mask however, I decided to paint the mask and turn it into a hat instead.
Technique:

I modeled the mask in Maya. I wanted it to be simple to build, so I tried to limit the amount of polygons I used, which created a blocky look. I translated this to Pepakura to slice the mask into vector shapes. This took several tries to get right, but once I did, I imported the vector file into Rhino where I prepped the laser engraving file.

I got the mask engraved on eflute cardboard. The mask turned out to be too small, so I decided to turn it into a hat. I attempted to assemble the pieces using Locktite super glue, but this turned out poorly. Many of the connecting flaps on the cardboard were too small, and the super glue didn't have much to stick to when I connected the pieces. I also didn't realize that if you mess up on gluing the first time, you can't try and reglue the pieces together. I didn't have any hot glue, so I instead used tape to hold the hat together.
Lastly, I created a simple cardboard band that wraps around my head to secure the hat in place.
Materials:


I used eflute cardboard for this project since the hat was so small and had many pieces that were close together. I painted the hat with red and gold acrylic to add some color and make it feel more cohesive. I'm not pleased with the way the hat turned out, but if I had the chance to do it again, I would use colored cardboard instead of paint. Hopefully, that would give the hat more of a intriguing, stylized feel as opposed to feeling like a kid's mask.
For my costume, I wanted to create a bird mask emulating a species from The Legend of Zelda, known as the Rito. I decided to create the upper half of the birds face with only the top part of the beak, then I added thick feathers protruding from the back of the mask, as seen in the Rito reference picture. Originally, I wanted to leave the cardboard white then add colored cardboard for decoration on the mask. After some complications building the mask however, I decided to paint the mask and turn it into a hat instead.
Technique:

I modeled the mask in Maya. I wanted it to be simple to build, so I tried to limit the amount of polygons I used, which created a blocky look. I translated this to Pepakura to slice the mask into vector shapes. This took several tries to get right, but once I did, I imported the vector file into Rhino where I prepped the laser engraving file.

Lastly, I created a simple cardboard band that wraps around my head to secure the hat in place.
Materials:


I used eflute cardboard for this project since the hat was so small and had many pieces that were close together. I painted the hat with red and gold acrylic to add some color and make it feel more cohesive. I'm not pleased with the way the hat turned out, but if I had the chance to do it again, I would use colored cardboard instead of paint. Hopefully, that would give the hat more of a intriguing, stylized feel as opposed to feeling like a kid's mask.
Thursday, December 11, 2014
David Billings: Week 10 : Waffles
My design intent for this piece was one that could display a unique form and shape while having a minimum number of waffle structuring to display this. Inspiration for this came from utilizing the basic shapes of geometry that would be easily recognizable in form with minimal structuring.
Created in Rhino I used the boolean functions to combine cylinders, spheres and cones into the final shape. After using the provided scripts to waffle the structure I began selectively removing pieces in order to minimize the structure while retaining its form
The material I chose in keyshot was that of wood as it was intended to be cut out of, and not taken into a further material or direction than that.
Wednesday, November 19, 2014
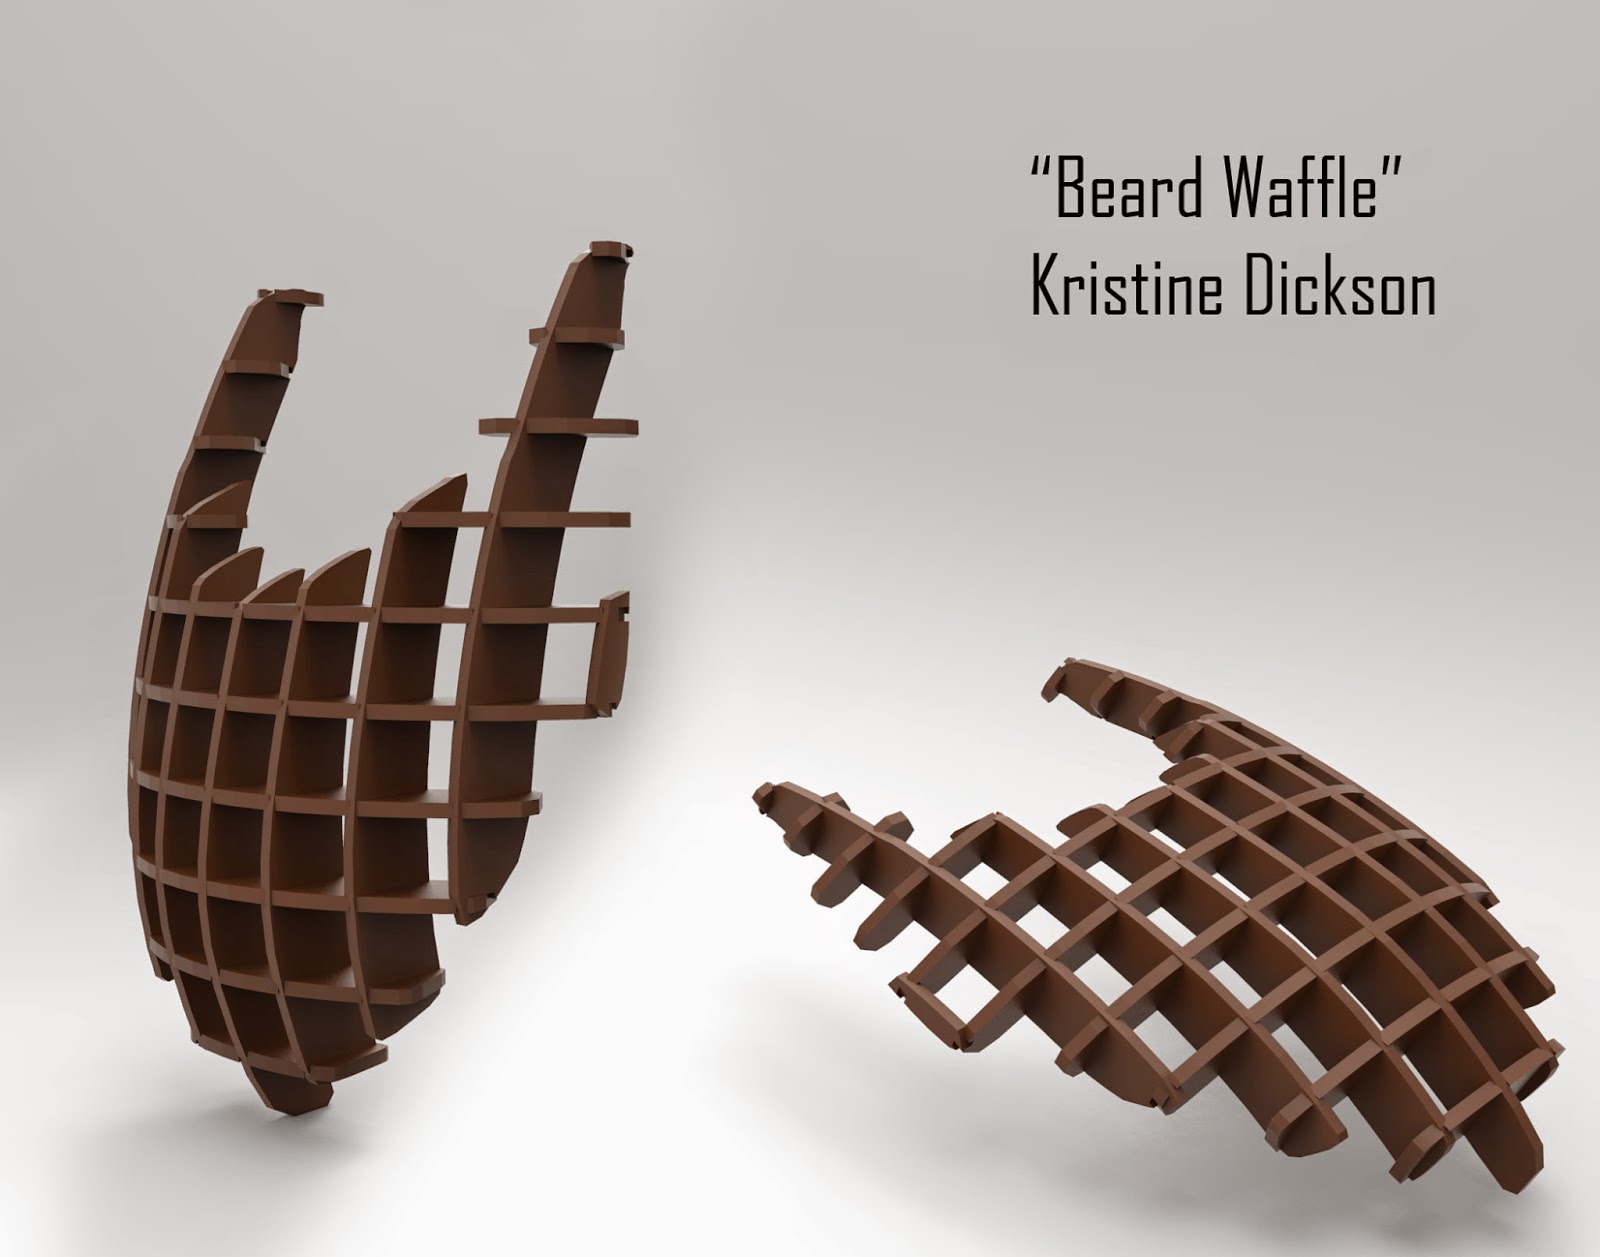
Kristine Dickson: Week 10 Waffle Structure
For my waffle structure, I decided to make a beard. I wanted to make something that people could interact and have fun with. The piece itself is scaled to fit a person's face and is lightweight, cut with plywood underlayment. Part of what is interesting about the Waffle Beard is that anyone can come around, pick it up, and take a picture with it. Take a picture of their friends' wearing it. It becomes a point of conversation and attention. The audience becomes part of the exhibit. I think it would be neat to see my waffle structure on a variety of people's faces, with a variety of expressions and scenarios.
My reference image for the model.

Found a generic manikin face to show the scale of the beard.


My reference image for the model.
Key shot renders: I used a matte plastic material in dark brown.
Found a generic manikin face to show the scale of the beard.
My First Beard
Monday, November 3, 2014
Brian Chancellor Week 10: Waffles

This is my waffle plane for this week. I decided to stick with a plane because it reminded me of rolling hills and something more abstract. I think it fits well with my first projects theme as well. I like how the very sharp edges contrast with the smooth curves of the plane.

These images are my Rhino shots. They show the edge flow and the one material I applied to keyshot this waffle with.


This last image is my sheet all laid out for laser cutting. I might need to re-size or just laser cut multiple objects to assemble. I am not sure yet.

And here is my final waffle all cut out and assembled.

Christopher Chambers: Week 10 Waffles
Containing startlingly less waffles than the title might suggest, I've opted to generate a continuation of the project before last. Thenabouts, if you recall, I created hammers...
So this time, I'd wanted to continue the set by making an anvil.

(Special thanks to the gentlemen Gerald G. and Andy Dingley for providing the image above via the public domain)
Having worked (to the detriment - and subsequent aid - of my tinnitus) on one of these hardy, iron rests before, I felt rather confident in creating this three-dimensional facsimile. I'd felt the shape was incredibly scalable for its geometry, opting to go with a 15 inch length for this particular exercise.
---
I opted to generate it via Boolean unions and differences, utilizing rectangular prisms, truncated cones, and cylinders until reaching this result. The material chosen is .19 inches (~5mm) thick, as shown to the left below.

Per the previous contentions regarding the laser cutter's timetables, I opted to use a 24x24 inch space, though might change this per feedback.

---
Decided to have a bit of fun with the Keyshot renders, if only to show
off some of the versatility of the shape per positioning.
The first two
renders are set in a position that would doubtlessly harm the traffic in
and out of one of the two rooms on the first floor of the ATEC
building, in a space that would very well accomodate a sculpture
otherwise.


The second set of renders were to better show its waffling superstructure...

...And otherwise just to have fun with its shapes!

---
The finished product! Constructed of 1/8th inch hardboard.

Subscribe to:
Posts (Atom)