Showing posts with label RomanHunt. Show all posts

Monday, May 11, 2015

Roman Hunt and Ayaz Ismail: Pepakura Bishop

For the final project, Ayaz and I opted to construct a Bishop chess piece, given that chess was the original theme of the project and it therefore seemed like a reasonable goal. I began by creating a highly detailed model in Rhino, following the contours of a reference image almost exactly. For this process, I used the CurveBoolean and Fillet commands to create a curve that matched the piece's silhouette, then rotated said curve 360 degrees before using the BooleanDifference command to carve out the notch near the top.

Given that this detailed model vastly exceeded the 300 polygon limit, I imported it into Maya and used it as a reference, building a simplified model around it that captured as much detail as possible while staying within the limit.

Unfortunately, due to my inexperience with using Pepakura to construct physical objects, my thought process at the time was centered around accuracy and detail rather than plausibility of construction. As such, the sheet layout that was submitted for laser cutting was poorly optimized, with many small pieces that made the construction process long and difficult. To make matters worse, I eventually reached a point where two sections would simply not line up. Thankfully, I was able to improvise, taping the "head" of the bishop to the base and leaving out two sections that added only minor detail. The final result is worn and battered, but is still instantly recognizable as a bishop. 


Original (Left) and Simplified (Right) Models

Laser Cutting Layout

 Keyshot Render A

Keyshot Render B

Assembled Model View A

Assembled Model View B

Monday, April 20, 2015

Roman Hunt Week 12 Box

I used the box project as an opportunity to experiment with a number of different styles. Each of the six faces has its own design; some are abstract, others fairly literal. Most are defined by the material remaining on the face, though the sun/moon design is defined by what is subtracted. All of the designs were made by creating and editing curves in Rhino. Tools used most notably include the CurveBoolean and ArrayPolar commands. 

Rhino Curve Layout
Keyshot Render 1
Keyshot Render 2
Assembled Box View 1
Assembled Box View 2

Monday, April 6, 2015

Roman Hunt: Weeks 11 and 12: Lamp

For this project, I experimented with a pair of concepts, one a tower-like structure and the other a box-like base with holes supporting a group of angled pillars. I ultimately chose to proceed with the former design, as I was unsure how to apply the pipe slicing methodology to a square base.

In Keyshot, I decided to apply textures that give the mode the appearance of a model volcano. A wooden texture with waves that look like dirt or gravel was applied to the horizontal slots, while the vertical slots were given a red glass texture to simulate lava.
 
Concept 1
Concept 2
 Rhino Model

 Render with Cutting Board Layout

Render with Orthographic Drawings

Render with Light

Assembled Lamp Unlit

Assembled Lamp Lit

Monday, March 30, 2015

Roman Hunt: Week 10: Waffles

For this project, I wanted to reuse a model I had already created in order to get a feel for the extent to which the waffle cutting process could be applied to geometry not created with it in mind. Given that this was my first time using the process, I also thought it best to use a relatively simple foundation that could be easily sliced and assembled. Ultimately, I went with a lighthouse that I made last semester; after consulting with Professor Scott, I further simplified the model, reworking the upper section to the point that the model now feels more like a tower or skyscraper.

As I recall, the methods used to create the original model were fairly straightforward. I began with a cube and scaled it to get the basic shape before adding and working with edge loops and extrusions to refine the form. The light and roof of the lighthouse were separate pieces of geometry.

When selecting materials in Keyshot, I decided to use a combination of worn metal and stone, giving the impression that the structure was made of several different elements and was somewhat rugged from age.

Original lighthouse model
Simplified model (left) and waffle sliced model (right)
Laser cutting board layout
Keyshot Render A
Keyshot Render B

Assembled Model

Monday, March 23, 2015

Roman Hunt: Week 9: Serial Slices

For this project, I opted to reuse an existing model that I had created as part of a project last semester, a ship based off the Action VI transport from the Star Wars series.


Original Model and Reference Image

After importing the model into Rhino and looking over the tutorial videos, I decided to do some tweaks in the hopes of making the slicing process simpler. The pipe running along the upper portion of the ship's midsection was removed, while the scaling was altered to make the vessel shorter and fatter. With these alterations in place, the first set of slices turned out to be fairly straightforward.

Original Model and Vertically Sliced Model

In Keyshot, I assigned the model a worn metal material to give the impression that the ship was somewhat aged and had seen wear and tear, an aesthetic that seemed appropriate given the source material.

Render 1

Render 2

Placing the core rods for the final slice layout proved to be rather tricky and took a number of tries. Ultimately, I wound up using seven rods rather than merely two, an amount that managed to cover the entire model save for a very small part of the back section that I felt was inconsequential.

Core Placement

When arranging the final slice sheet, it became apparent that the model required further simplification for a physical sliced version to be viable. The engine nozzles were removed, as were the notches along the midsection. Many of the slices had the exact same shape as others, and some of these "clone" shapes were deleted in order to fit the slices onto a single sheet. A physical version should thus possess the same basic shape of the original model, but with altered dimensions and a lack of detail.
Final Slice Sheet

Assembled Model View A

Assembled Model View B


Monday, March 2, 2015

Roman Hunt: Midterm: Free Model

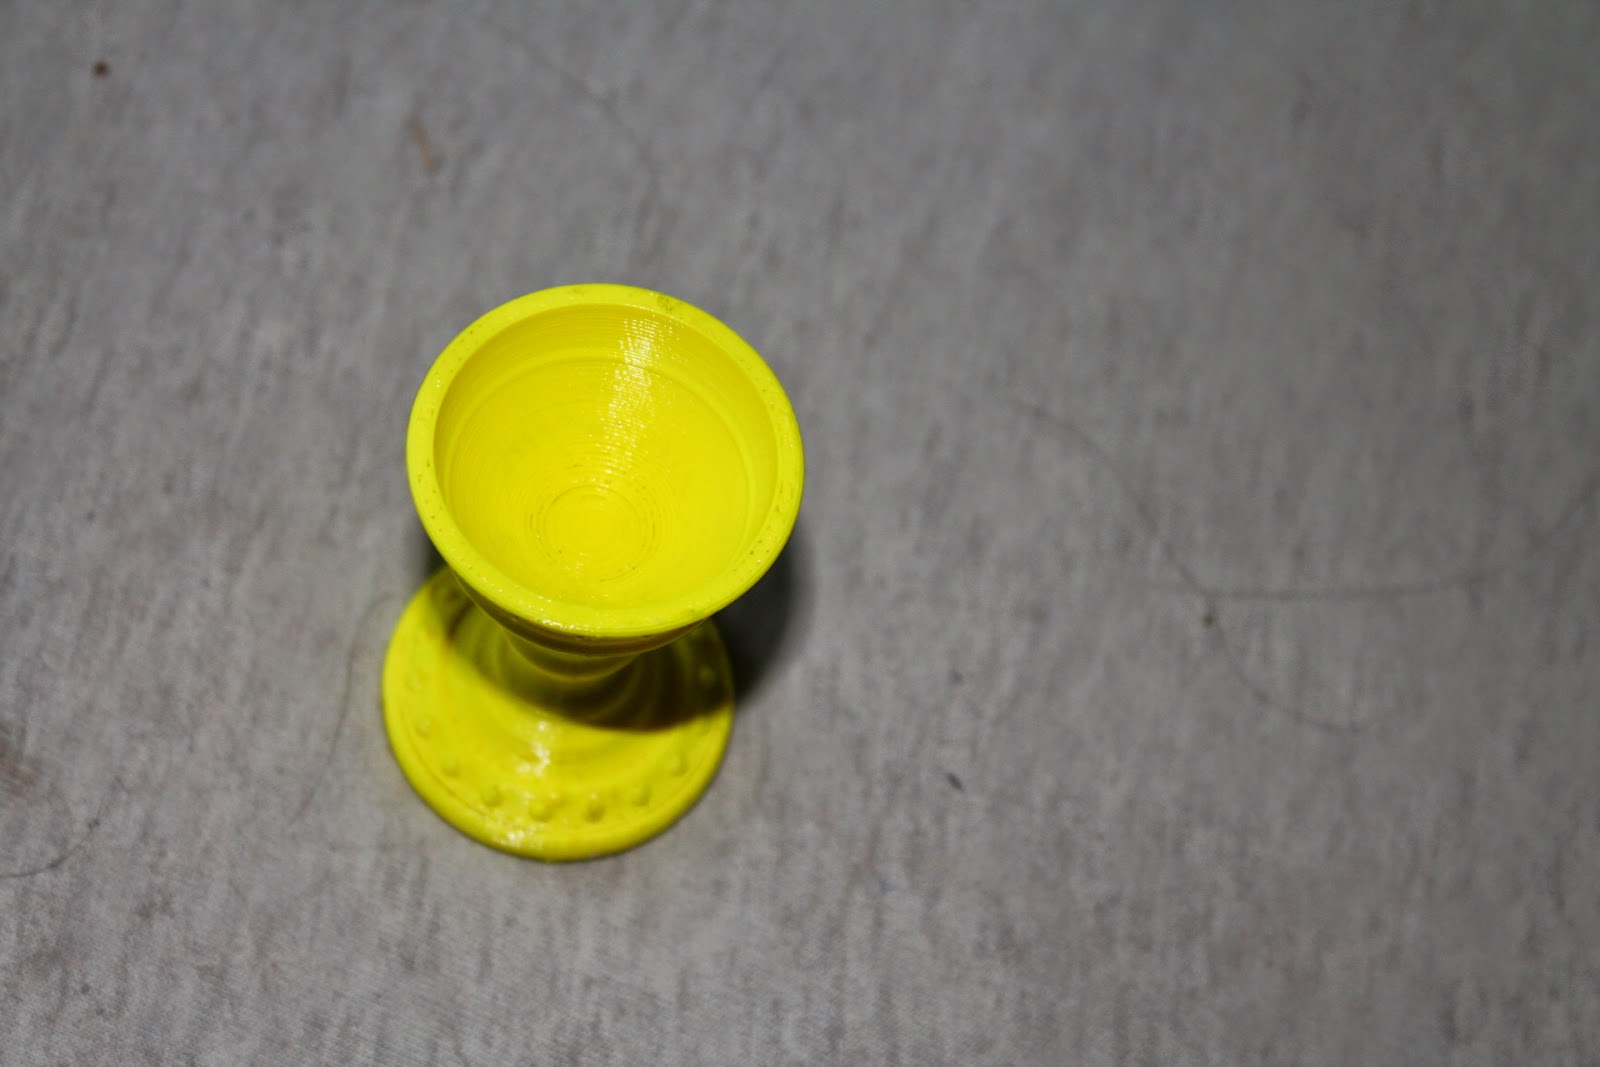
For my free model, I chose to create an ornate, aged goblet.

The base of the model was created by editing a curve using the CurveBoolean command. A Polyline was used to outline a cross section of the goblet. Details were then added via various circles, added control points, and free-form curves. Once the CurveBoolean command was used to create a single Polyline, the Fillet command was used to smooth its various edges. After this, the Revolve command was used to make the base 3D. The BooleanDifference command was used in conjunction with spheres to both hollow out the goblet and add the indents along its rim (the ArrayPolar command was also used in this process). The ArrayPolar command was used again with spheres to create the two sets of jewels lining the goblet.

In Keyshot, I opted to give the base of the goblet a scratched metal material to give it a sense of age. The two sets of jewels were given separate glass materials with different colors.


Ghosted
Layered
Render 1
Render 2

3D Print Image 1

3D Print Image 2

Roman Hunt: Midterm: Flashlight Sleeve

Of the sleeves I created earlier in the semester, I felt this design was the most aesthetically pleasing of the group; the numerous narrow notches near either end are complimented by a  relatively smooth middle, created a sense of balance. The holes in the middle helped add visual interest, with the slots in particular standing out as a unique detail that the other sleeves I had created lacked.

Most of the details in the sleeve are a result of editing a curve using the CurveBoolean command. A rectangle split down the middle vertically was used as a base, with various Polylines, circles, and other shapes used to create details. Once a single curve was created from these using the CurveBoolean command, its edges were softened via the Fillet command. After this, the Revolve command was used to create a 3D base for the sleeve. Bumps and indents were created by using spheres and cones in conjunction with the ArrayPolar, BooleanUnion, and BooleanDifference commands. The BooleanDifference and ArrayPolar commands were also used with cylinders to create the holes along the middle. Finally, the Interpolate Points, Loft, Mirror and Trim commands were used to make the two wide holes.

For this particular sleeve, I used a wood material, hoping to create the impression of a hand-carved piece.
Ghosted
Layers
Render 1
Render 2
 3D Print Image 1
 3D Print Image 2

Roman Hunt: Midterm: Slot Cuts

For the slots assignment, I opted to use a clearly defined silhouette as the main piece type. I chose a shark because the shape was distinctive, appeared structurally solid, and offered a number of locations for notches. The extra space in the sheet was filled in with two secondary pieces; though not based on an existing design, they serve as connectors, opening up new possibilities when assembling.

The assembly process following the laser cutting was highly experimental. Between issues of stability and the sheer number of pieces at my disposal, I quickly discovered that a single object made from every was impractical. Ultimately, I created three different pieces using the slots.


Rhino screenshot of layout
Unassembled slots
Object A
 
Object B
Object C