Showing posts with label freemodel. Show all posts

Monday, March 2, 2015

Roman Hunt: Midterm: Free Model

For my free model, I chose to create an ornate, aged goblet.

The base of the model was created by editing a curve using the CurveBoolean command. A Polyline was used to outline a cross section of the goblet. Details were then added via various circles, added control points, and free-form curves. Once the CurveBoolean command was used to create a single Polyline, the Fillet command was used to smooth its various edges. After this, the Revolve command was used to make the base 3D. The BooleanDifference command was used in conjunction with spheres to both hollow out the goblet and add the indents along its rim (the ArrayPolar command was also used in this process). The ArrayPolar command was used again with spheres to create the two sets of jewels lining the goblet.

In Keyshot, I opted to give the base of the goblet a scratched metal material to give it a sense of age. The two sets of jewels were given separate glass materials with different colors.


Ghosted
Layered
Render 1
Render 2

3D Print Image 1

3D Print Image 2

Sunday, March 1, 2015

Charles Person Midterm Free Model

My main inspiration was a previous art project I had made freshman year in highschool, where we had to hand model a piece, and my chosen piece was a sword embedded in a stone.  The imagery itself is of course common place, though my particular inspiration back then was the game Fable. For this revisit I went for a more enshrined image, more befitting the Legend of Zelda series.

For modelling I primarily worked with booleans, difference in particular to make the lines of the components line up better in the model, even if it won't be especially noticeable on the print. I also did some array work to create the grip on the hilt and the base. The spiral part of the base is a spiral pipe, sized to give it a particular coil I wanted.

For the materials on the render I ran with the idea of the sword being enshrined in place and went with an overall light color scheme. I chose to make the spiral a glass to give it an ethereal effect, especially working with the metallics around it. The rest of the base is composed of marble and gold, again to convey a sense of wealth, power, honor etc, the kind of things you'd see around a prized artifact.


Renae Patoskie Week 5: FreeModel Inspiration

For the 3D printed Free Model I wanted to create something classic and complex. So I have decided to explore the Fibonacci Sequence. Originally I was inspired by the work of John Edmark. 
Fibonacci Zoetrope Sculpture designed and 3D printed by John Edmark.

Originally I pursued creating a conch shell:

Ghosted Rhino Visual.

Keyshot Rendering of Conch Shell.

 but upon further difficulty transferred my endeavor to look into the intersecting spirals found in pine cones, artichokes, sunflowers, succulents etc. that also follow the Fibonacci Sequence.
 Image result for pine cone fibonacci
Examples of Fibonnaci Sequence in Nature.
http://www.ecotree.net/fall_2011.shtml
https://lh4.ggpht.com/5YRvUhfiHxmw4WEzYYP2LeaDfnu6s_i1vmNLCgngFVNIVfo3FpQaYRTJow4GdVA1RMM23U0=s125
http://www.goldennumber.net/spirals/
http://www.zyq108.com/blog/6063

For my final model I used basic modeling techniques, free creation of a curve, UV curve projection, ribbon curve, extrude, array, and boolean union and boolean difference to create this model.

Ghosted model with zero naked edges.

Layer organization in Rhino.

When it came time to render my model, I was conflicted between simple two tones of wood, or something that would emphasize how the spirals contrast more than just the geometry of the design.
Below I used a dark walnut for the orb, glass for the counterclockwise spirals, and emissive light for the clockwise spirals. This could likewise be accomplished with the use of fiber optics.

 Rendered view 1.

Rendered view 2.

Final printed model.

Chloe Ferris: Week 5 Free Model

I had a hard time deciding what I wanted to create for my free model. I had so many different ideas, but I started to think up models that were getting too complicated for the size and scope of the project. I wanted to narrow it down and create something that would print well and be something that I could carry around with me. I decided on making a pendant that represented Orion, which is one of my favorite constellations. For the design, I focused on the main stars that make up Orion, and referenced the simplified symbols of Orion to come up with a simple design that would still be recognizable as The Hunter. I chose to focus on the three stars that make up his belt as my focal point, and the 4 outer stars that make up a rectangular/hourglass pattern around it.

Reference 1 - Orion, The Hunter constellation

Reference 2 - A Symbol for Orion
Reference 3 - Another Symbol for Orion
I made the model of the pendant in Maya, because I am more comfortable with that program. I created a large cylinder shape for the base, extruded it out, and deleted the middle part in order to make a ring. I also extruded the top faces downwards, to make an indent on the front face of the ring. The three stars in the middle are cylinders that are connected to the ring with a thin rectangle going through their middles, which I am hoping will come out okay in the print. I included a ring on the top, so I can attach it later to a keyring. After rounding off all the edges, I imported the model into Rhino in order to size it appropriately and check that all of the edges were okay.

Ghosted View

Layout Composition
For the lighting, I imagined the pendant as if it was a piece of jewelry, created out of fine, shiny metal. If the plastic print comes out well, then I would want to send this model off to be printed in metal, so I wanted to get an idea of how it would look. Plus, the reflective quality of the metal goes well with the curved forms of the pendant. I bumped up the intensity of the environment lights to show this off better.

Final Render 1

Final Render 2
The 3D print came out extremely well. The detailed parts I was worried about, like the indent on the face and the bar holding the 3 center stars came out just fine, and there are no real jagged areas or support materials that got stuck. All of the edges are crisp and nice. Since this came out so well, I would be confident in making it about half as thing, which was actually my original plan with the model, until I got worried about the strength of the plastic and the printer's build capabilities.
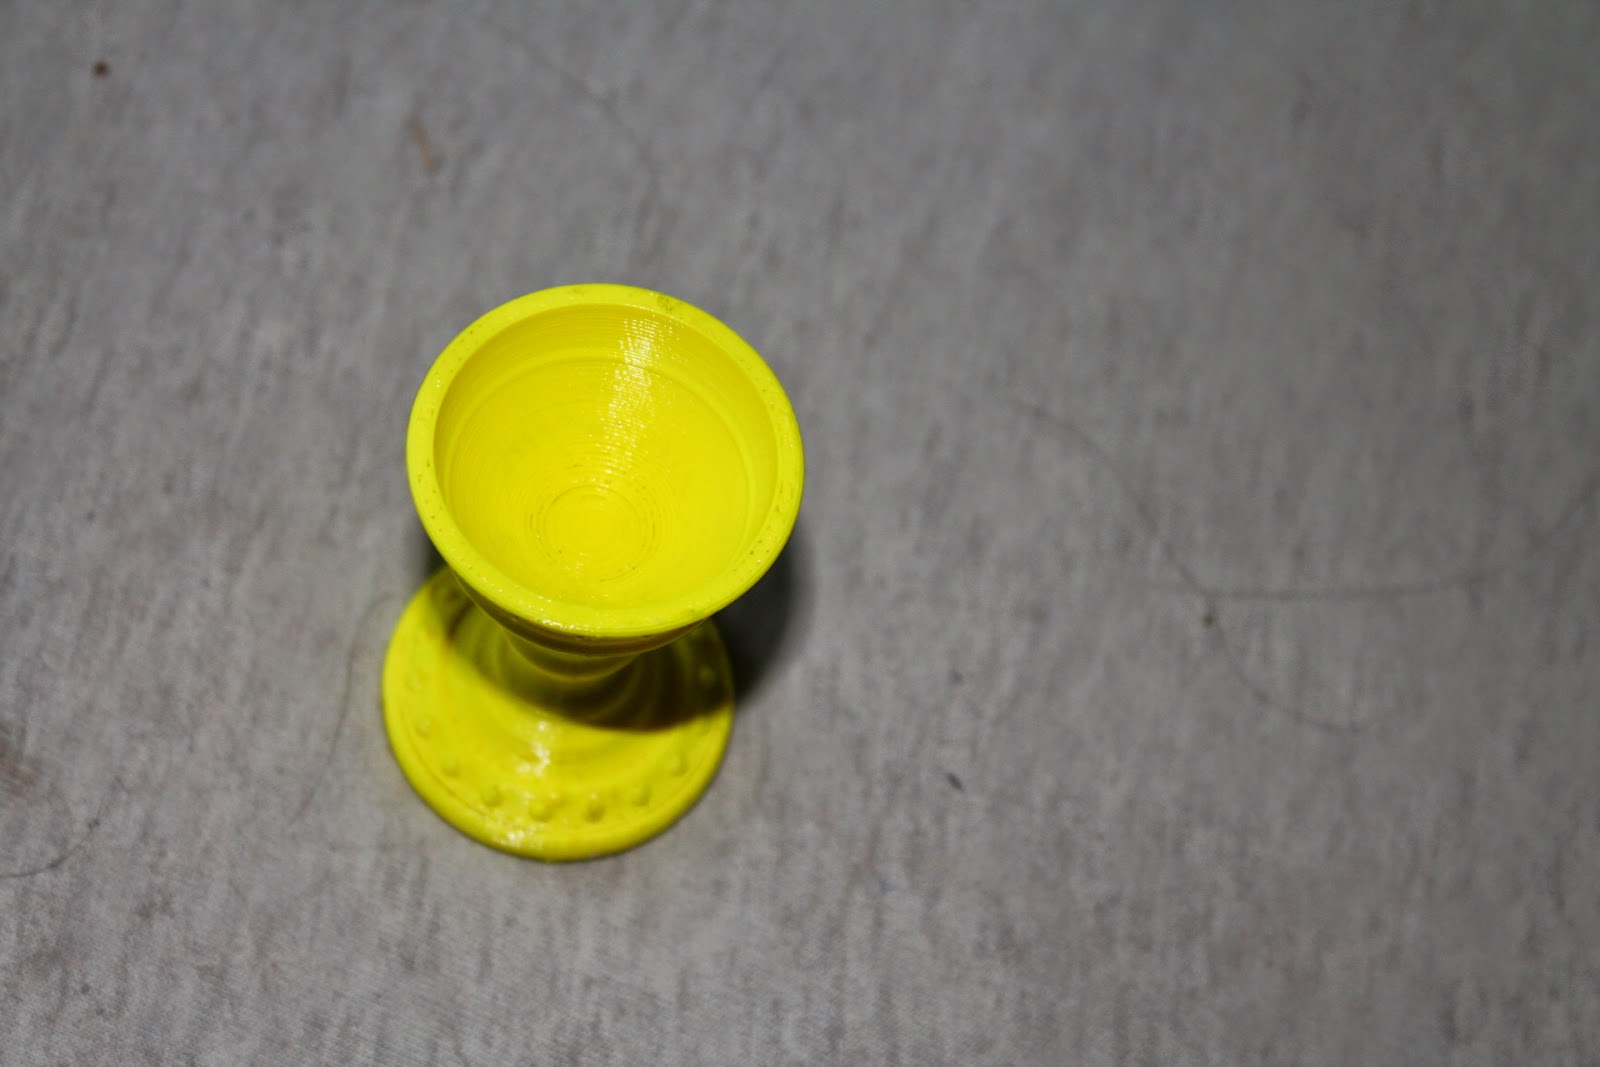
Final 3D Print
Here is a breakdown of how my time was spent on this project:
Week 5: Idea formation and planning
Week 6: Start and complete model
Week 7: Printing

Thursday, February 19, 2015

Jake Lenzen: Week 5 Free Model

For this project I decided to make something out of my favorite book series, the Wheel of Time. This symbol is repeated throughout the book, and has become very iconic. I chose a smaller scale so the model could be used as a key chain or some similar token.

I worked mostly in Maya, using basic polygons for the wheel shape. For the snake body, I created a curve that went through the wheel the way I wanted it, then extruded a cylinder along the curve. The head I made by drawing a curve, then making it into a surface and extruding. I then made holes at the front of the body, and the back of the head, and combined the vertices to form a cohesive shape.

I chose a gold like texture for the snake to better imitate the books, but a plastic material to the wheel and spokes to keep it modern.


Monday, February 16, 2015

Roman Hunt: Week 5: Free Model

For my free model, I chose to create an ornate, aged goblet.

The base of the model was created by editing a curve using the CurveBoolean command. A Polyline was used to outline a cross section of the goblet. Details were then added via various circles, added control points, and free-form curves. Once the CurveBoolean command was used to create a single Polyline, the Fillet command was used to smooth its various edges. After this, the Revolve command was used to make the base 3D. The BooleanDifference command was used in conjunction with spheres to both hollow out the goblet and add the indents along its rim (the ArrayPolar command was also used in this process). The ArrayPolar command was used again with spheres to create the two sets of jewels lining the goblet.

In Keyshot, I opted to give the base of the goblet a scratched metal material to give it a sense of age. The two sets of jewels were given separate glass materials with different colors.

Ghosted
Layered
Render 1

Render 2