Showing posts with label extra credit. Show all posts

Friday, December 8, 2023

Nibiru Panneflek-Cook ATCM 3355 F23: Extra Credit Regional High-Speed Rail (HSR)

Extra Credit: Regional High-Speed Rail (HSR)

Concept

Public transportation is a big part of my life and an infrastructural organ, requiring diligent attendance in any city with hopes of yielding positive life outcomes for its citizens. Having relied on the DART to commute between the southernmost areas of the DFW Metroplex and Richardson for school and social activities during my first semester at UTD, my own experience is a testament to how mass transit networks help riders develop rich and multifaceted lives affordably through communal interdependence. Taking design cues from a cutting-edge bullet train built to withstand extreme weather conditions in northern China, this model is an aesthetic prototype for a locomotive transport vehicle intended for use in Texas.

Reference(s)

Dallas Area Rapid Transit Light Rail


China Railway CR400AF-G


Processes

Using the "Box" command, I created a rectangular prism, then filleted it dramatically to achieve the typical HSR engine silhouette. I then mirrored this shape to create a second car facing the opposite direction and placed a wagon with evenly filleted edges in the center of the two. After making minor alterations to a pulley wheel I learned about in episode 17 of "From Curves to Surfaces," the undercarriage came together quickly and was made of filleted and chamfered primitives. I split the surfaces of the hull along their isocurves and assigned them to different layers to paint them separately. 
 
Episode 11 of "Analysis and Modeling Techniques" included a "mirror" command tutorial. By watching it, I found that it is best to mirror curves before turning them into surfaces. I applied this knowledge when creating the doors and windows for this project, drawing and offsetting outlines of them into one of its sides, then flipping them to the other for symmetry. Subsequently, I used the "Split" function to carve these elements into the vehicle. Finally, as instructed by the directions in episode 12 of "File Management and Prototyping," I ran "ShowEdges" to verify the integrity of my structure.

Deliverable(s)

Black Ghosted Image


Color Ghosted Image


Primary Render


Secondary Render


Materials

All the materials used in this model are alterations of stock assets from Rhino. The windows are heavily tinted glass, while the exterior boasts an orange and cream-colored paint finish. Both the wheels and doors are metal, albeit of different shades, and I used black plaster for the sealant in lieu of rubber.


Certificates

File Management and Prototyping


Analysis and Modeling Techniques


From Curves to Surfaces

Monday, December 5, 2022

Brittany Han: Skateboard Extra Credit

 Inspiration:

        I wanted to do something with a cool design for the skateboard. My mind immediately whet to traditional Koi Fish Tattoos. I have always thought they looked awesome and I think having a koi fish shredding down a half pipe would look sick.


Modeling:

        I started modeling by making the initial curve of the skateboard. I then closed this curve and extruded it out into the needed width. I boolean differenced of the corners to make the deck look more like the moderne style board decks. I found a cool koi design online and added some water to the edges to get the effect I wanted.


Render:


    Knowing that the skateboard would be wood I moved my model into Keyshot. I used the fine grain wood texture on the board part if the model. For the engraved part I left it a plastic black so its easily seen on the render model.


Brittany Han: MakerCase Lamp

 Inspiration:

    I honestly didn't have much of an idea for a while on this project. I knew I wanted to make something DnD themed but wasn't sure what so I looked at a few images online and found some dice towers. These are what inspired this lamp as well as shadowboxes of various themes. 


Modeling:

    I started by making the designs using the curve tools within the allotted space of the box given to me. Once that was completed I copied them to another layer and extruded them. I caped these new extruded surfaces and moved the together until they form the desired box shape.


Rendering and Printing:

    I took the finished 3D model and imported it into Keyshot. Knowing I would want this to be wood I used one of the presets to make the render look as though it was made of wood. Though the dragons eye didn't stay, I was very impressed with how this lamp turned out and very proud of the accomplishment this being my first time laser printing anything.
 
Render Front

Render Back

Light Off


Light On


Designs on the Wall


Wednesday, November 16, 2022

Taylor Champ Extra Project

Tutorials Followed

https://www.youtube.com/watch?v=nfQc2afr8Ns

https://community.glowforge.com/t/rhino3d-work-flow-svg-we-dont-need-no-stinking-svg/18888/6


Design Inspirations


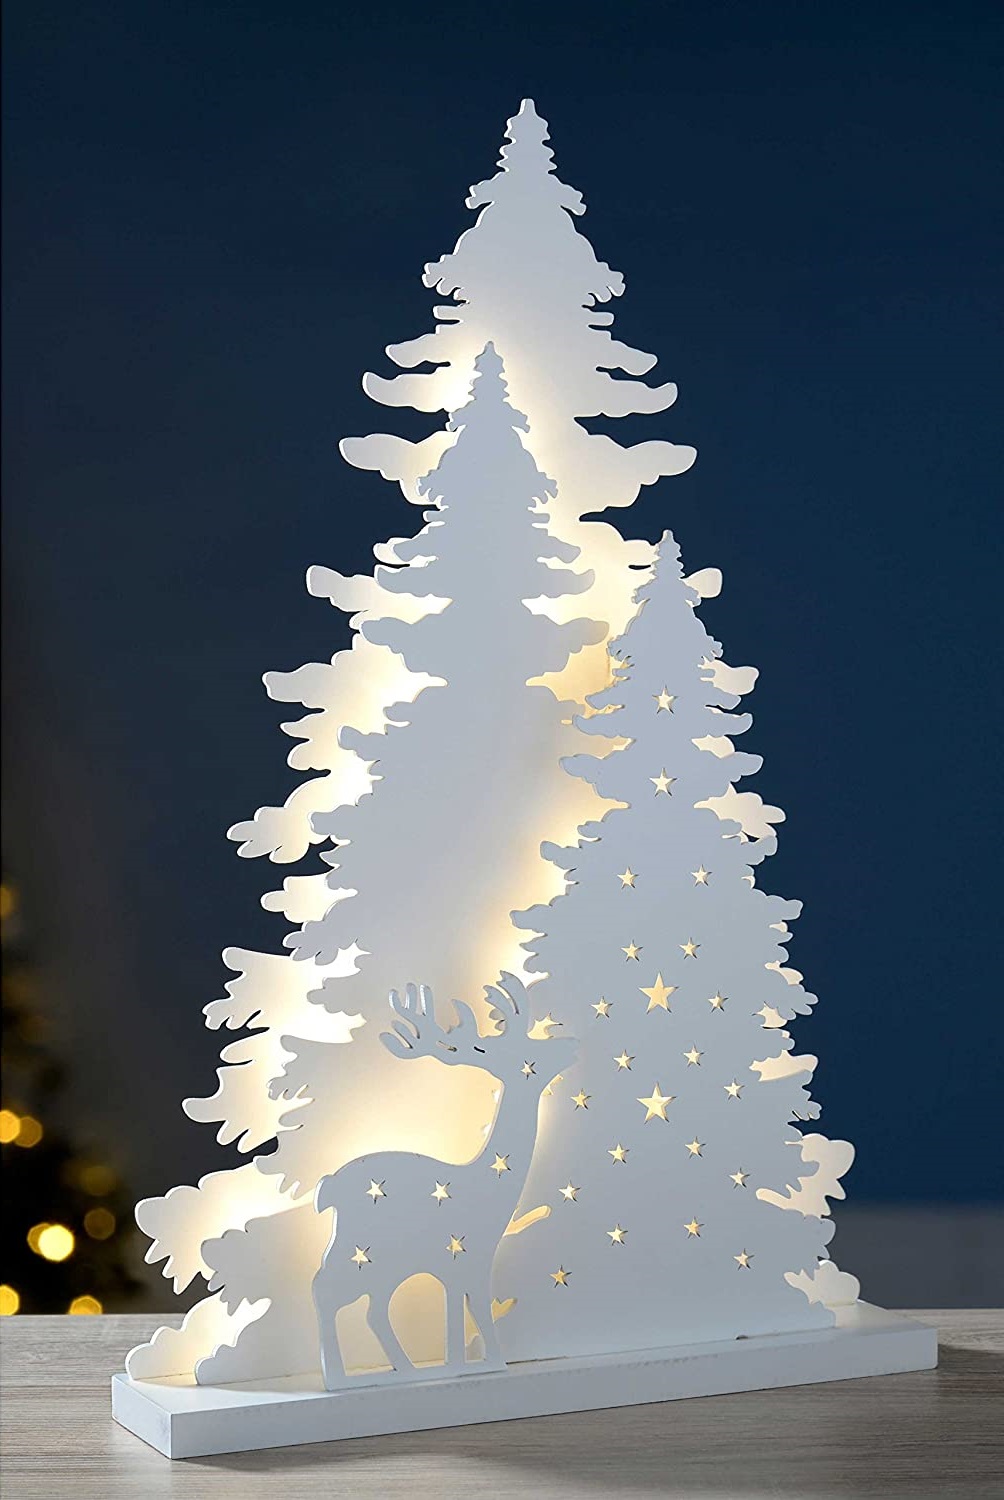
Using modern Christmas laser cut designs as inspiration, I sought to create a sort of standee themed around spruce trees and deer for this project, and to fill remaining space in my plywood from the previous project. 


Modeling Techniques


I utilized techniques found through tutorials to achieve this, and created my vectors in Rhino 7 to create Christmas themed illustrations, and attach bases that suit the plywood medium for the final piece. I arranged the final mockup of the pieces, accurate to the 1/4" thickness, and assembled them on a stand. In my opinion, white suits the piece the best, but other colors are possible with the final creation.

The linework and hatching are on separate color layers (I lost the image for this unfortunately) so that when taken to a Glowforge, there is the option of adding the extra details on the legs and face. The only concern I have for the final result is that the antlers may be too fine of a piece to cut safely, but we shall see.


Final Product

To be continued.