Monday, October 3, 2022

Pedro Ramos: Week 4 Flashlight

Reference Images: 


Inspiration:

My inspiration came from my interest in Aztec Jewelry. The color silver was used in the main body with the addition of turquoise jewels around the surface. My goal was to keep the flashlight simple and functional.

Ghosted With 2D Drawing
Techniques:

                I wanted to keep the design simple and functional. I used the Array Polar and Curve Boolean commands to create a cohesive structure.    


Side Shot
Materials:

                 The materials used were metal and jewelry. The body uses a reflective dark silver, and the jewels use a turquoise color. Uses jewelry lighting form KeyShot.


Mesh Render:


Mesh
 

3D Model: 

3D Model

3D Model With Flashlight


3D Model With Flashlight 2


    Printed with Ender 3 Pro used white filament.   


Brooke Hudy: Project 2- Teapot Hat

Part 1
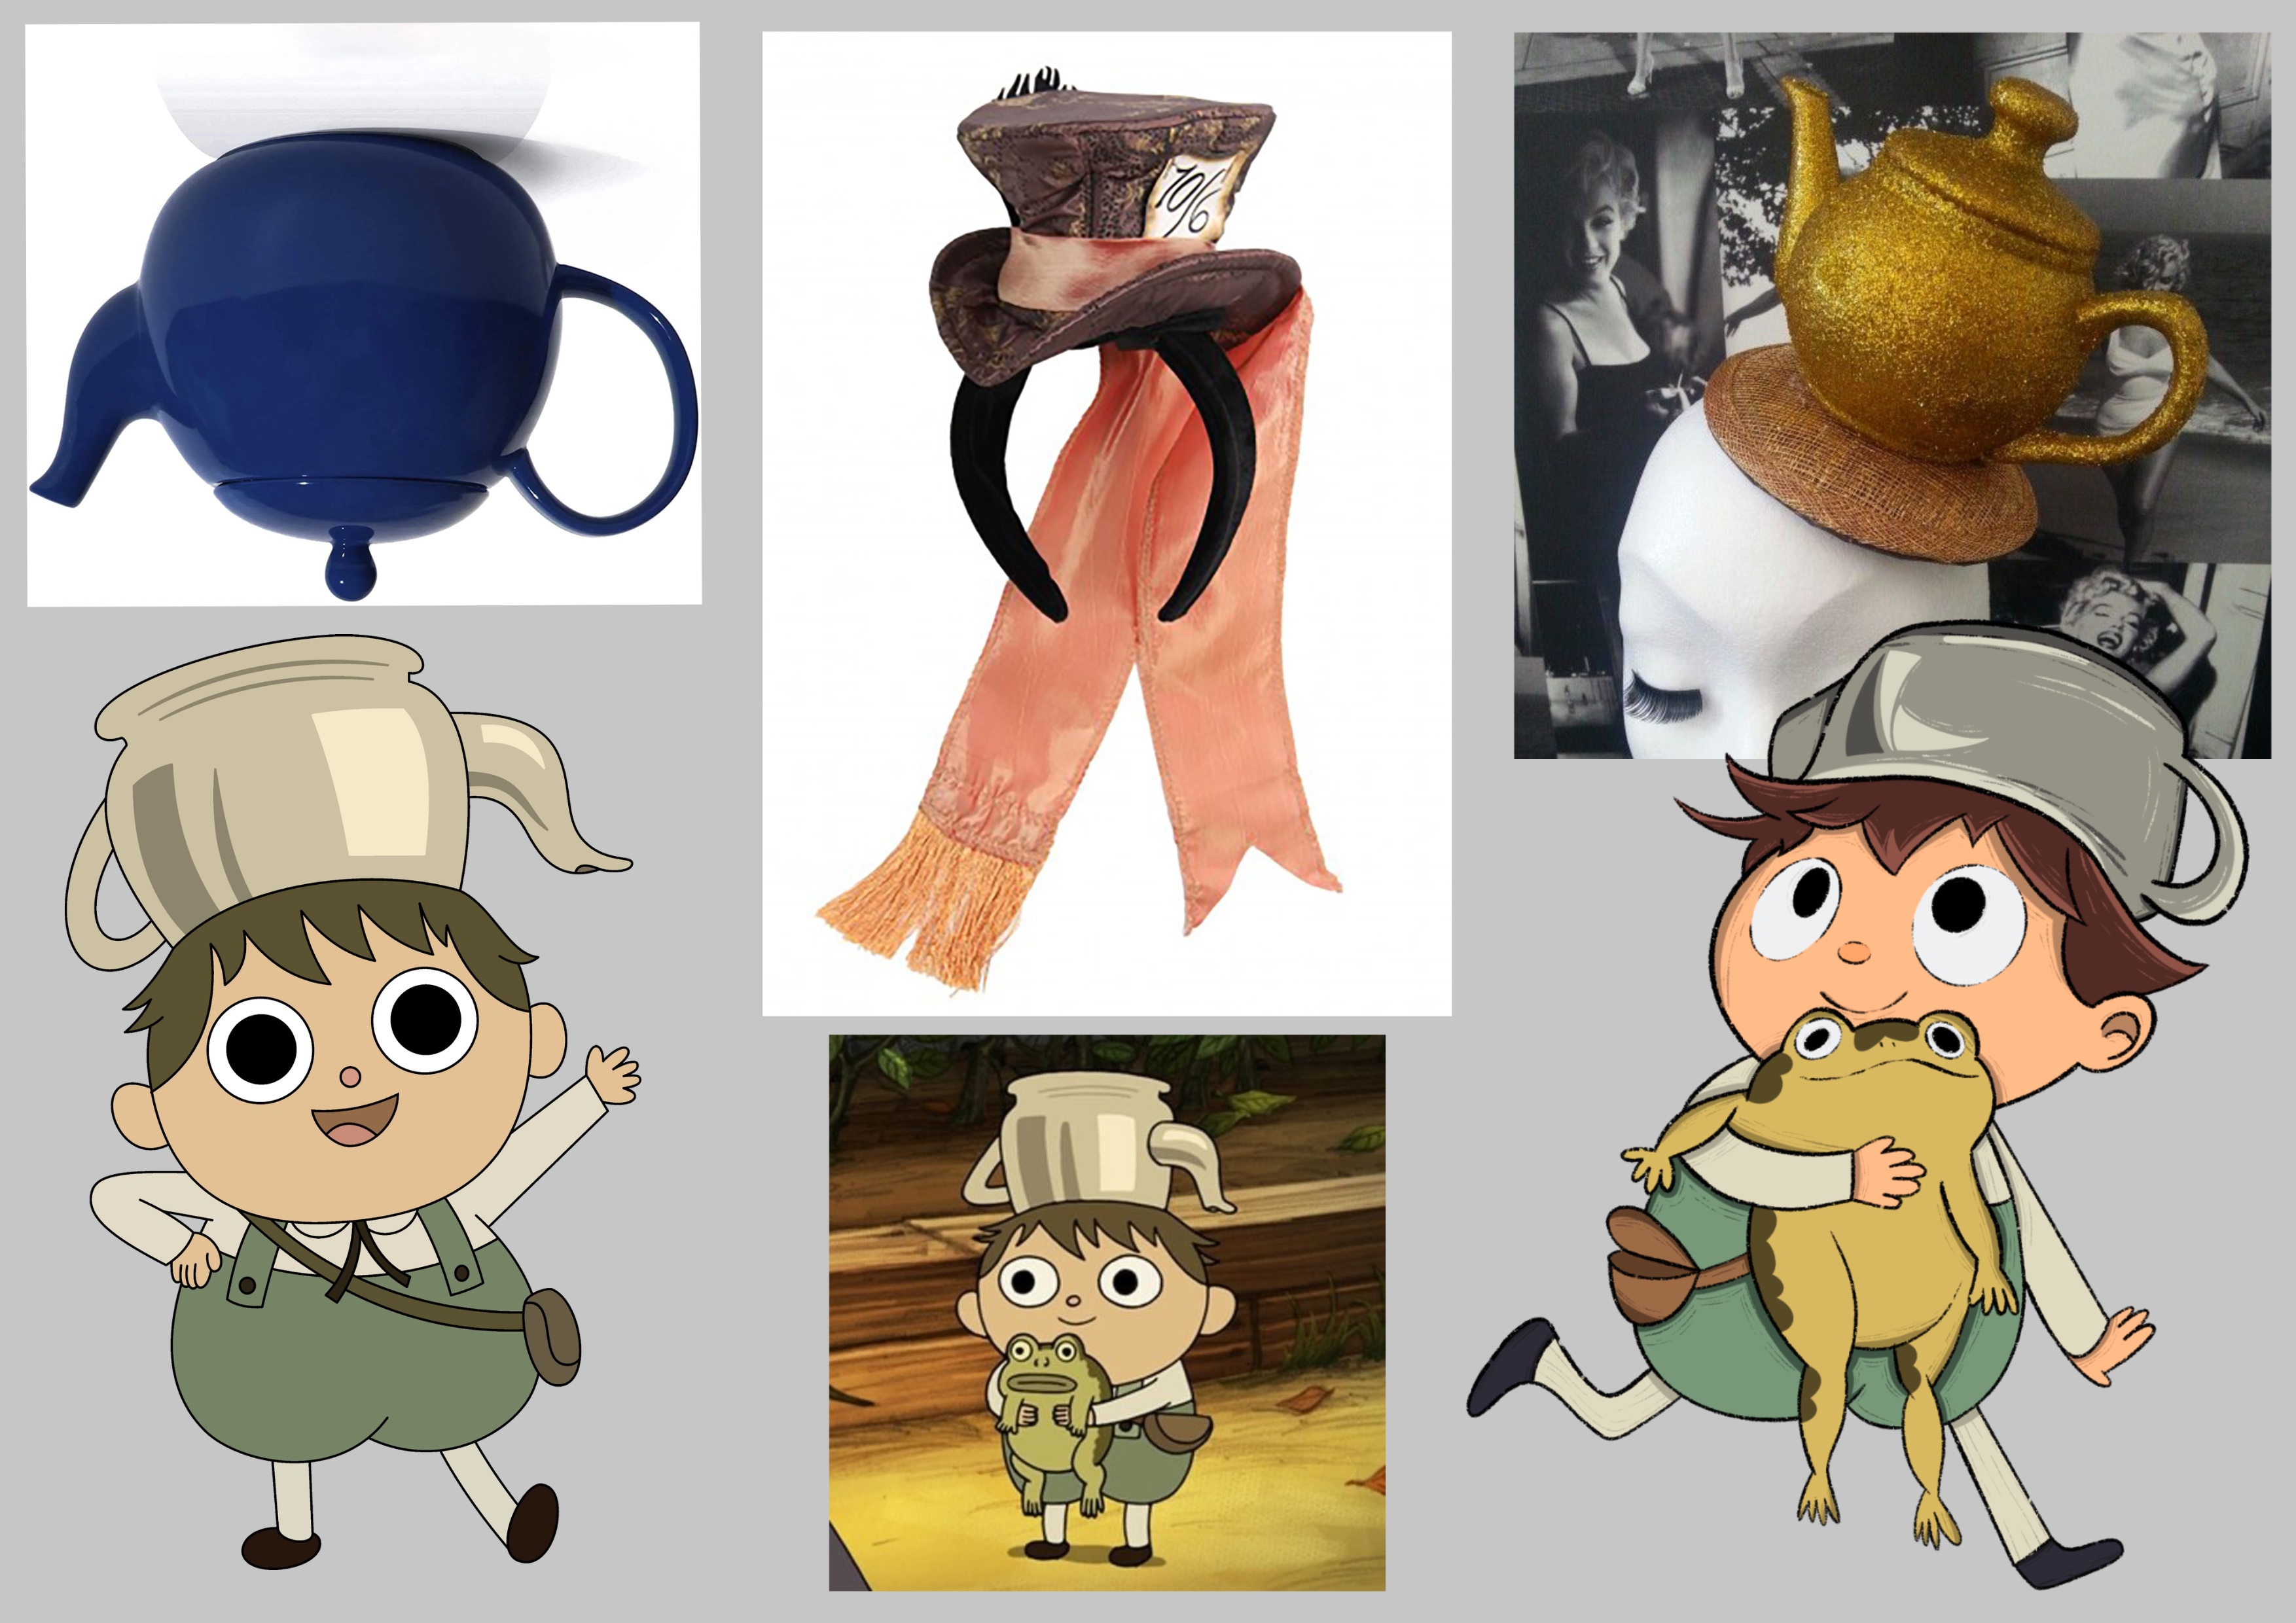
For my costume, I chose to be Greg from Over the Garden Wall. His outfit is pretty simple. Outside of the rock in his bag and the frog (Jason Funderburker) that he carries around, I didn't have much to work with. However, after thinking about it for a bit I decided to model and print his teapot hat. 

Reference Images


Orthographic Sketch

Part 2
When it came to actually building this model, it was pretty simple. To make the spherical part of the teapot, I made control points around half of my teapot image and used revolve to make a surface. To make my spout, I created curves, used the command loft, and then blended my spout surface to my teapot base with blendsrf . My handle was created in almost the same way. I made a curve, but this time I used Sweep 1 Rail to make the shape 3D. To get my handle to blend into the base, I opted for Extract Isocurve to create a more seamless blend. 

Unfortunately, at the end of this my whole model was an open polysurface that I would not have been able to print. To fix this, I used offsetsrf  to not only thicken my model, but turn it into a closed polysurface. 

Layers


Orthographic


No Naked Edges

Part 3
When it came time to render, I knew I wanted to render my teapot as if it was being worn in the show. Because of this, I went for darker lighting and used orange and yellow directional lights. My textures were very simple. For the head I used different colors of plastic and dulled them so they don't look too shiny. For the teapot, I chose a scratched up metal and dulled it as well. Greg's teapot is very flat in color and I tried my best to match it without making my render too unrealistic. 

Orthographic Renders

Perspective Renders

Render in Environment

Render in Environment

Close Up Render
Part 5
After printing my model it was time to paint it. Seeing as my model was printed in bright orange resin I knew it would take me a bit to fix that. I started by sanding. Thankfully, I used resin to print so there were no lines I had to worry about sanding out. Once sanded, I spray painted my model white to act as a base. The rest of my model was done with acrylic paint. I really wanted to make this model look as close to the one in the show as possible and to do that I decided to paint it to look 2D. In the end, I think it turned out pretty cute. And to attach it, I chose to use magnets so the teapot can be removed when needed. 
Painted Teapot
Teapot On

Bonus! Photoshoot!
As an Over the Garden Wall fan, I thought it was only fair to take photos that match the show. For this, my friend and I got together and took pictures at a creek by my house.

Teapot Being Worn

Teapot Being Worn

Teapot Being Worn

Teapot Being Worn

Sunday, October 2, 2022

Bailey McCalla Project 2 Part 3

For my render I used a dark metallic render as I wanted my tail piece to have a shiny gloss to it

Saturday, October 1, 2022

Mayah Delagarza - Project 2 - Part 3 - Rendering

 Rendering: I was able to properly construct the model and was able to get rid of the naked edges. Allowing me to properly render it in Keyshot 11. For most of the background images in the landscape, I used a picture of a desk and tried my best to make it look as natural as I could using Area Lighting material. I also do not have the proper hair for my costume, and the wig I purchased has not yet arrived, So I do not have the in-use examples.


Orthographic Image

Key Shot Close Up 2


Background Image I took

Another Background Image I took


An Nguyen: Project 2 - Part 3

Composition of Orthography (with perspective) and 3D model on gray background

3D Model Pin on a Mask in appropriate environment and being worn
2 additional close up
 
Commands required: 
- Array: I used ArrayCrv to create the pearls around the pin. 
- Revolve: I used Control Point Curve to draw half of the diamond shape. Then, I used Revolve command - Full Circle to create the two diamonds on pin.
- Mirror: I used Mirror Command many times to achieve symmetrical details on the pin such as the curve details on both side of the pin, the two diamonds, the two spheres. 
- Chamfer: I used Chamfer for the top and bottom of the pin. Instead of the hard edges cylinder, you can see the pin was cut/ shape a bit. 
- Extract Isocurve: I used this command to pick up a curve on the chamfer area so that when I created the pearls, those pearls aligned and appeared on the chamfer area with the correct angle.

Wednesday, September 28, 2022

Bailey McCalla: Project 2-Part 2-Tail


Orthographic View
Orthographic View

Perspective View


Perspective View- Naked Edges

Could not figure out how to solve naked edge problem, I require further assistance.

Monday, September 26, 2022

Mayah Delagarza - Project 2 - Part 2 - Pins

 Update Design

     Did a redesign giving it my own original flair and style to the symbols. Instead of doing the whole hair clip, I will just be doing 2 different designs that can be put onto 2 different pins. 

Updated Designs


Rhino Images
   

    Spent hours trying to get rid of the naked edges, but every time I did I would just either make more or create harder ones to fix. I will be fixing in class this morning using the professor's help and advice.

Ghosted Image Rhino


Naked Image Rhino

Orthographic Image Rhino

(Update: Updated the purple flame model so that the circle in the middle is smaller and does not cause the fillet edges and extrusions to not be able to unionize correctly.)


Fixed Naked Edges Model