Monday, January 30, 2017

Melanie Estes: Week 3 Flashlight Sleeve


View 1

     I wanted to make an animal flashlight, and first considered an angler fish and a dragon. I chose to make a firefly, where the flashlight goes in backwards and lights up the tail. I decided to include feet so that it can stand on its own. I created an inside piece that allows the flashlight to turn on when you press on the mouth.

Ghosted painted black

     I am not a fan of real bugs, so I simplified the design to look more like a cute cartoon than the real thing. I designed it so that the flashlight goes in backward and makes the end light up. Looking at these images for reference [one, two, three], I created the butt using three ellipses and combining them with a boolean union. I created the rest of the body by drawing a curve and using the revolve tool Professor Scott demonstrated in class. I made the legs using four cylinders that I exploded, deleted the end caps, and combined using blend surface. I created the wings by making an elongated ellipse, rebuilding it to include more points, and turning on the point display. I selected the middle points and scaled them in to create the separation for the wings. I curved the antennas, legs, and wings using cage edit. I also used cage edit to curve the body slightly. The mouth is made of two curved truncated cones combined into one piece. I created the eyes as spheres and used boolean union to add them to the body. I revolved the given cyan curve that represented the flashlight so I could use it to create the hole using boolean difference. I split the body using a projected curve to separate the lighted butt from the rest. Following the tutorials linked on eLearning about creating a screw twist, I created and combined another piece of geometry with the screw. I combined it to the butt with boolean union. I hollowed out it and the rest of the butt using boolean difference. I then used boolean difference to create the available space for the screw in the rest of the body. I decided to make all of the smaller parts separate, the legs, mouth, and antennas, both to cut down on support material needed and to try and keep them from breaking. I positioned them on the body and created the holes for them using boolean difference. To solve the problem of hitting the button to turn the flashlight on, I created another small piece that is one short, wide cylinder with another long, narrow cylinder that will connect to the mouth. I hollowed out the appropriate space in the body. When combined, the flashlight should be able to turn on by pressing on the mouth.


Layer assignments

     I separated the body into two parts to materialize the middle of the bug as black and the front as a softer pink. I used a black chrome material for the middle, I added a small scaled noise texture so that the black did not look perfect. I toned down the shine. The pink was a soft plastic material with a marble color map scaled down smaller. The legs, antennas, and mouth are all a mold tech material with a color map design that uses a black for the flat areas and a pink for some of the curved. The eyes are a hammered metal to give the geometric look. The wings are a soft plastic with a brushed bump texture to have the lines as in some of the reference images. All of the materials are scaled small so that the nuances are not very noticeable, but they make the materials imperfect. I wanted to contribute to the cartoon quality of the model. I added a small cylinder inside and gave it a light material to simulate the light. I turned on ground reflections for rendering to show how the butt will light up.

View 2

View 3

---------------------------------------------After printing---------------------------------------------

In process 1

In process 2

Finished 1

     When I got my 3D printed pieces, the butt would not screw onto the body as I had designed it to. I used various files to work on the plastic until it attached properly. I also had to use files on the legs and antennas to make sure they would fit in the holes. I had originally designed a hole in the head to use a piece attached to the mouth to hit the button of the flashlight. I had it set up, but the mouth was forced to sit so far away from the face that it looked wrong. I instead glued the mouth directly on. Instead, now that the screwing mechanism works, I will use it to get to the flashlight to toggle it on and off. I first used hot glue to attach the legs, but they just popped off. Instead I used super glue specifically for plastic and they held strong. I also used it when some of the feet broke off, and it created a strong hold. After attaching all of the pieces I painted on a few coats of matte mod-podge to seal it. I used acrylic paints to add the color. I used this image as reference to decide on colors. For much of it, I painted a base color first. For example, I painted red beneath the orange and yellow beneath the black near the tail. Because the bug looks cartoon like, I decided to include mostly solid colors.  I added a small bit of metallic gold to the yellow on the tail; this way the tail shone a bit but was not entirely metallic. I did the same with a silver in black and red for the eyes to help them stand out from the rest of the black head.

Finished 2

Finished 3

Finished 4

Finished 5

Jose Diaz - Flahlight


For my flashlight I wanted to create something that looked durable and that could withstand being dropped. So I went with a simple design but bumped up the aesthetics with the colors and materials that I chose.

Modeling the shell was quite straight forward. I cut out the different shapes I wanted to use with the line, circle, and rectangle tools for the middle section of the flashlight. Then after that I removed about half of the thickness one inch at the bottom and also on top. I then added to a couple of squares to add grips for a more rugged look. After that I used the revolve feature to create the actual body of the flashlight.

The materials that I chose for this project were simply steel and rubber. A durable flashlight really needs nothing else. However the colors I chose were reminiscent of those used by superman so that it not only feels durable it also has that mental connection to the man of steel.

Jose Diaz Duck


The design for this duck came from The Flash. Because what is cooler that a superhero duck that can fly at lighting fast speeds. So in an effort to make Flash Duck look fast I made him as aerodynamic as I could. This in turn made him look as if he was almost malleable.

I stayed away from the tutorial version of the duck as much as possible when making my duck. I created the wings with the line tool and then extruded that to make the lightning bolts that were also used on its head. That was the most difficult part because the shape and angle of the bolts were hard to achieve. After getting the right shape I copied it and used the 3-D scale to size them down for the head. The bill, head, body and tail were made using the ellipsoid tool. The tail and the body were Boolean combined because they were going to be covered in the same material. And the bill was left alone so that it wouldn’t blend into the flash suit. Finally the eyes are just two spheres added to the top of the head equidistant from the center.

For this duck there really is only one major material and that is the red rubber like suit. The wings are of a clear glass material so that they look more like lightning shooting from the ducks body. The eyes are solid black to give the illusion that the duck it also wearing a mask over its face and not just its head.


Jose Diaz - Castle


This castle was made with the idea of making hydra loops it main source of transport. This was so the entire castle would self contained. It is divided into four perimeter work sectors. They are made up of agriculture, business, entertainment, and education.  In the middle section are living quarters.

The circular buildings are made out of cylinders which make up most use the usable space.  Each building has a hydra loop made out of a torus for transportation in each sector. Then two more tori are added going around the entire castle for overall transportation.  All the energy spheres are simple spheres layered on top of the building as power sources.  All the objects and buildings are kept separately so that it’s easier to apply different materials later.

For the castle I used few materials consisting of concrete, glass, metal, and marble. The concrete is used for all of the buildings for stability. All the hydro loops are made out of glass so that travelers have a view as they go about their business. The center structure is made all out of hollow metal pathways for pedestrian navigation. And or course marble; in this castle from the future marble has been discovered to poses energy producing properties and they have become the castles main power source. 

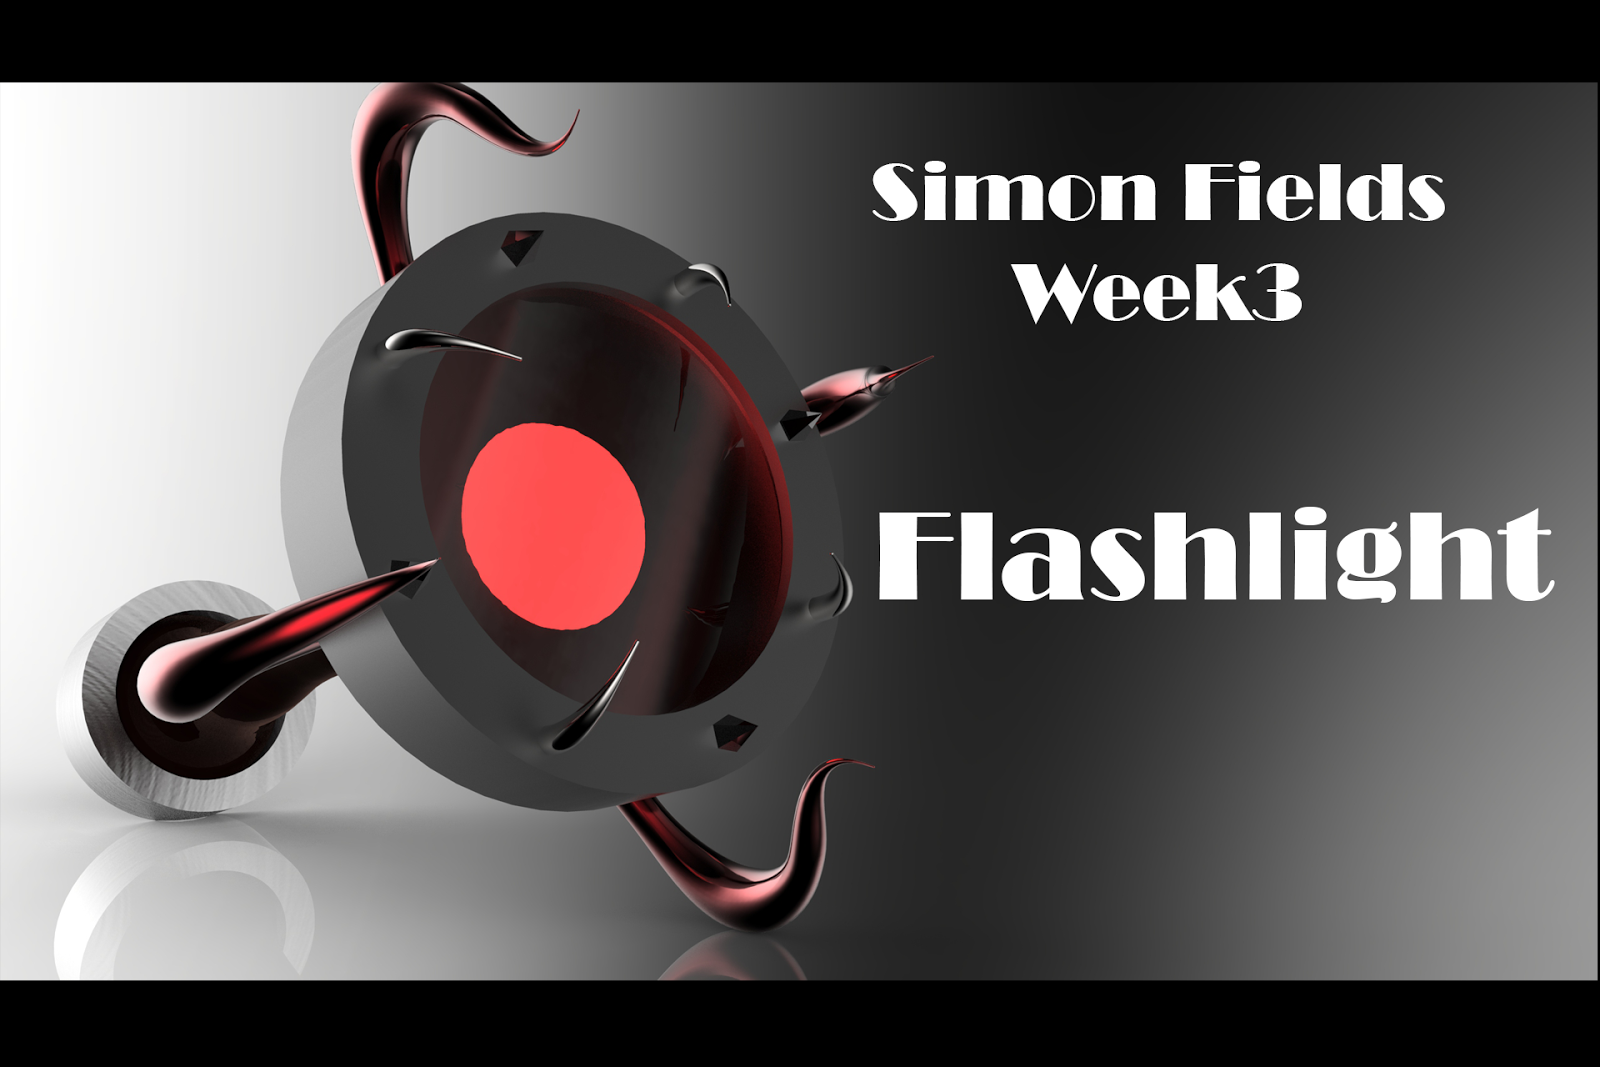
Simon Fields: Week 3 Flashlight

The Evil Flashlight

Ghosted

View 1

View 2

View 3


I am going to continue doing the creepy n' cute theme throughout my projects as much as possible. I decided to do a more artistic approach to the normal flashlight sleeve. I really just wanted to make a flashlight that will go along with the castle I created in the weeks before. 

When building this in Rhino I relied on curves once more to create the spikes coming off the flashlight and polar arrays to duplicate them with even spacing in between. I also used the pipes along the curves to create the spikes and the handle of the flashlight. The rest of the model I mainly used to primitive shapes that were available to me without too much heavy modification.

In Keyshot I wanted to used similar materials I used for the castle into this so that they seemed to belong to the same world. I used mainly metals and glass; and a few plastic materials. I used emmissive light for the bulb so I can have the illusion of the flashlight being turned on. As for the colors I used a more monochromatic color scheme once more using mainly grey scales and reds for this piece.

Maizie Desmarais: Week 3 Flashlight


For my flashlight I used the curve Boolean tool hundreds of times to get the design I wanted. I also used a lot of the Boolean difference tool the get the indents on the top and bottom of the flashlight with a polar array to create an equal amount of spacing. As for materials chosen, I really wanted a metallic color with a rubber grip in the middle. The materials in Keyshot helped me get the design of the grip while only being 1 poly. 

My flashlight was heavily based on the photo below while still trying to add my own touch to how I wanted it to look.


David Rake - Week 3 - Flashlight

Concept:
I originally planned to aim for a lightsaber, specifically Obi Wan's from the Phantom Menace, because I thought the ball form on the bottom would be interesting. As I went on I differed from reference and created the back and forth motion.


Process:
I used Arc to create the pom at the bottom and did some simple rectangle booleans before revolving the curve. After I revolved and made torus(es?) switchbacking up the shape then used boolean difference to indent the shell. I later added a simple button and a larger indent up top.


Materials:
I went Metallic with a darker and shinier inside to draw attention to the switch-backing that I found really attractive even if it may not be physically comfortable.