Showing posts with label ashorn. Show all posts

Monday, December 5, 2016

Draven Ashorn-Hejl: 3D Scan Project - Isabelle Statue


Concept: In the game Animal Crossing: New Leaf, the player becomes the new Mayor of whatever town they move to, and to aid them in their mayoral duties comes the obscenely-hard-working-and-ever-peppy-yet-sleeps-2-hours-every-night secretary Isabelle. However, despite all she does for you, she never gets any real reward outside of occasionally being given a day off if you know how. I feel like it's time to change that, so I wanted to give her a nice sturdy statue that could be put in town to celebrate all her hard work.


Techniques: I followed standard procedure to create this 3D scan. I scanned the chosen object with the NextEngine scanner and ScanStudio software and tediously aligned the alignment pins (while learning there's a limit of nine pins) to ensure the best alignment I could. I then moved the scan into RapidWorks to fuse all the meshes and did some cleaning to get rid of the bumps caused by my alignment paint dots and added some general smoothing to ease the remaining general roughness. I lastly put the model into Keyshot and created the final renders.


Materials: For my scanned object I used an Isabelle Amiibo which was scanned by the lab's NextEngine Scanner. For the Keyshot material I used Pink Granite, a material sturdy enough to match the perpetual-motion secretary herself but in a nice cute color and a slight shine to it to match the adorkably cute secretary and her shining personality. For the real-world backdrop, I used a shot of the yard outside my dorm, as for some reason it has a lawn ornament on one side but not the other, so I decided to place my scan on the blank side of the lawn as it seemed only fitting to do.

Draven Ashorn-Hejl: Box Project - Starlight


Concept: For the box project, after seeing people make boxes to use for things I decided I wanted to try that. One thing that's very common in the homes of my family are small light features, like candles and decorative lights. Also, the running theme in my family's homes tends to be rustic, western style decor. Thus, with this project I decided to make a box to serve as a light feature I could give to my family that would fit in with their decor, and to that end I went with an idea common in western stories: the celestial bodies, namely the Sun, Moon, and Stars.


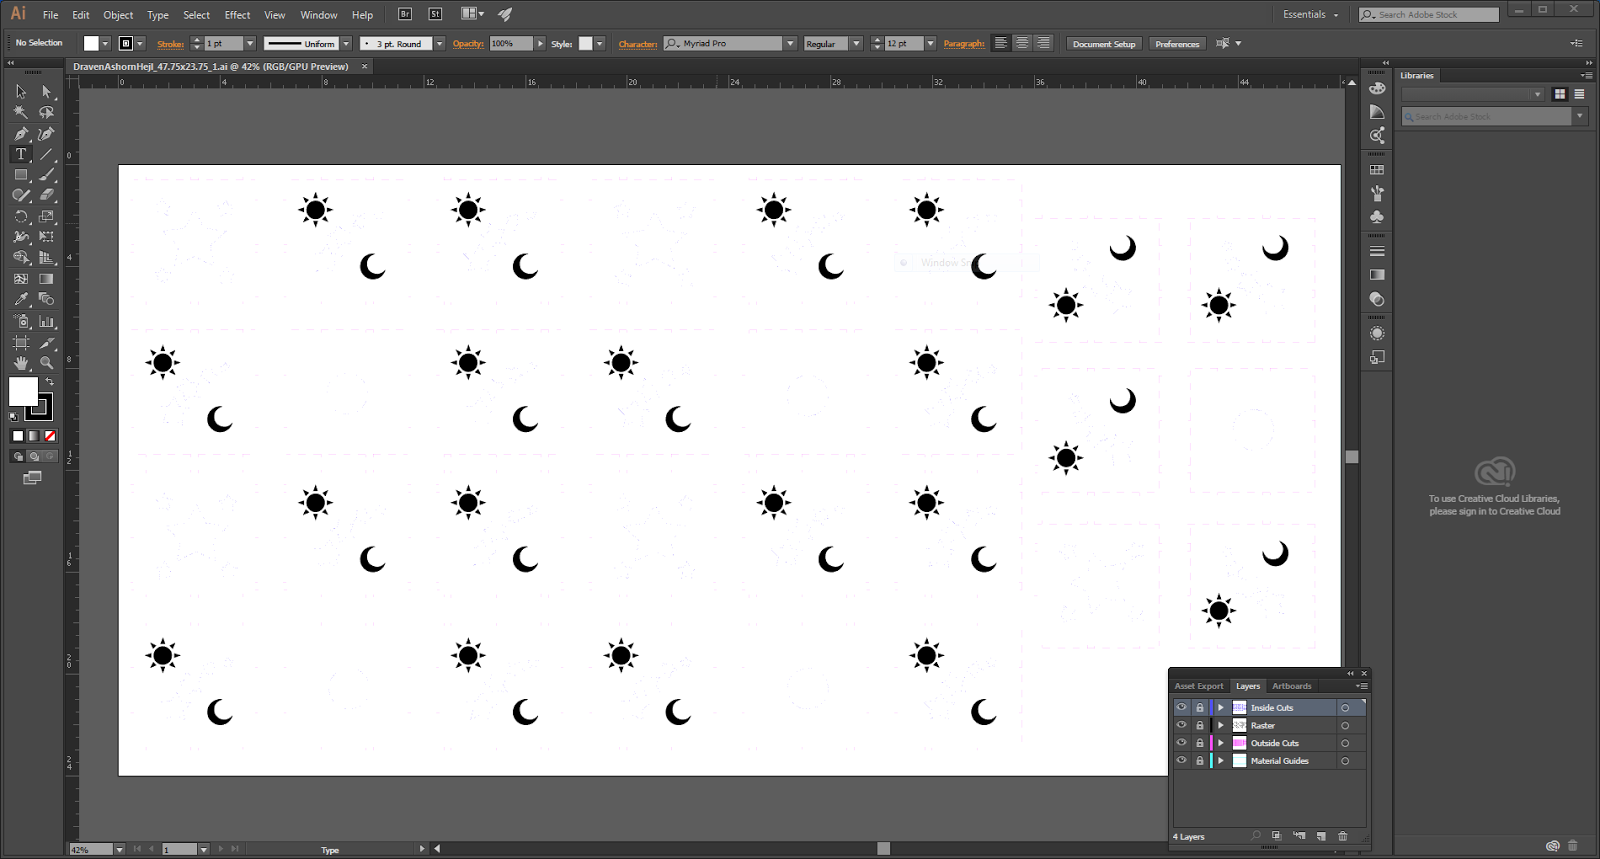
Techniques: I used Box Maker to create the outer shape of the box panels, then imported that into Illustrator, where I added the Star shapes for inner cuts and added vector images of the Sun and Moon for raster engraving, and also cut a hole in the bottom to place an electric tea light to light the box.


Materials: I bought a sheet of plywood from Home Depot that was just barely smaller than the laser cutter window for the material for the box itself (out of which I got 5 boxes), and used the UTD Fab Lab's laser cutter to do the cutting and engraving of the panels. I then used superglue to ensure the boxes held together and added a small electric tea light for the illumination.

Draven Ashorn-Hejl: Laser Engraving Project - Skateboard


Concept: Ever since I was little playing Tony Hawk's Pro Skater 2 on rented PlayStations I'd wanted my own custom skateboard like all the skaters had, with a cool design based on their personal branding. With this project I finally got to fulfill that wish and designed a board based on my personal branding that I've built up online. For a while I had trouble coming up with what to put on the board besides my branding (just like real skaters) and a hex grid (because hex grids are cool), but then it hit me: I could make a tableau listing my completed projects, so that when I had the board kicked up and in hand like a cool skater it would serve as a list of my accomplishments while proudly displaying the branding I had completed them under.


Technique: I used Illustrator to design the board, using layering, masking, and some numerical parameter tweaking to get everything just right and all fitting onto the board. All of the engraving done by the laser cutter was done raster style at maximum depth for a solid, deep engrave.


Materials: I bought one of the skateboards Professor Scott recommended because I trust his judgement, and used the laser cutter at the UTD Fab Lab to handle the engraving.