Showing posts with label KristineDickson. Show all posts

Saturday, December 13, 2014

Chris Venable and Kristine Dickson: Week 14-15 Pepakura Chess Piece - "Queen"

For our Pepakura, we decided to make the chess Queen. Chris designed and modeled it in 3ds Max first. I handled unfolding and laying it out in Pepakura and Illustrator, before pulling it into Rhino. 


Ghosted:


Keyshot:


In Keyshot, I gave the Queen the Granite stone material. I increased the scale of the texture so that it repeated more often and the veins in the stone were finer. I darkened the overall color by blending in a charcoal black with the texture. Overall, I really liked how glossy it turned out. Chris gave the model a nice, sharp silhouette so the reflective material gave it a faceted look.


Kristine Dickson: Week 11 Radial Waffle Lamp

The lamp I had in mind would be something that covered the top of a post, like on railing or a balustrade. I wanted it to be rounded on top and taper in a bit around the lower half.

Reference Photos:


When I was modeling it, I tried using the a lathe tool in 3ds Max to create the entire thing using splines, but I could not get the the shape that I wanted out of it. Instead, I ended up joining half a sphere to a cylinder and squeezing the middle of the cylinder in to give it the curvature I wanted. I then pulled the top part of the cylinder out a little bit so the hemisphere was nested in it.


Ghosted Images:


Keyshot Images:


In Keyshot, I chose to use the Mahogany wood texture, with a couple slices in 24k Gold. I liked how the light inside brightened the wood texture on the inside; it contrasted nicely with the dark wood texture around the outside. I chose the gold material for the middle ring and the top ring to mimic gold trimming if the model were solid and not a waffle structure. It also brought a little variety to the lamp.

Wednesday, November 19, 2014

Kristine Dickson: Week 10 Waffle Structure

For my waffle structure, I decided to make a beard. I wanted to make something that people could interact and have fun with. The piece itself is scaled to fit a person's face and is lightweight, cut with plywood underlayment. Part of what is interesting about the Waffle Beard is that anyone can come around, pick it up, and take a picture with it. Take a picture of their friends' wearing it. It becomes a point of conversation and attention. The audience becomes part of the exhibit. I think it would be neat to see my waffle structure on a variety of people's faces, with a variety of expressions and scenarios.

My reference image for the model.

Key shot renders: I used a matte plastic material in dark brown.


Found a generic manikin face to show the scale of the beard.


My First Beard


Sunday, October 26, 2014

Kristine Dickson: Week 9 Slots

For my slots, I was inspired by the television show, Avatar: The Last Airbender. I decided to base my modular slot design off of one of the cultures in the show, the Earth Kingdom.


The style is very clean and simple. Squares and circles are primarily used. Often you'll see a circle set inside a rectangle or vice versa. The design is very orderly, organized, and symmetric.


The material I'll be using is 0.16" plywood underlayment.

Kristine Dickson: Week 6 Serial Slicing - Tree

For my serial slicing project I decided to try something organic and irregular. The first thing that came to mind were Southern Live Oak Trees--much like the kind you see outside of old plantation homes in the south. These trees did not grow up so much as they grew outward, forming a web-like mass of limbs and branches.

Reference Photos:


For my model, I did most of the modeling in 3ds Max initially. Then, I brought the model into Mudbox to push and pull some detail out of the bark of the tree so that it would not be perfectly smooth. Unfortunately, this upped the poly count a lot, but I liked how the surface of the model turned out.

Ghosted Images:


Because time and resources were a concern, I decided to trim the serial slices down to 32 cuts. Originally it had around 42 or 43 cuts, but the uppermost cuts had very small pieces that would have required more material and time. Overall though, the silhouette of the tree is still there and it's a bit more compact.


Keyshot Images:


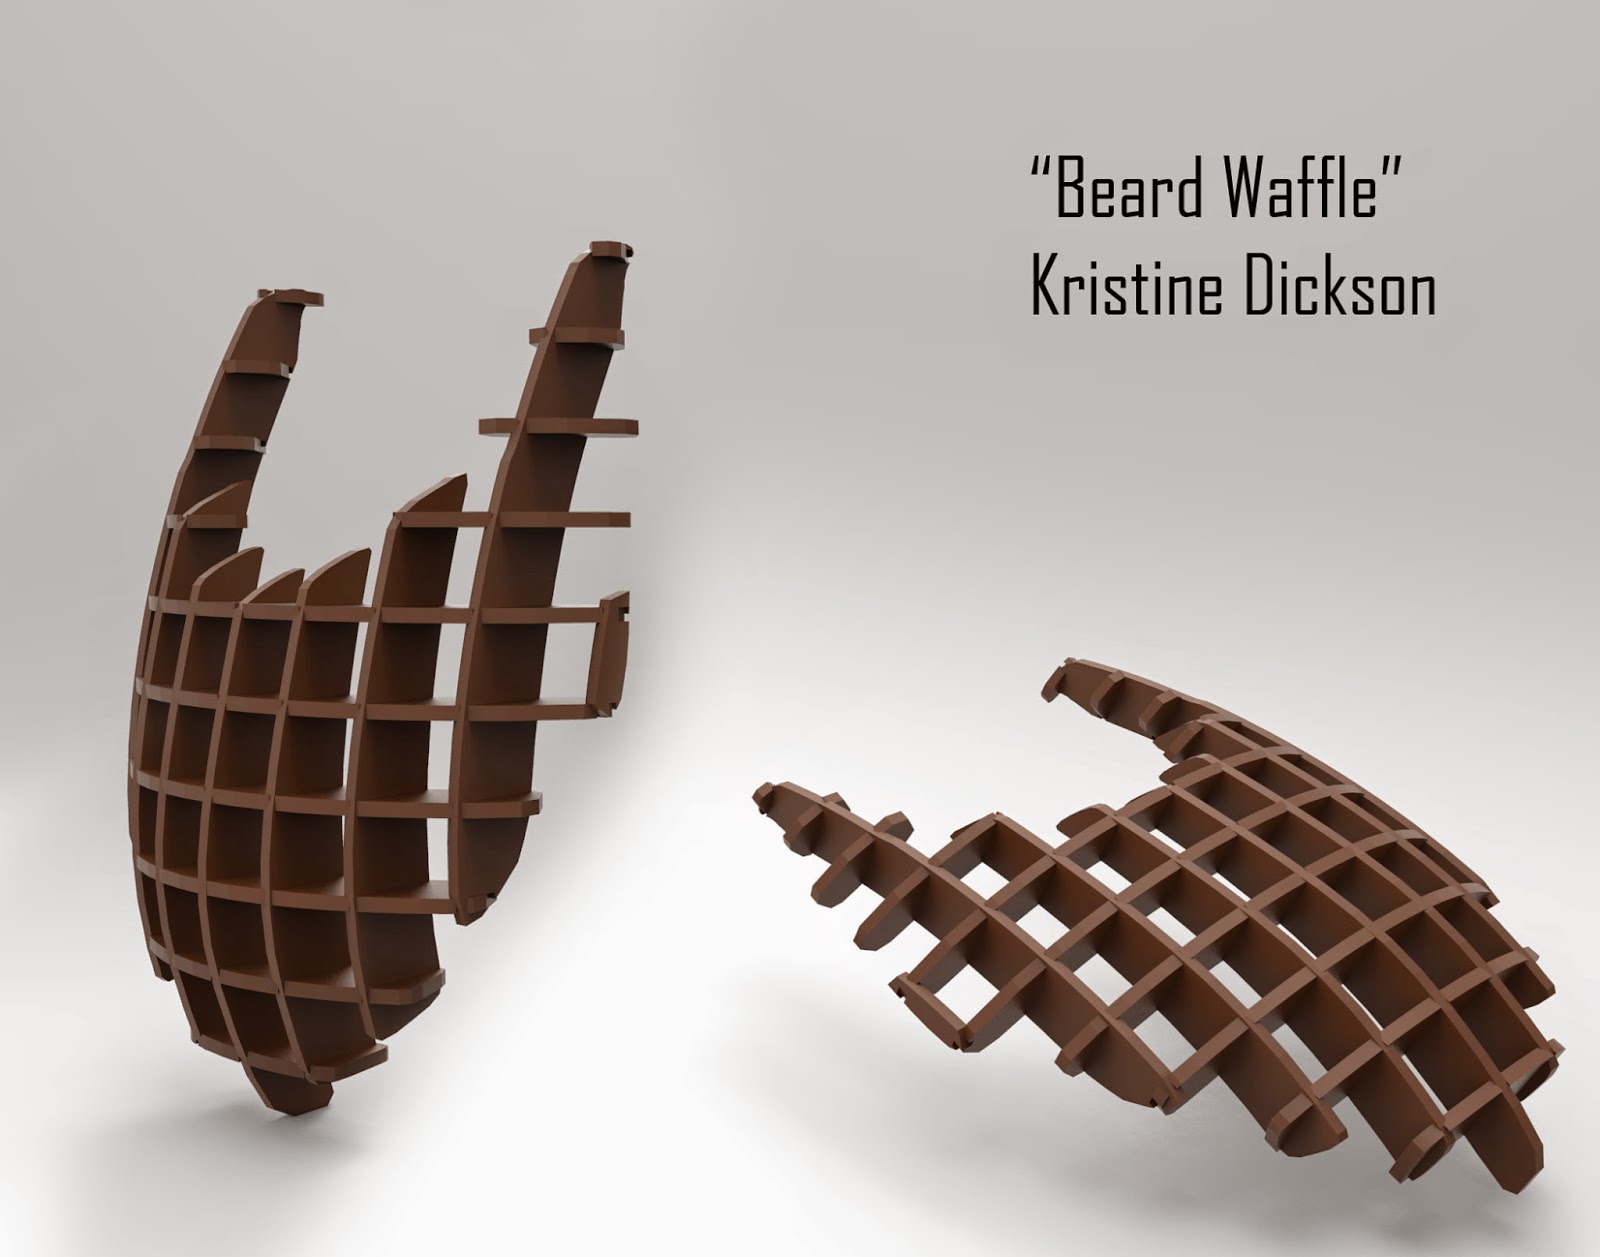
In Keyshot, I chose to use the Old Oak wood material where I blended it with a dark green to control the hues. I wanted a darker, more-aged looking wood. I also reduced the specular and reflective qualities of the material. The default material was too shiny and I wanted the wood to look more natural.

Monday, October 13, 2014

Kristine Dickson: Week 4 Scepter Flashlight

For my flashlight, I decided to model it after a golden scepter.


I brought the template into 3ds Max as a .dwg file and was able to model according to the specifications. I chose to do a scepter because it seemed fun, and the materials and rendering in Keyshot are robust enough to simulate a shiny metal object without any artifacting or pixelation issues.


Shapeways information.


Monday, September 29, 2014

Kristine Dickson: Week 3 Pillow

For my model to 3d print, I made a pillow. I wanted to make something that looked deceptively soft and malleable. A pillow can be a soothing sight to behold, or a sad one. There's only one pillow. It looks well used and comfortable to some, but maybe lonely to others. 


I started with a box, pushing and pulling edges. Smoothing here and there to make it look pliant. I focused mainly on keeping the contours soft and consistent. Again, I did not want a rough or faceted model.


Shapeways information.