Showing posts with label Project 2 Flashlight Sleeve. Show all posts

Sunday, March 1, 2015

Renae Patoskie Week 4: Flashlight Sleeve

I wanted my flashlight sleeve to be about practicality and ownership. After experimenting with the different capabilities of Rhino, I decided not to have any extrusions on my final model. A flashlight of this size I would use a keychain, in which case it will be handled roughly and without consideration, therefore my design does not have any parts which could break off. I wanted to guarantee that the flashlight and sleeve could not be easily separated so I added an interior lip to contain the flashlight and added a screw feature so that the two halves would hold the flashlight inside. Finally to maintain the practicality of the flashlight, a hole was left in the base of the sleeve to grant access to the on/off button.

Ghosted view with no naked edges.

Layer organization.

In this model I used an outline and revolved the basic shape; created the screw feature, using spiral curves, the flow along curve function, boolean union and boolean difference; added the Light and Renae extrusions by projecting UV curves, adding text and then removing the volume of the text using boolean difference.


View 1 of Keyshot Rendered Model. 

View 2 of Keyshot Rendered Model.

Final printed model.

Monday, February 16, 2015

Tanner Mortenson: Week 5 LED Sleeve


For the LED Sleeve in Week 5, the design was kept simple.
The design features a grip on the handle with several subtle accents.
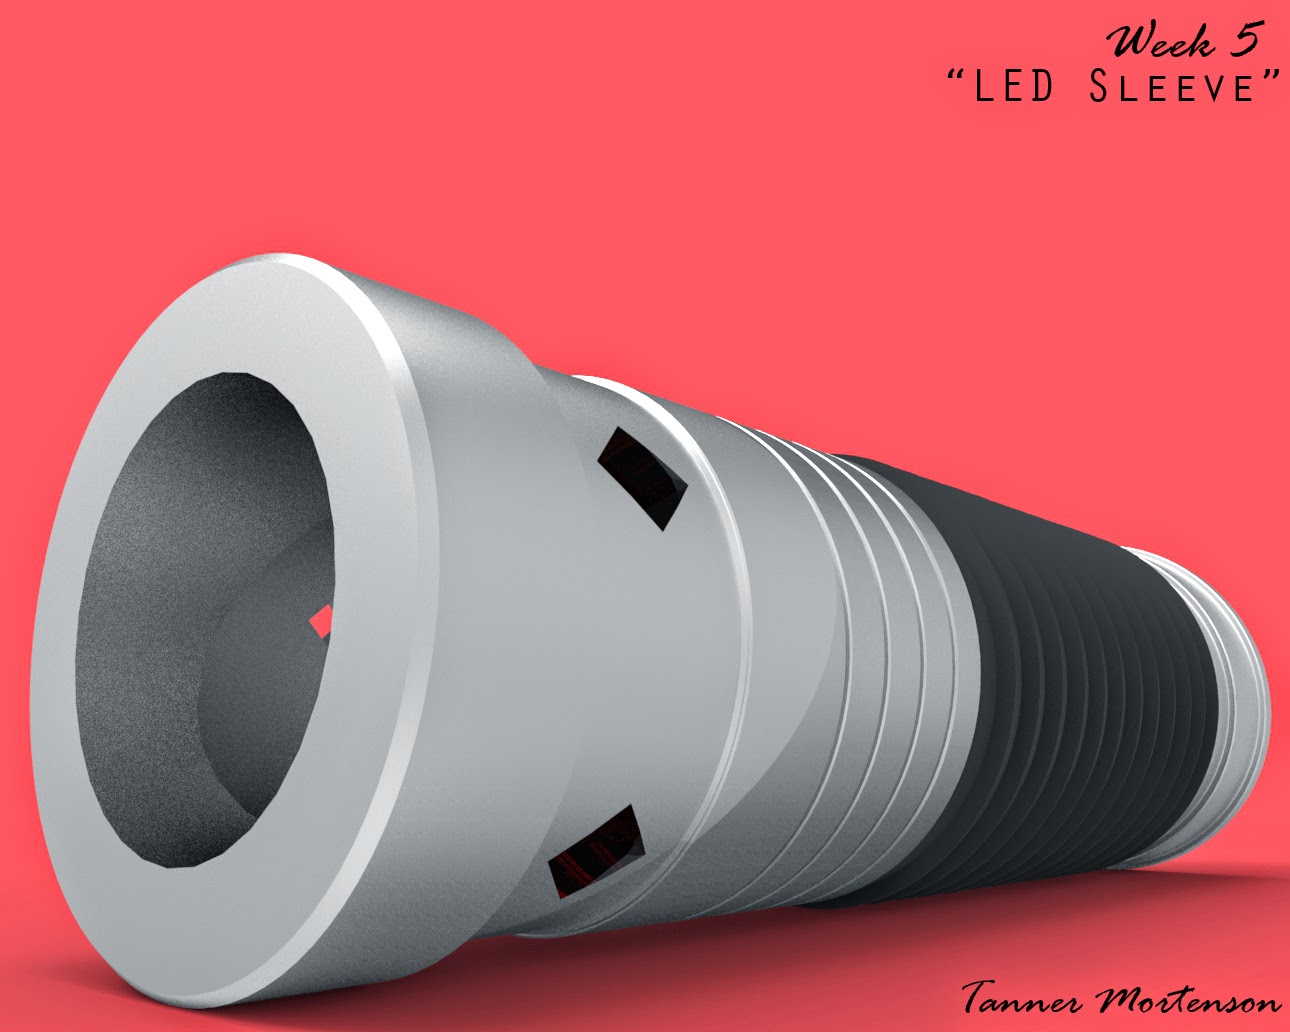
Features include ridges, which were created using the 'chamfer' and 'fillet' commands, as well as 5 pyramid-shaped notches, arrayed around the center of the sleeve.  The notches were created using the 'booleanDifference' command. Although it is simple, the goal was see how the design would turn out 3D printed before going too elaborate. With any luck the next model will utilize more features with more comfort-ability in the 3D printing process.  I am curious to see the full potential of the 3D printing lab.

Rhino - screenshot #1
Essentially the design was split into three parts- the main body (or shaft), the grip, and the accented notches.

 Rhino - screenshot #2
Here the NURBS model created above has been exported to a STL file, which is submitted to the lab to be 3D printed.
  

Keyshot #1
Here the sleeve is laying on its side, at an angle which the viewer can see the cut-away notches.

Keyshot #2
At a tilted view this time, the sleeve is standing upright, showcasing the rubber grip, metal shaft, and cut-away notches that are featured.

Saturday, September 27, 2014

Chris Jordan: Project 2- FlashLight Sleeve

For the flashlight sleeve assignment I went through a number of iterations including an example that was shot through with holes but for the final version I went with a mesh simpler than that.
rejected version
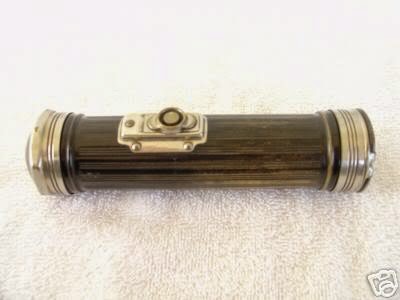
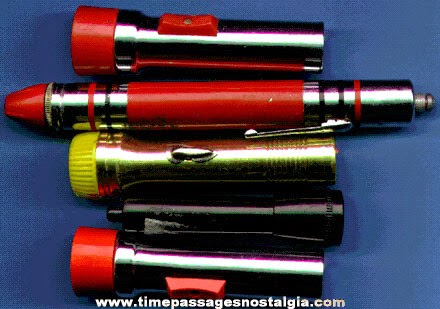
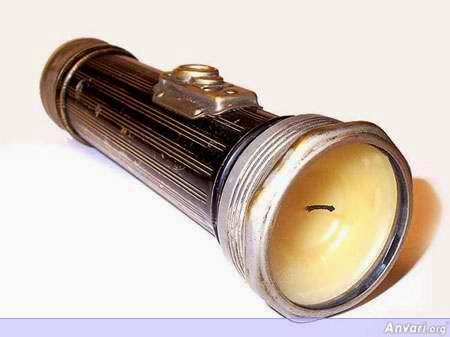
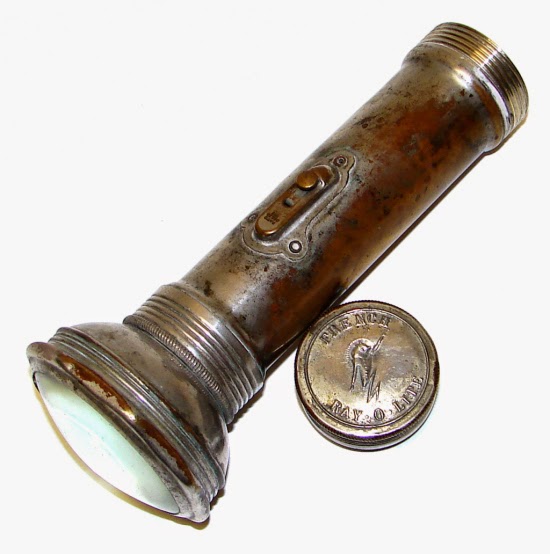
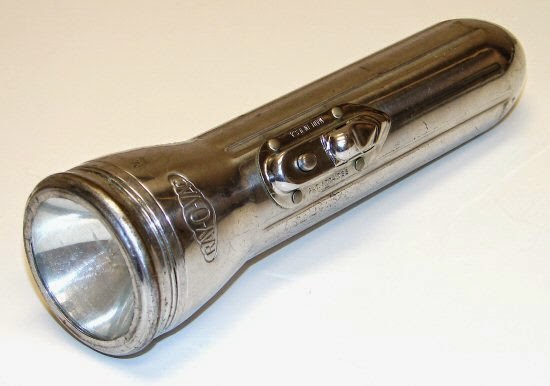
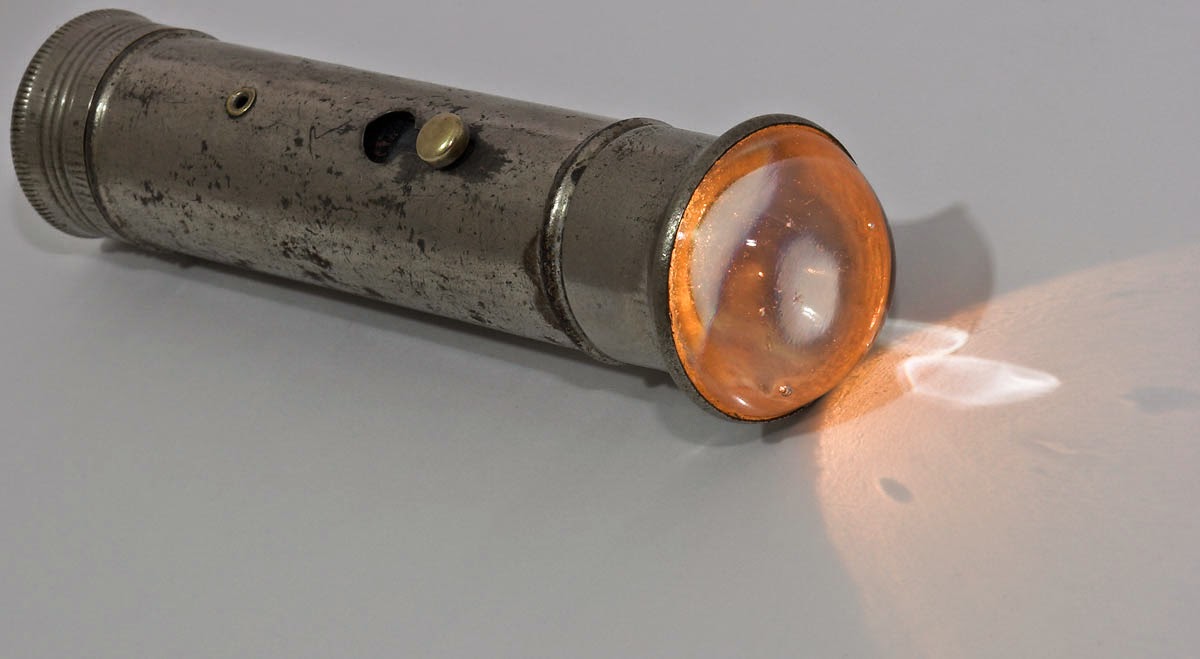
Reference Images
http://smg.photobucket.com/user/tenmmike/media/0e_1.jpg.html

http://image.timepassagesnostalgia.com/watermarked/images14/1420flightsx5.jpg

http://www.anvari.org/db/cols/Back_to_the_Old_Technologies/Candle_Flashlight.jpg

http://www.google.com/imgres?imgurl=http%3A%2F%2Fimg10.imageshack.us%2Fimg10%2F4641%2Fbo00030.jpg&imgrefurl=http%3A%2F%2Fwww.candlepowerforums.com%2Fvb%2Fshowthread.php%3F242418-Update-an-old-Bond-flashlight-w-led&h=310&w=320&tbnid=JYExyqOr1HZilM%3A&zoom=1&docid=aFLppYtiKLkjLM&ei=r9g6VKDzMYj88AH8wIDgAg&tbm=isch&client=firefox-a&ved=0CCEQMygFMAU&iact=rc&uact=3&dur=453&page=1&start=0&ndsp=29

http://www.flashlightmuseum.com/flashlights/RA00164.jpg

http://www.flashlightmuseum.com/flashlights/RA00015.jpg

https://blogger.googleusercontent.com/img/b/R29vZ2xl/AVvXsEgOzBq8lQ-octvOOER5RIk3JVW5wh6TE_dQGlk1A1mzgW8AK6yVq1jkgHrRa2ahifbD_Vjo7eyasG0kxde4FJ29bKZwNyEdvRgxUlhyphenhyphen_dtPQ1x-KPLVXmKGpcJw-RpALJA2sOUdDR6SVyO2/s1600/planet-weidknecht-flash-1.jpg

http://xobba.com/wp-content/uploads/2012/08/oldflashlight1200.jpg


 ______________________________________________________________________________
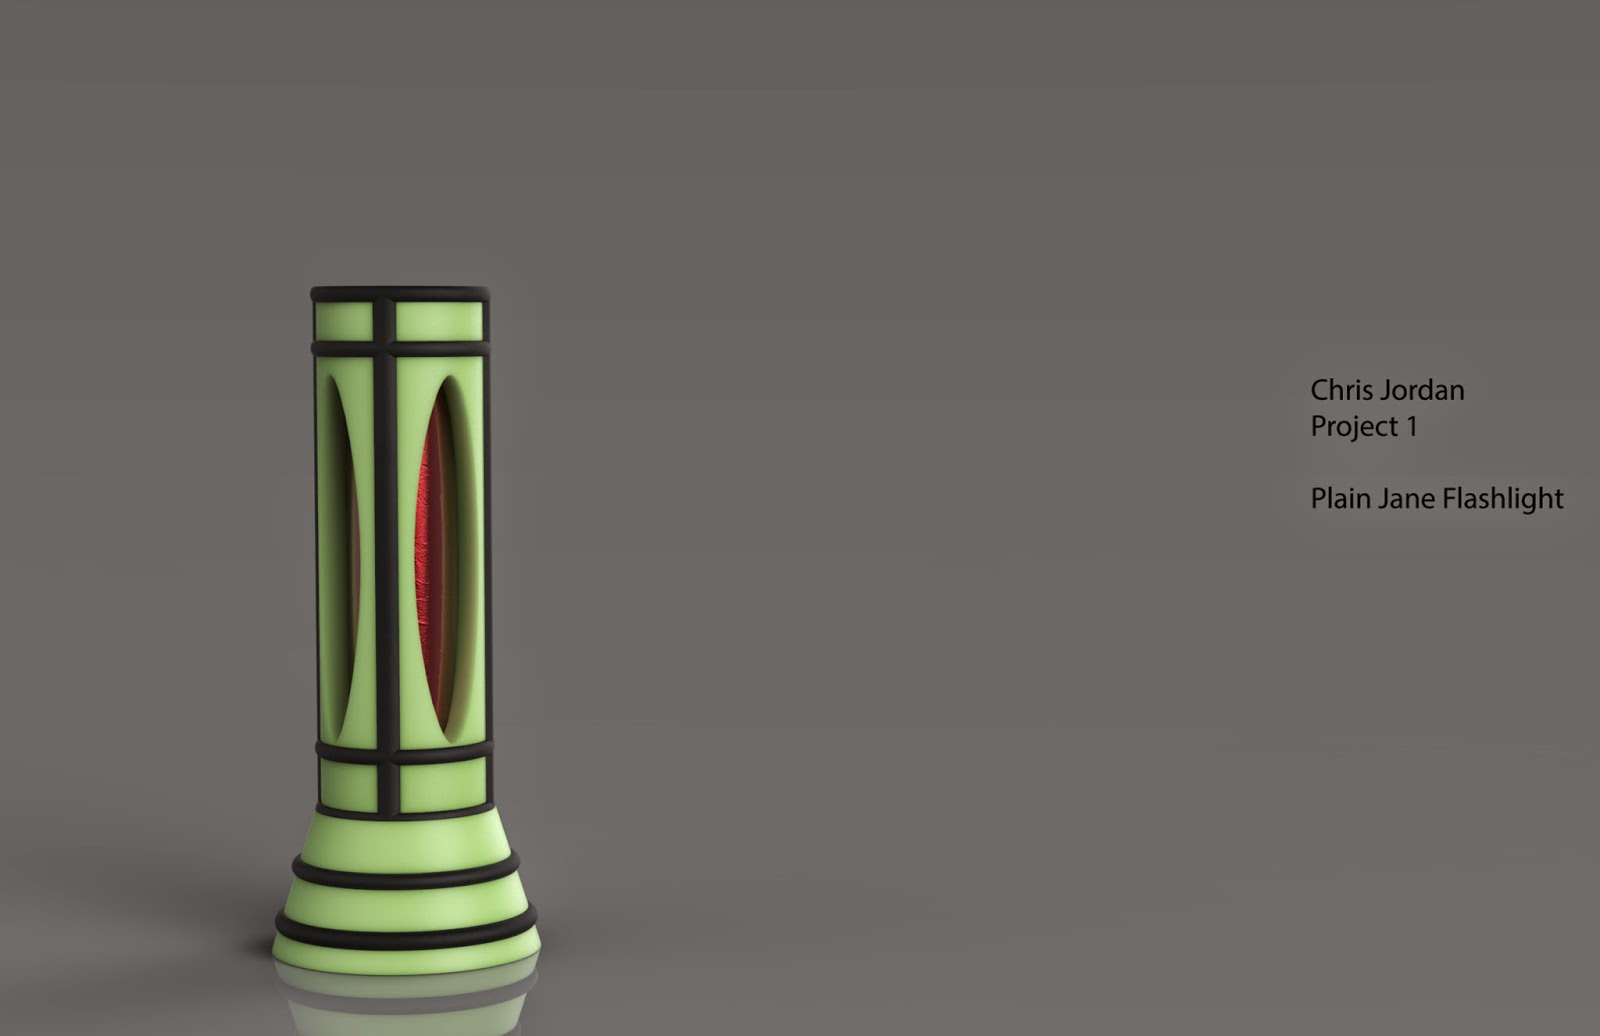
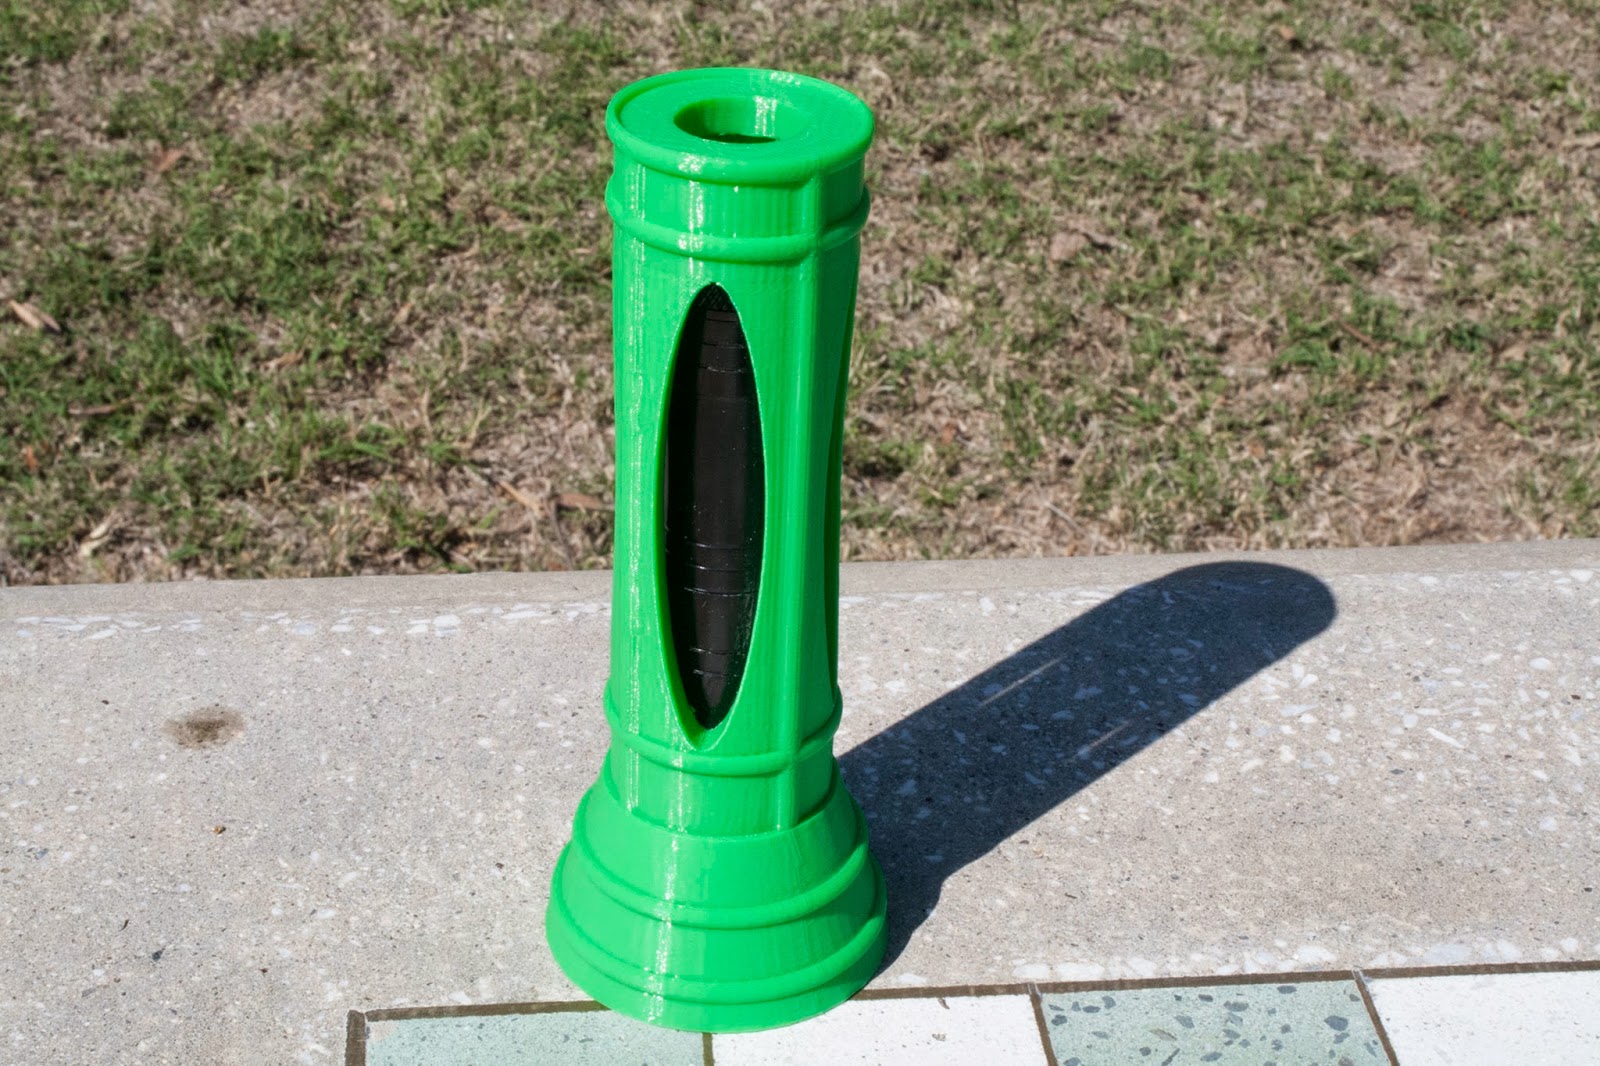
The final version, which would be more likely to be able to be printed, is alot more simple.  Using a combination of the cylinder tool and booliean operations I created the base sleeve. This was further embelished by creating an ellipsis and extruding it through the base sleeve and creating a duplicate that was rotated 90 degrees then each ellipsised cylinder was differanced out of the slieve.  Small cylinders were added in the space inbetween the cutouts with toruses further framing the ellipsises, additional toruses were added to support the base and to accent the 'funnel' of the sleeve.

Maya Wireframe (stl file into maya)


Ghosted orthographic view


Flashlight Sleeve Layers

Flashlight Sleeve Edge Analysis

Keyshot Renders
The Keyshot materials used were a black rubber material on the toruses and cylinders to give is the sense of a rubber gripping material. The main body of the sleeve is a plastic looking seafoam green while the faux flashlight body is a red shiny galvinized metal material to differentiate the sleeve and the flashlight itself.  The postioning of the mesh is to emulate what positions that the flashlight would be found in daily life, on its side or on its funnel the lighting of the environment is reflective to the positioning of the sleeve, i.e. it is darker if the sleeve is on its funnel on it side the environment is brighter in tone with the lightest tone near the sleeve.
_________________________________________________________________________
The sleeve has been printed at the UTD Technology Store for $10. Here is an order page from Shapeways to prove the  validity of the design.

___________________________________________________________________________________
Photos of 3d prints