Showing posts with label Art and Technology. Show all posts

Monday, April 13, 2015

Tanner Mortenson Week 12: Geometric Lamp

For week 12, I continued to build on the idea for my geometric lamp.
After last week, I had finalized my idea and began to get the design ready for Laser Cutting.
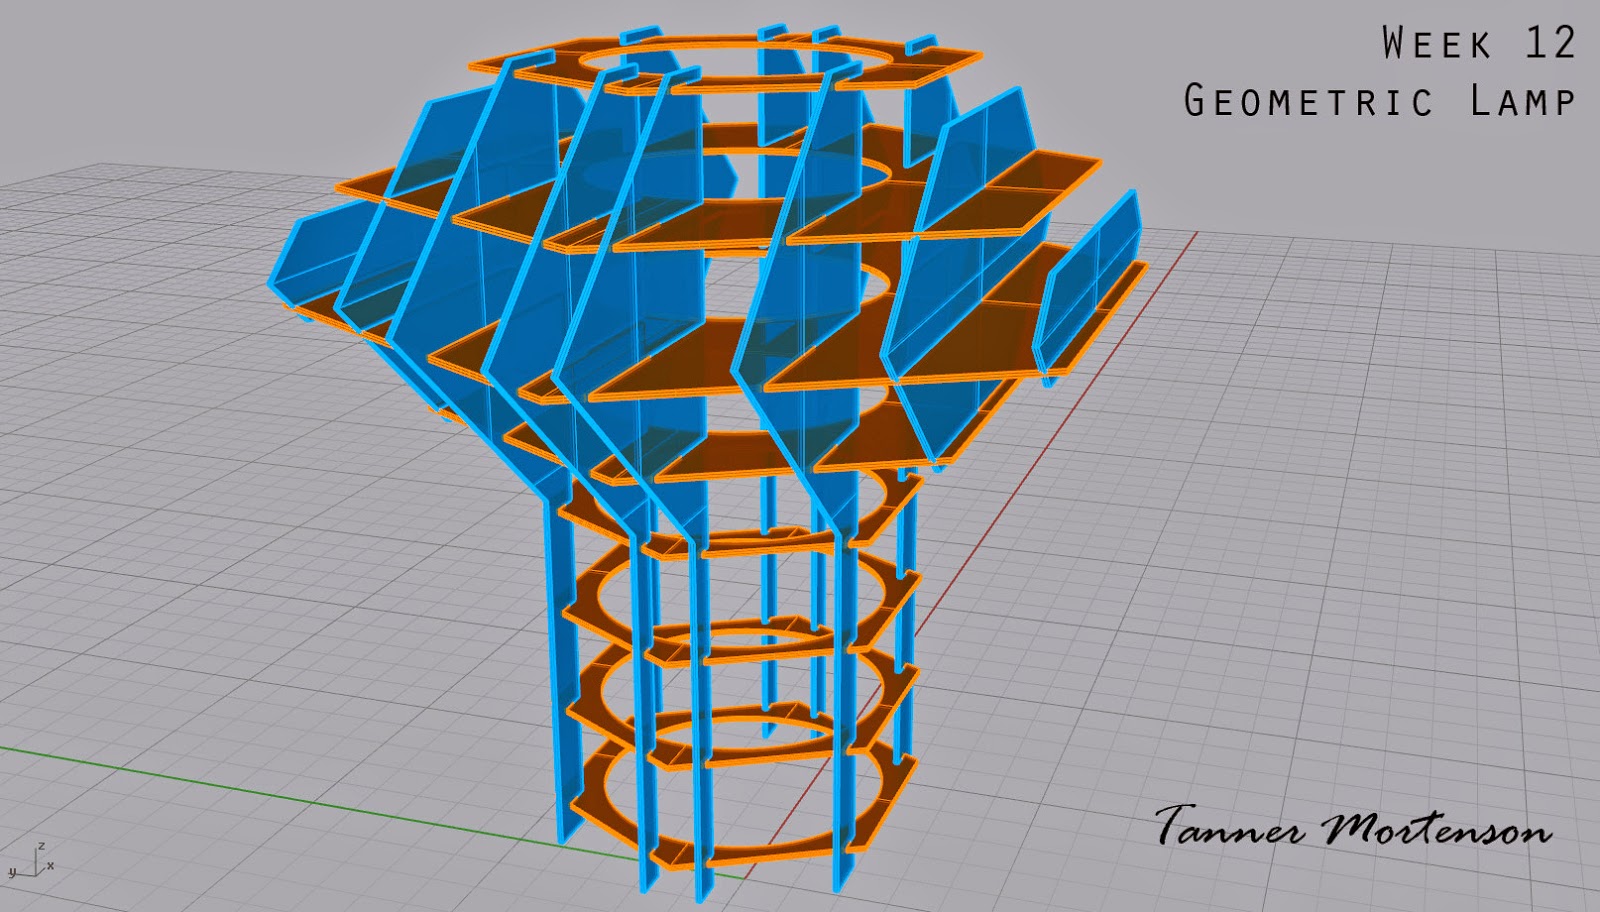
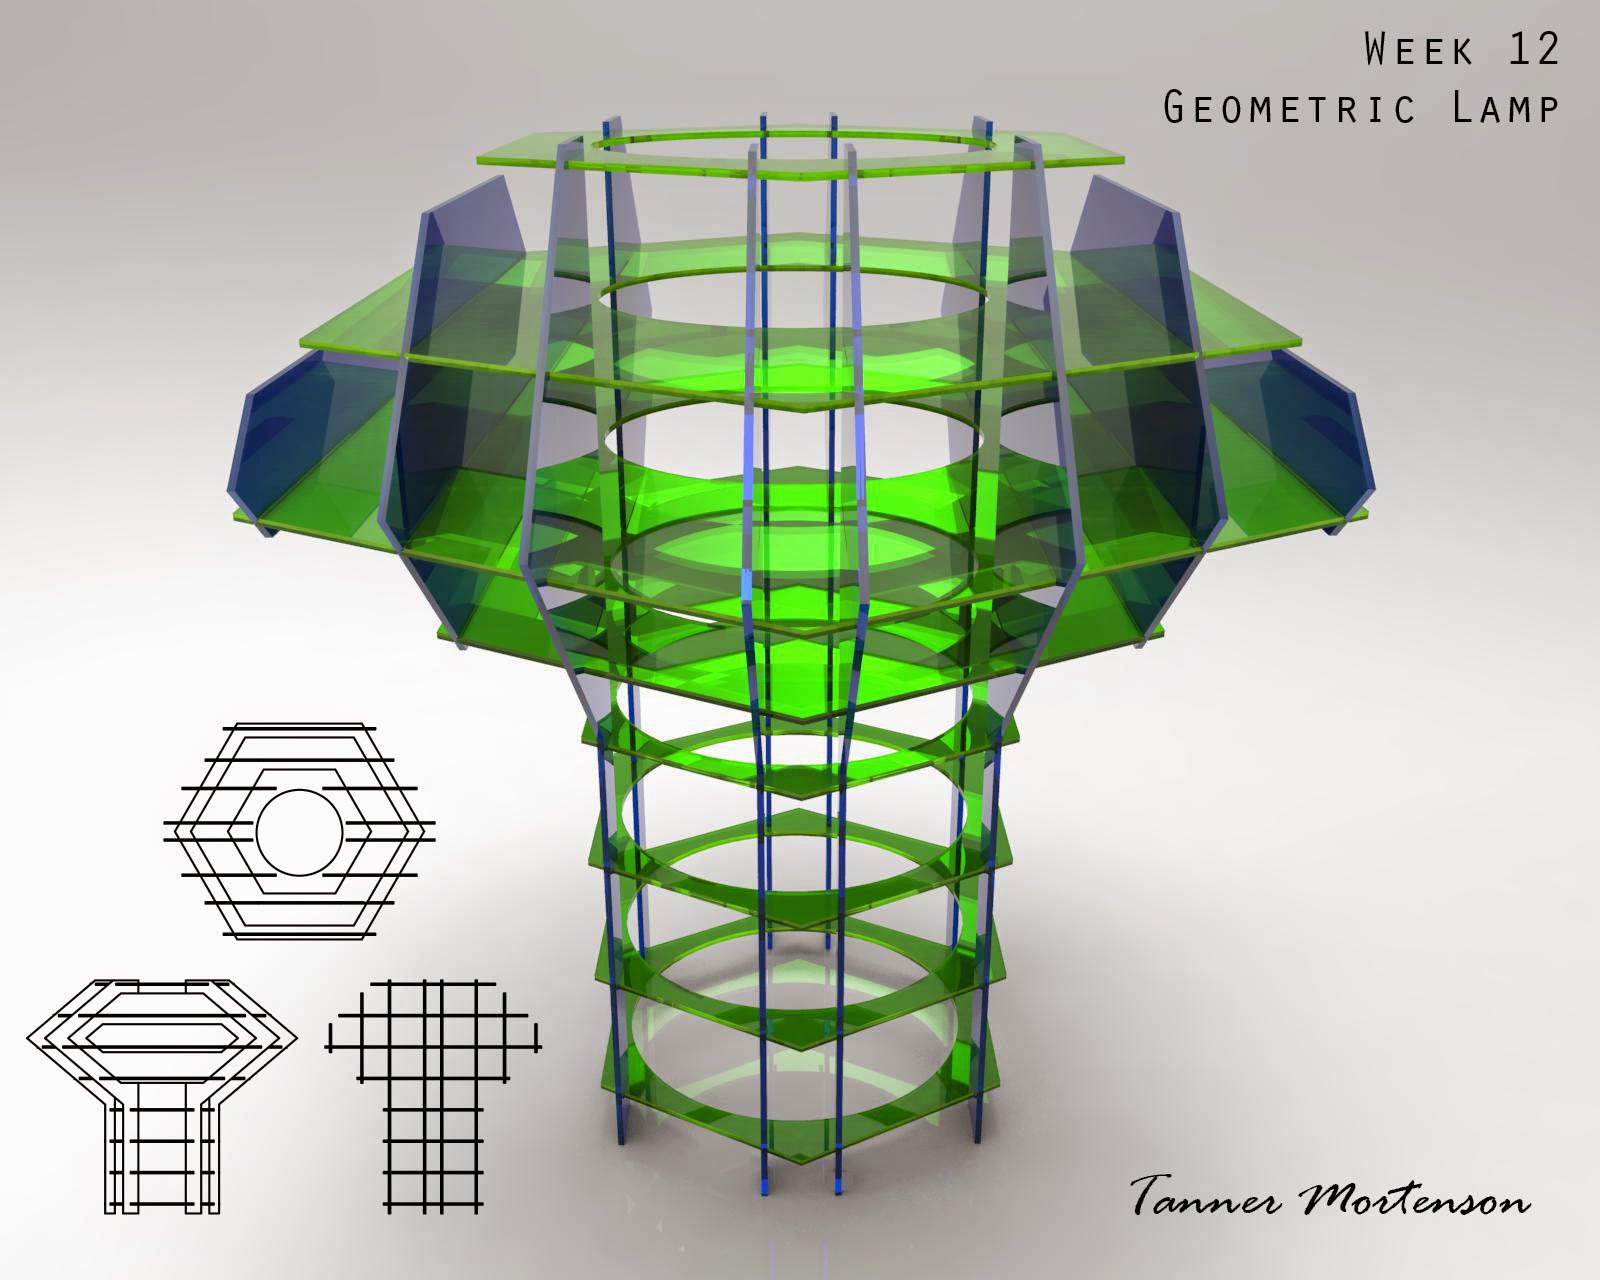
Once the design was finalized, I used two helpful scripts within Rhino- "Cut My Ribs" and "Massive Unroll". Cut My Ribs allowed me to select the different oriented pieces, and then allow the program to automatically cut slots into each piece upon their intersection.  Next, Massive Unroll allowed each of those individual cut pieces to be laid out cleanly so I could then arrange them on my cutting sheet.

I chose to use a 30x36 sheet of plexiglass to make my lamp out of, purchased from Home Depot.
In addition, I had to get another small piece of plexiglass to account for the excess pieces that were unable to fit on just one sheet.  

I decided to choose the thinner plexiglass sheets to reduce the overall weight of the lamp. Looking back, I would have loved to know silicone was not the best adhesive for this project, as it turned greasy and was not clear as I had hoped it would be.  It was also very flexible still when dry, so the structure of the lamp was very shifty.
The light was placed in the middle of the upper portion of the lamp, allowing light to not only be projected left to right and out of the top, but also downward in an ambient fashion.
This unique direction of light is one of the reasons I chose this design.

Rhino model screenshots:


Laser Cut sheet design and layout:

Keyshot Renderings:


Final Product:


Light on: 


At rest on a stool.


Monday, March 30, 2015

Tanner Mortenson Week 10: Waffle Modeling


For Week 10, we continued our exploration of laser cutting and began designing with a waffle structure. Based off of an ocean wave, I decided to create a unique form, and continued to experiment with Rhino.  I used curves, solid shapes such as spheres, to add as well as subtract from the overall shape of the model to provide a unique flow to the project.

Rhino model screenshots:


Keyshot renders:


Monday, February 16, 2015

Tanner Mortenson: Week 5 LED Sleeve


For the LED Sleeve in Week 5, the design was kept simple.
The design features a grip on the handle with several subtle accents.
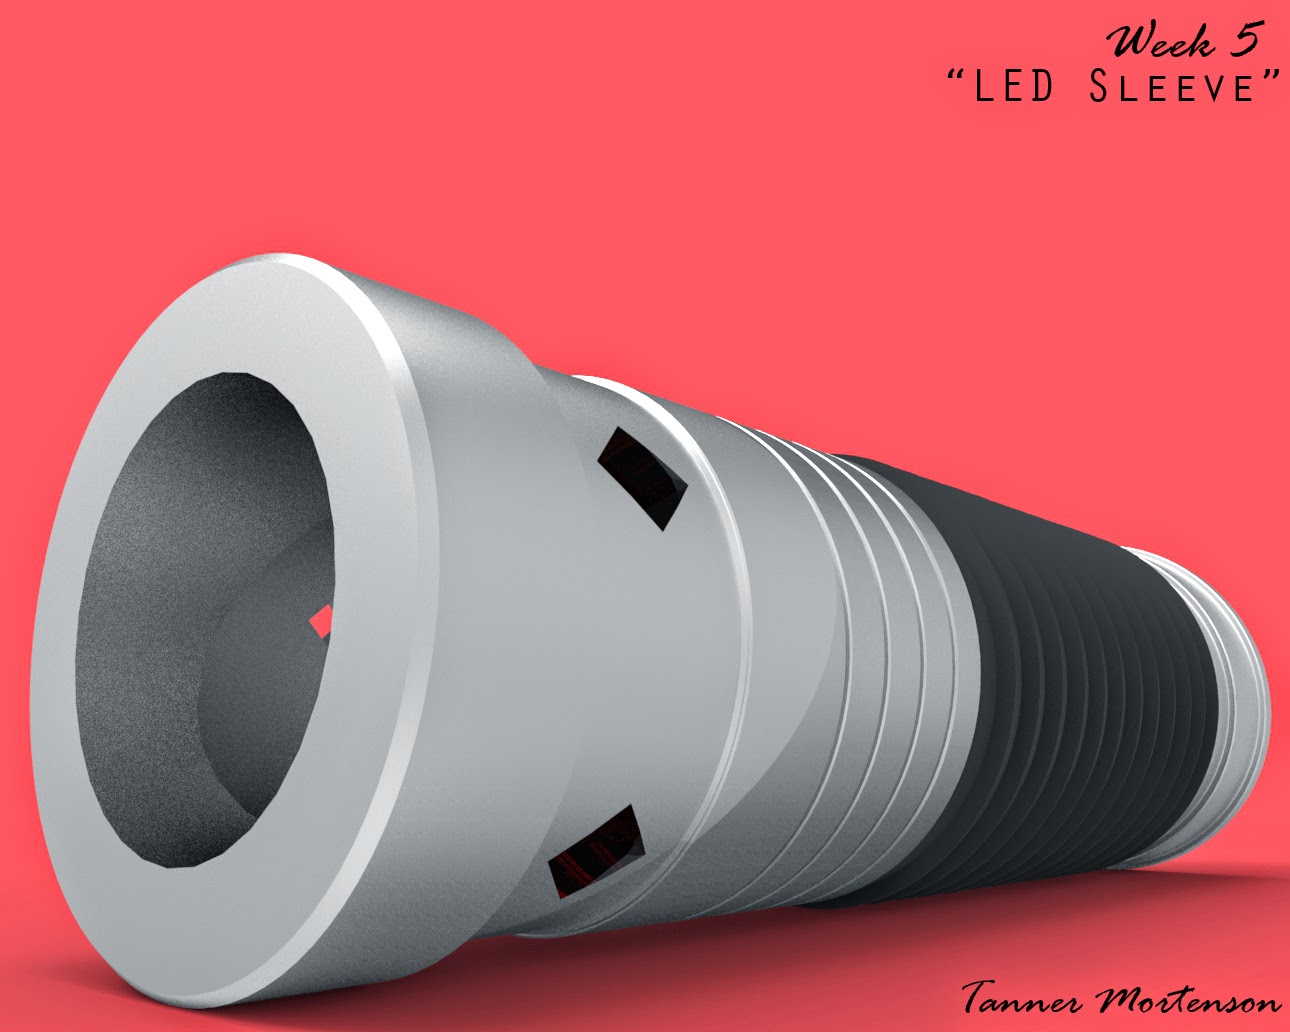
Features include ridges, which were created using the 'chamfer' and 'fillet' commands, as well as 5 pyramid-shaped notches, arrayed around the center of the sleeve.  The notches were created using the 'booleanDifference' command. Although it is simple, the goal was see how the design would turn out 3D printed before going too elaborate. With any luck the next model will utilize more features with more comfort-ability in the 3D printing process.  I am curious to see the full potential of the 3D printing lab.

Rhino - screenshot #1
Essentially the design was split into three parts- the main body (or shaft), the grip, and the accented notches.

 Rhino - screenshot #2
Here the NURBS model created above has been exported to a STL file, which is submitted to the lab to be 3D printed.
  

Keyshot #1
Here the sleeve is laying on its side, at an angle which the viewer can see the cut-away notches.

Keyshot #2
At a tilted view this time, the sleeve is standing upright, showcasing the rubber grip, metal shaft, and cut-away notches that are featured.

Monday, February 9, 2015

Tanner Mortenson- Week 4 LED Sleeve

In Week 4, we designed a sleeve for our LED flashlight. I designed mine to be minimalist, yet to remain functional.  I used the CurveBoolean command to revolve a curve, creating the sleeve.  
I added accents to the exterior shell using both the chamfer and fillet commands, including a grip to help carry the object.  The grip was inspired by the use of a hexagon shape. 

Ghosted black, Rhino

Ghosted color by layer, Rhino

Render 1, Keyshot

Render 2, Keyshot