Final Concept & Design
Work Station
Concept:
I've been wanting to do this project the entire time I've been at this school. My goal is to buy a scanner to manipulate my sculptures in a more detailed digital fashion. My design was to recreate one of my drawings into a sculpture. I made a character when I was in ARTS 1201 (Drawing Fundamentals) at my previous school. I'm quite fascinated with primates and anthropomorphism. So I used my original drawing and the original picture as an inspiration to make my sculpture.
This is Bubbah he is my character, he's based off of the Common Chimpanzee or Pan Troglodyte species. He is currently a newborn shapen into my mind. Bubbah is a kind and intelligent half-breed. He didn't transform into how he is. He was merely born half man half Chimpanzee.
Modeling Techniques:
I started off with, I believe 12 gauge wire, no bigger than a coat hangar, and created a helix with a drill to build strength. I just made a circle for the base and a 4x twisted spine. I forgot to photograph it. But trust me there's metal inside.
I bought about $100 worth of polymer clay of grey, black, and fair skin color. I saw tutorials in the past to mix the black with other colors to make the clay softer. It works but not as much as I wanted it to. I ended up with about 10 lbs of clay into one gigantic marbleized clay block. I ran into quite a bit of trouble mixing the clay together to make the shade I have now. I bought an electric pasta maker to aid in my battle and
it broke after 10 minutes of work. I got my money back. Next, I tried a meat grinder. This lasted me 2 weeks.
The handle broke from excessive heat build up in the working process. Because that crap was made out of cast aluminum I bought a cast iron one instead which you can see in the
Work Station photo. This worked a lot better to an extent. I had to go and buy some clay softener liquid to use the machine more efficiently. But I found out that it was much quicker to do everything by hand after I spent more time screwing around with machines.
Tools
None of the tools I use are meant for clay but I've repurposed them for
my work. I've got 2 crochet needles, 4 dental needles, a jeweler's flat
head screwdriver & hammer, pliers, a spoon, an unsharpened knife,
an eyedropper, and a plastic rolling pin.
Because the clay was such a disaster to work with I managed to smash it with the jewlers hammer when it was very hard to save my hands, thats when the rolling pin worked its magic as well. I asked around and learned that a hair dryer works too. Also the most efficient way is to heat up water and placing the clay into a plastic bag while it sits in the water for about 30 seconds. When I was able to get the clay into a swirled mess I put it inside the meat grinder. That only worked for about as much as two handfuls of clay. I gave up on the meat grinder after wasting about 4 hours cranking it to no avail. Once I had about 30 balls of clay I started putting it on the armature and making the sculpture.
Reference Images & WIP
Facial Detailing
I was using a magnifying glass mounted to the table with some dental tools to remove all the burs that were left behind, left picture. Right picture shows less burrs. Burrs are the little pieces of clay that clump up when you slide a piece of metal into it kinda like how cheese curds.
Ditched Design Idea
I originally had him planned as a bust design inspired by
Gian L. Bernini,
but I ditched the idea because the object was getting too tall. I would
need to chop the bottom off and that would get in the way of the
armature (also seen a part of my armature already cut, which came from the neck). Bad design on my part. Next time I'll just make a thinner
spine armature and not worry about making a wire base.
Materials:
Polymer Clay, Polymer Clay softener, 16 gauge galvanized steel wire, various tools I mentioned above, NextEngine, ScanStuido, Rapidworks, Mudbox, Photoshop
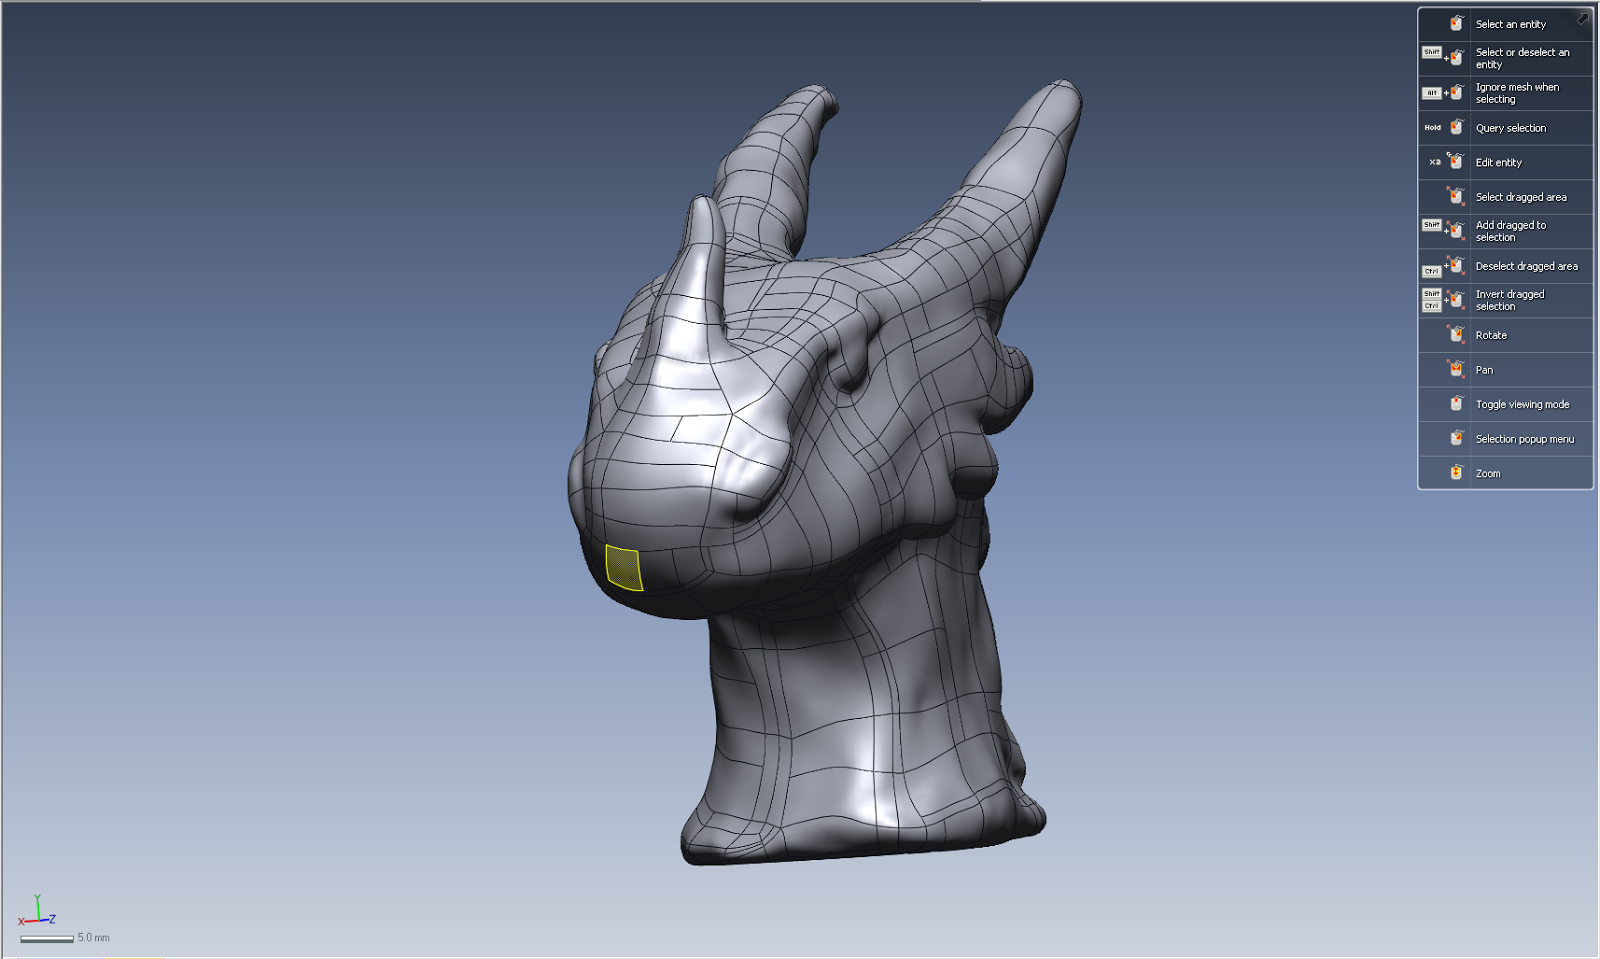
Scan Stuido Align Process
Next Engine 6.3M poly reduction to 900k
Mudbox (Colored)
I ran into a problem where I couldn't get the paint effect to export to any other program. Never used this program so its probably some very simple solution. But I tried importaing as .obj to Keyshot, Maya, 3DSMax. So here is an unrendered colored version of how my character looks in Mudbox. The lighting is also quite wasky in mudbox. I wasn't completely sure how to change them. Their default presets were pretty awful.
Mudbox
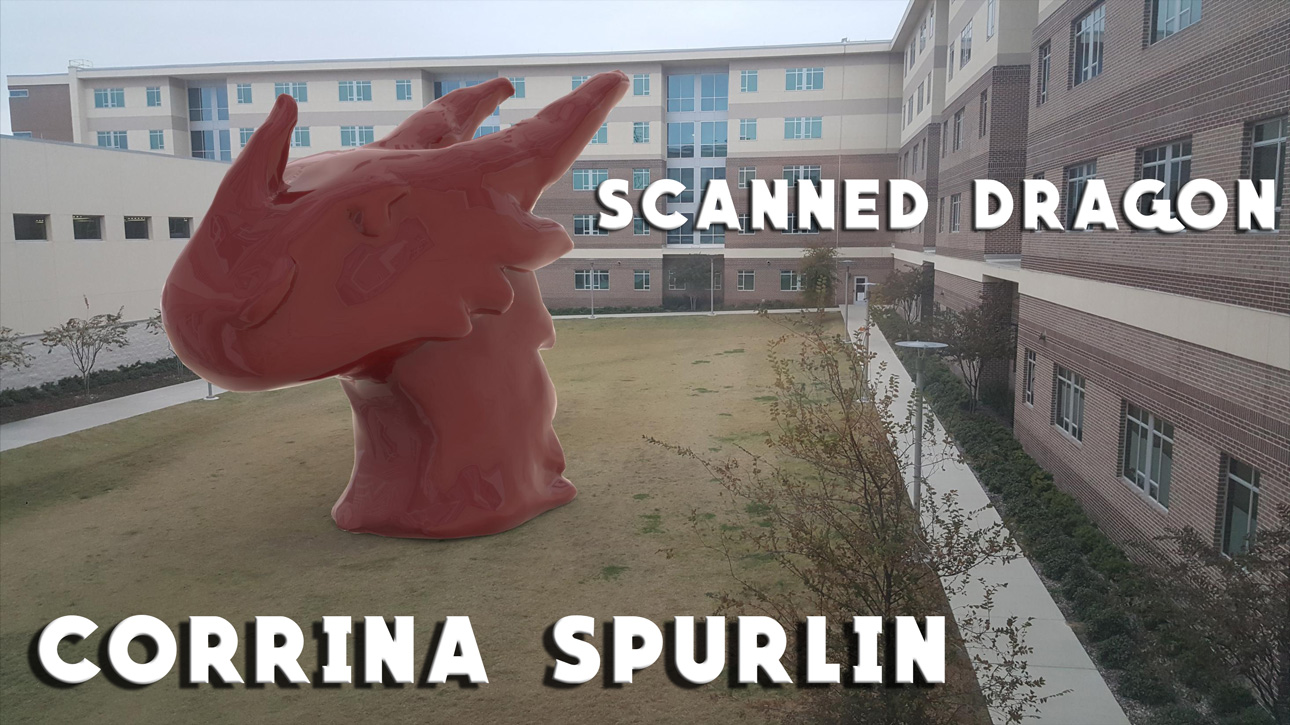
Keyshot
Keyshot