Concept
My original idea for my 3d print involved making a tail based off of the Xenomorph from the movie Alien. I choose this as the Xenomorph is one of my favorite creature designs and the biomechanical look would work well with 3d printing. As we were not allowed to create a 1 to 1 recreation of our adornment, I went with my own take on the tail by having the end of it resemble that of a bladed mace.

Process
As I started my work, I realized that my original design would not be feasible due to my skill level rather lacking. Originally my tail end adornment had several protruding spikes that curved in all directions. This soon turned out to be quite a mess as I did not know how to use the commands to pull this off correctly, so I had no choice but to redesign it. It was around this point where I figured out how useful the Boolean intersection command as it helped me make all of the shapes I wanted. I was able to do all of the required commands as I went along. At first I could not figure out how to solve the naked edge issue but a one of my classmates suggested that I offset the objects that had the naked edge problem which fixed it.
 |
| 3d Model V1 Naked Edges |
 |
| 3d Model V2 Top Down |
 |
| 3d Model V2 Perspective |
 |
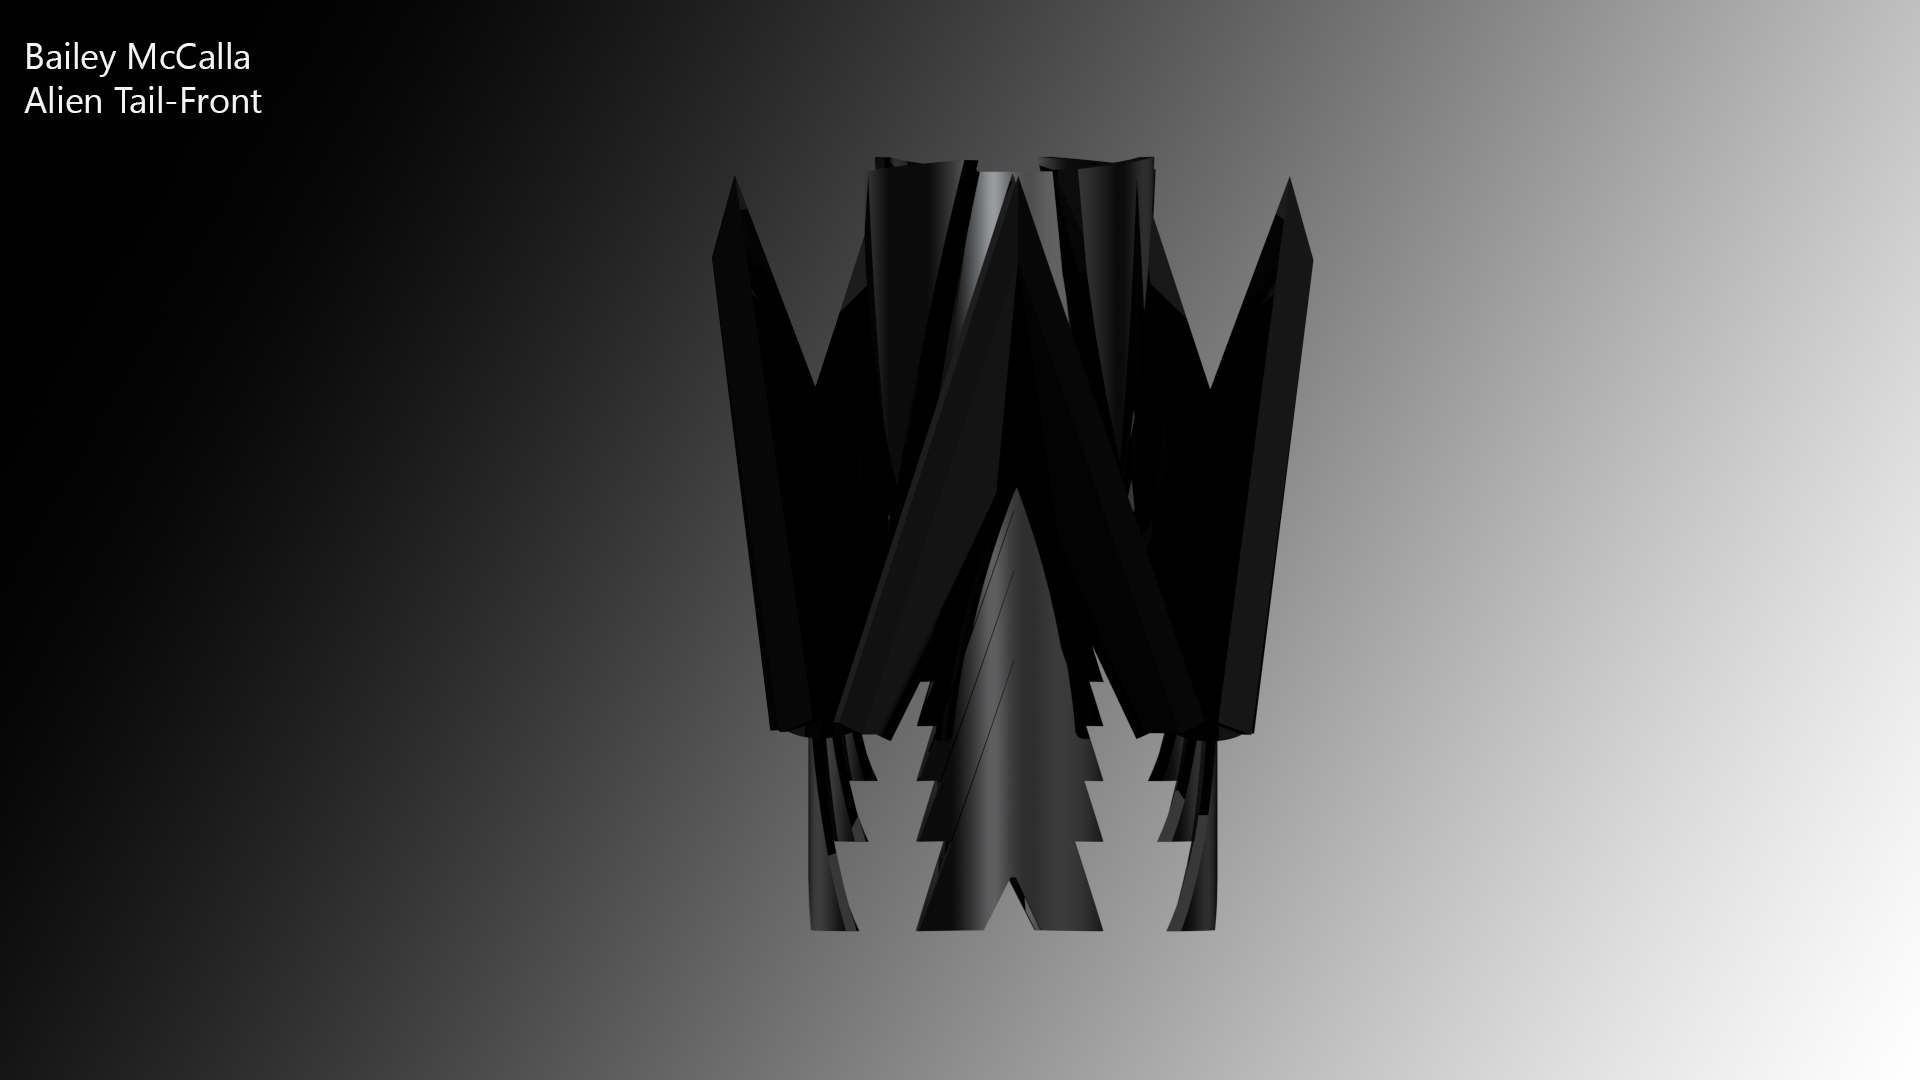
| 3d Model V2 Front |
 |
| 3d Model V2 Worn |
 |
| 3d Model V2 Orthographic |
3d Printing Process
For my 3d printing originally I was just going to submit an order to have it 3d printed at my school but by the time I was going to do it, I had received an announcement that the 3d printing service was no longer accepting orders due to a technical issue involving direct payment. This meant that I had to find an alternative method to printing my model which led me to discovering the UTDesign Makerspace. I had discovered that they would allow me to print my model for free on the condition that I complete their training course and provide my own 3d printing material. They also pointed out that my model would not be able to support itself on its own and they helped me come up with solutions, the one I went with involved splitting my model in half so they could stand on its own using a program called Pursaslicer. The 3d print material I used was a silk gray PLA material and it took me 14hrs for the
Post processing


No comments:
Post a Comment