

Concept: My hammer concept moved in
a different direction than the toy hammer tutorial. Antique tools are beautiful
(and I thought potentially fun to model), so I looked up some antique hammers.
Reference for my concept came from some ideas I got from here. My main inspiration is a hammer
from 1901 found about 2/3 of the way down the page. I liked the slender, artistic,
but functional shape of many of these.

Modeling: For finishing the hammer,
it was filleting, filleting, and more filleting. However, there was also a lot
of various pre-drawn curves to create 2 rail sweeps or 1 rail sweeps. I
booleanUnioned most of the hammer together after capping the individual objects,
with the exception of the bronze details on the head. For the head, I used some
curve projection and extrusion to cut out the insets, then some more curves and
projections to create the details that I would eventually build pipes from.


Materials: For the body of the
hammer, I chose a tarnished metal material, then increased the samples. I
wanted to imitate what an antique hammer in real life might look like if you
polished it up – it would still have aging imperfections, but have a nice shine
and texture to it. For the detail work on the head, I used a rusted bronze
material to distinguish it from the body of the hammer, and I also really liked
the way the rusted bronze emphasized the undertones of the tarnished metal
material.
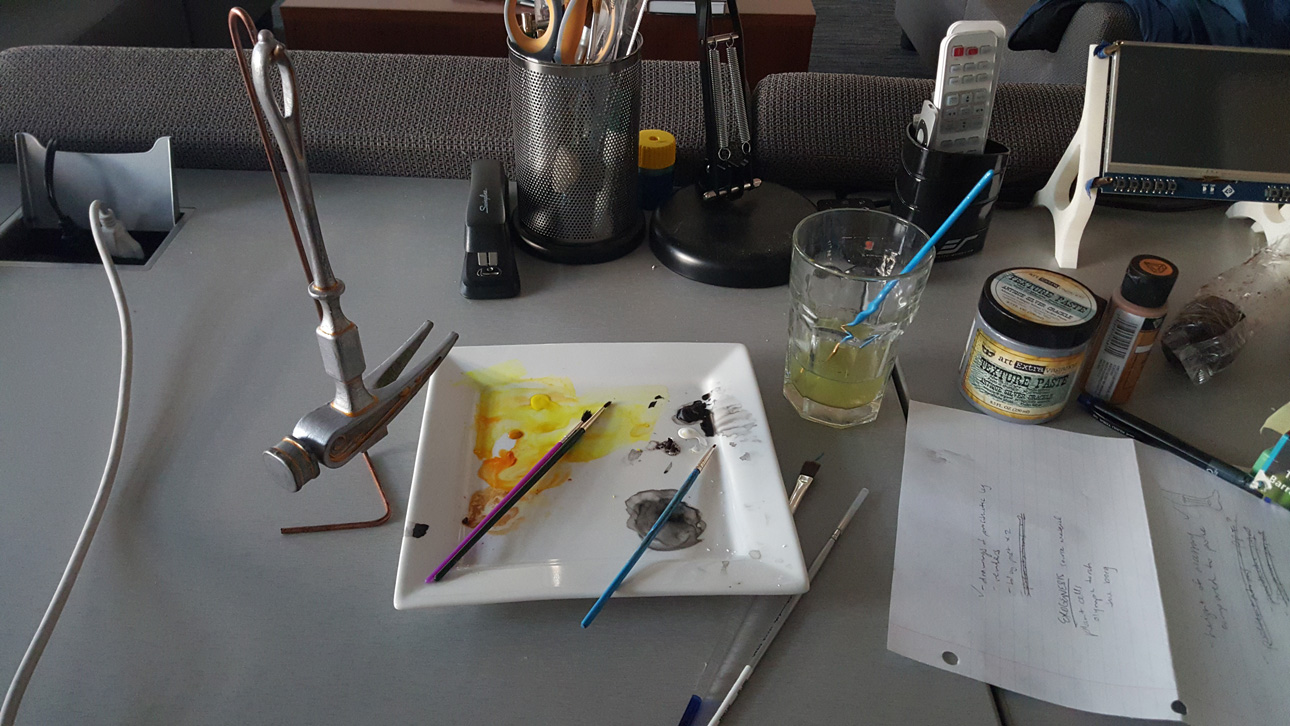
3D Printing Assignment: I edited my antique hammer design a little bit so that I could use it for a 3D print. The main difference is an opening in the handle so that it could be hung on a nail in a workshop. After printing, I put two coats of XTC on it to seal it but not completely lose the striations. After that, I coated it several times in a textured paint that was supposed to flake like antique silver, with varying levels of success depending on the thickness of the paint. I used a metallic light gold paint to simulate the effect I had gotten in my renders, where the crevices of the hammer were worn and gold-looking. After that layer, I applied a very thin, watered-down coat of black paint to fill in what cracks I could and accentuate that feature. The last process was using sandpaper to give the surface of the hammer an old and slightly battered look on the head and the handle. Here are some before, during, and after photos of that process:


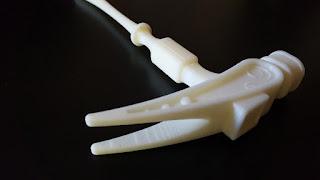


3D Printing Assignment: I edited my antique hammer design a little bit so that I could use it for a 3D print. The main difference is an opening in the handle so that it could be hung on a nail in a workshop. After printing, I put two coats of XTC on it to seal it but not completely lose the striations. After that, I coated it several times in a textured paint that was supposed to flake like antique silver, with varying levels of success depending on the thickness of the paint. I used a metallic light gold paint to simulate the effect I had gotten in my renders, where the crevices of the hammer were worn and gold-looking. After that layer, I applied a very thin, watered-down coat of black paint to fill in what cracks I could and accentuate that feature. The last process was using sandpaper to give the surface of the hammer an old and slightly battered look on the head and the handle. Here are some before, during, and after photos of that process:


No comments:
Post a Comment